15 Brown Curly Lace Front Wig Hairstyles
Brown curls look rich and dimensional on a lace front, and they style fast once your base is set. This list covers 15 simple, wearable looks—from soft parts and half-ups to ponies, buns, and quick accessories. Each idea notes face-shape matches (round, oval, heart, square, long) and small tweaks like part lines, height, or tendrils that flatter curls.
Works over any natural hair underneath (straight, wavy, curly, coily) as long as your wig is secured. Prep: braid or slick your hair flat, pop on a wig cap, clean and dry your hairline, apply your preferred adhesive or gel, press the lace with an elastic band to melt, then define curls with foam or mousse. Keep a rat-tail comb, edge brush, hot comb, diffuser, clips, and pins nearby.
1. Defined Side Part Curls

A deep side part adds instant drama to brown curls and shows off that lace melt. The asymmetry slims round faces and softens angles. Keep roots flat with a hot comb and let the curl body do the talking. Tuck the lighter side behind your ear or secure a couple of coils with a hidden pin. This is office-ready yet evening-friendly. Pro tip: part along the lace where the knots are lightest, then press with an elastic band for five minutes to lock the line.
How To Style:
- Hot comb the front inch; create a deep side part.
- Melt line with elastic band; cool.
- Scrunch mousse into mids/ends; air-dry or diffuse low.
- Tuck and pin for balance.
Best For: Round, square, heart; curly/coily.
Tools & Products: Rat-tail comb, hot comb, mousse/foam, elastic melt band, bobby pins.
2. Clean Middle Part with Soft Baby Hairs

A crisp center part highlights glossy, even curls and keeps the look minimal. Subtle baby hairs blur the lace without stealing focus. The symmetry flatters oval and long faces; a tiny lift at the crown prevents a flat silhouette. Keep baby hairs wispy—less is more. Pro tip: carve baby hairs from the lace line with a tail comb, trim short if needed, and style with a dab of gel on an edge brush for a cloud-soft finish.
How To Style:
- Press roots flat; part center.
- Melt lace, then outline a few baby hairs.
- Lay edges softly; diffuse ends.
- Finish with a light glaze of oil on the surface.
Best For: Oval, long, heart; curly/wavy.
Tools & Products: Hot comb, edge brush, gel, mousse, elastic band.
3. High Curly Pony
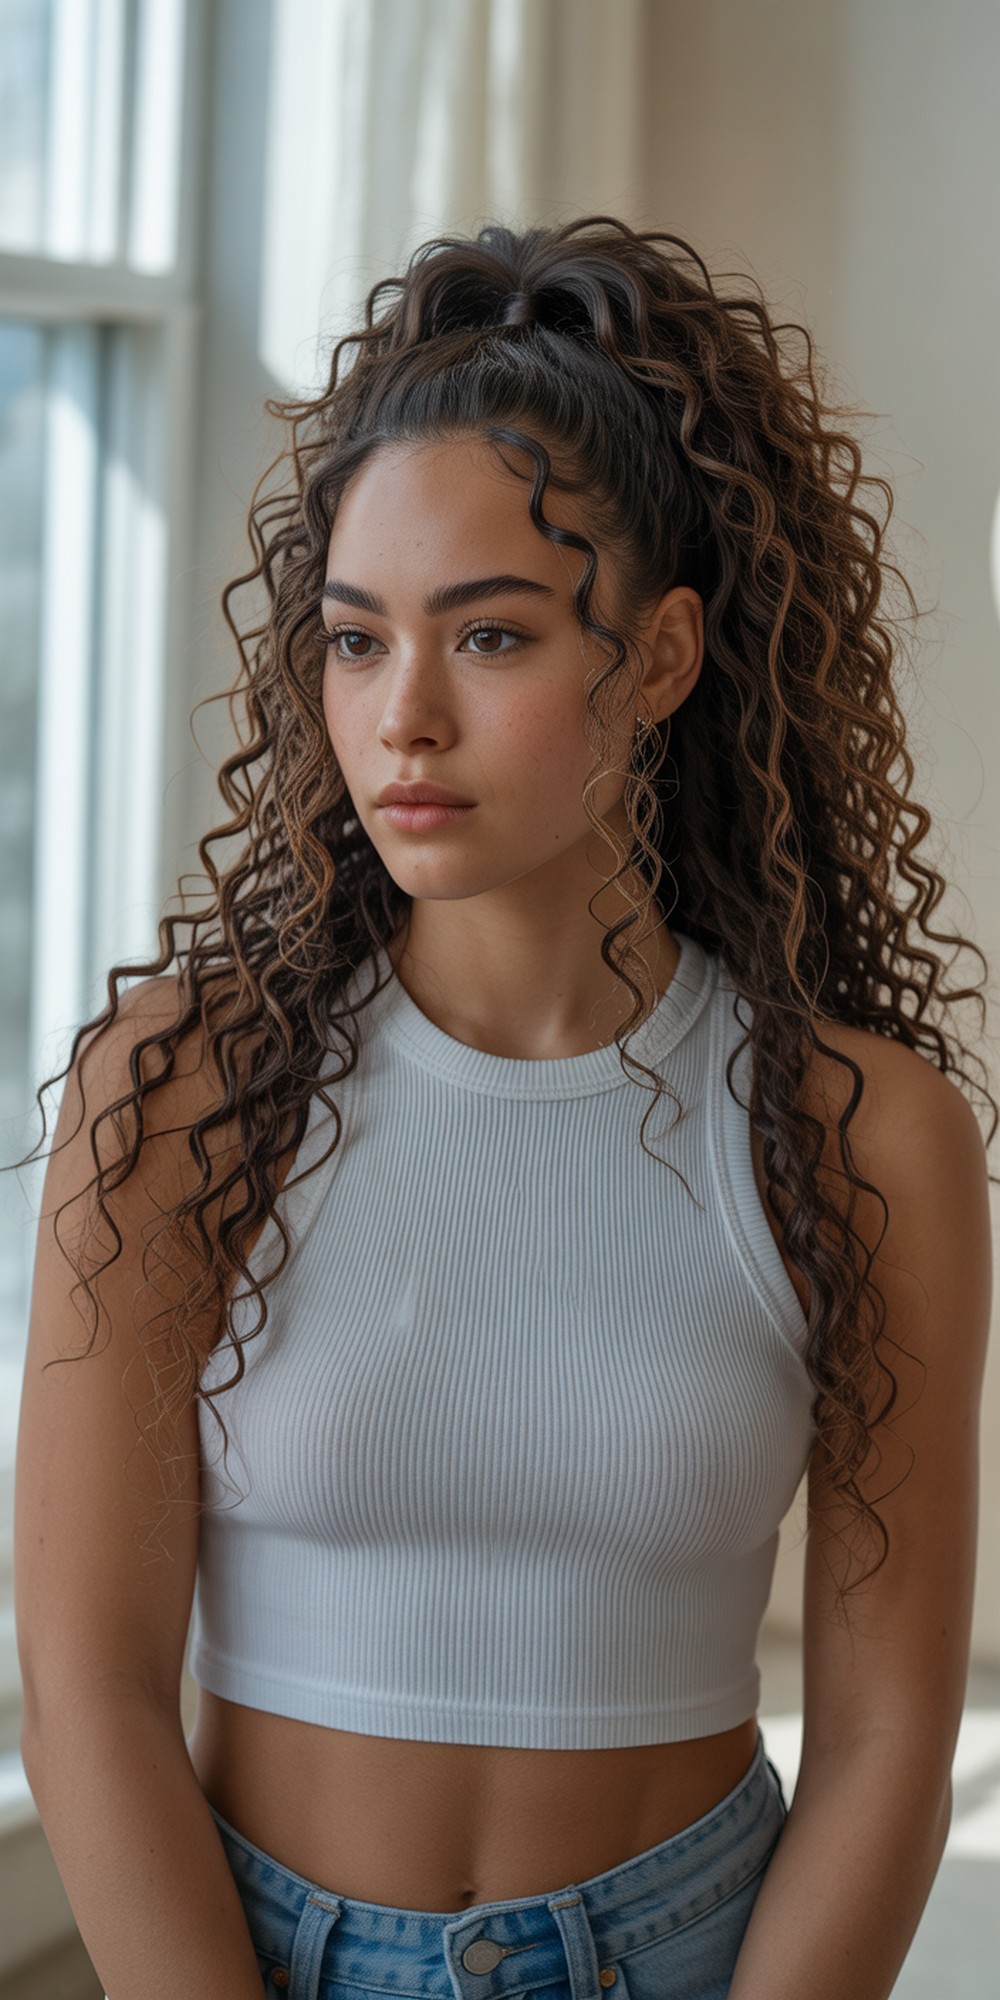
A lifted pony gives curls bounce and keeps hair off your face. It’s sporty-chic and great for errands or the gym. If your unit is 360/full lace, go high; with standard lace fronts, keep it mid to hide tracks. Smooth the front with a hot comb and wrap a curl around the base for a neat finish. Pro tip: use a bungee or two elastics to avoid tugging the lace and keep tension even.
How To Style:
- Brush curls up (or mid) while holding the melt.
- Secure with bungee; wrap a small curl around base.
- Scrunch mousse through pony; diffuse low.
- Tap flyaways with a soft brush.
Best For: Round, square; curly/coily.
Tools & Products: Bungee/elastic, hot comb, mousse, soft brush, pins.
4. Half Up Pineapple Puff
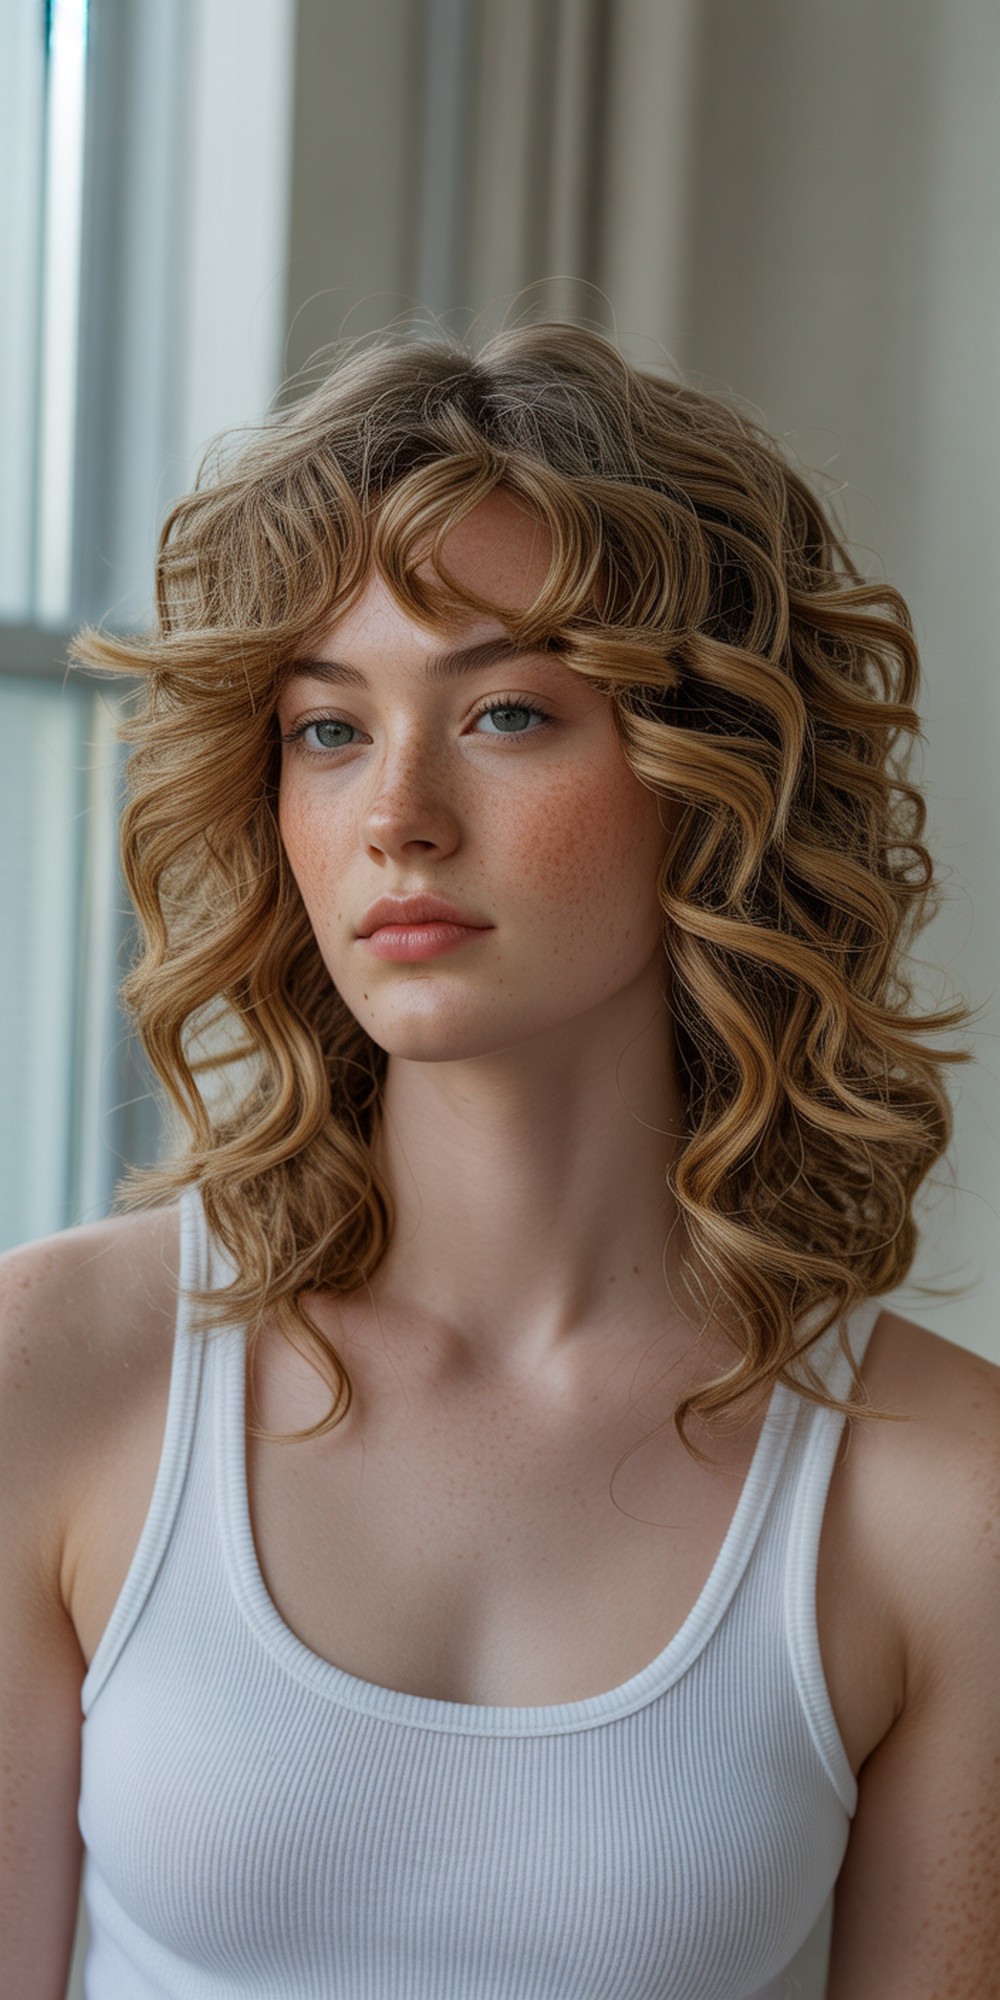
Keep the face open while letting the lengths cascade. The half-up pineapple lifts your features and preserves curl shape. It’s easy, cute, and lace-friendly because tension stays behind the hairline. Pull a few tendrils forward for softness. Pro tip: gather only the top third; too much hair makes the puff heavy and flattens the bottom curls.
How To Style:
- Section top third from temples.
- Tie high and soft with a scrunchie.
- Fluff the puff; revive with water + foam.
- Lay a touch of edges if desired.
Best For: Heart, round; curly/coily.
Tools & Products: Scrunchie, clips, water mist, curl foam, edge brush.
5. Curly Space Buns
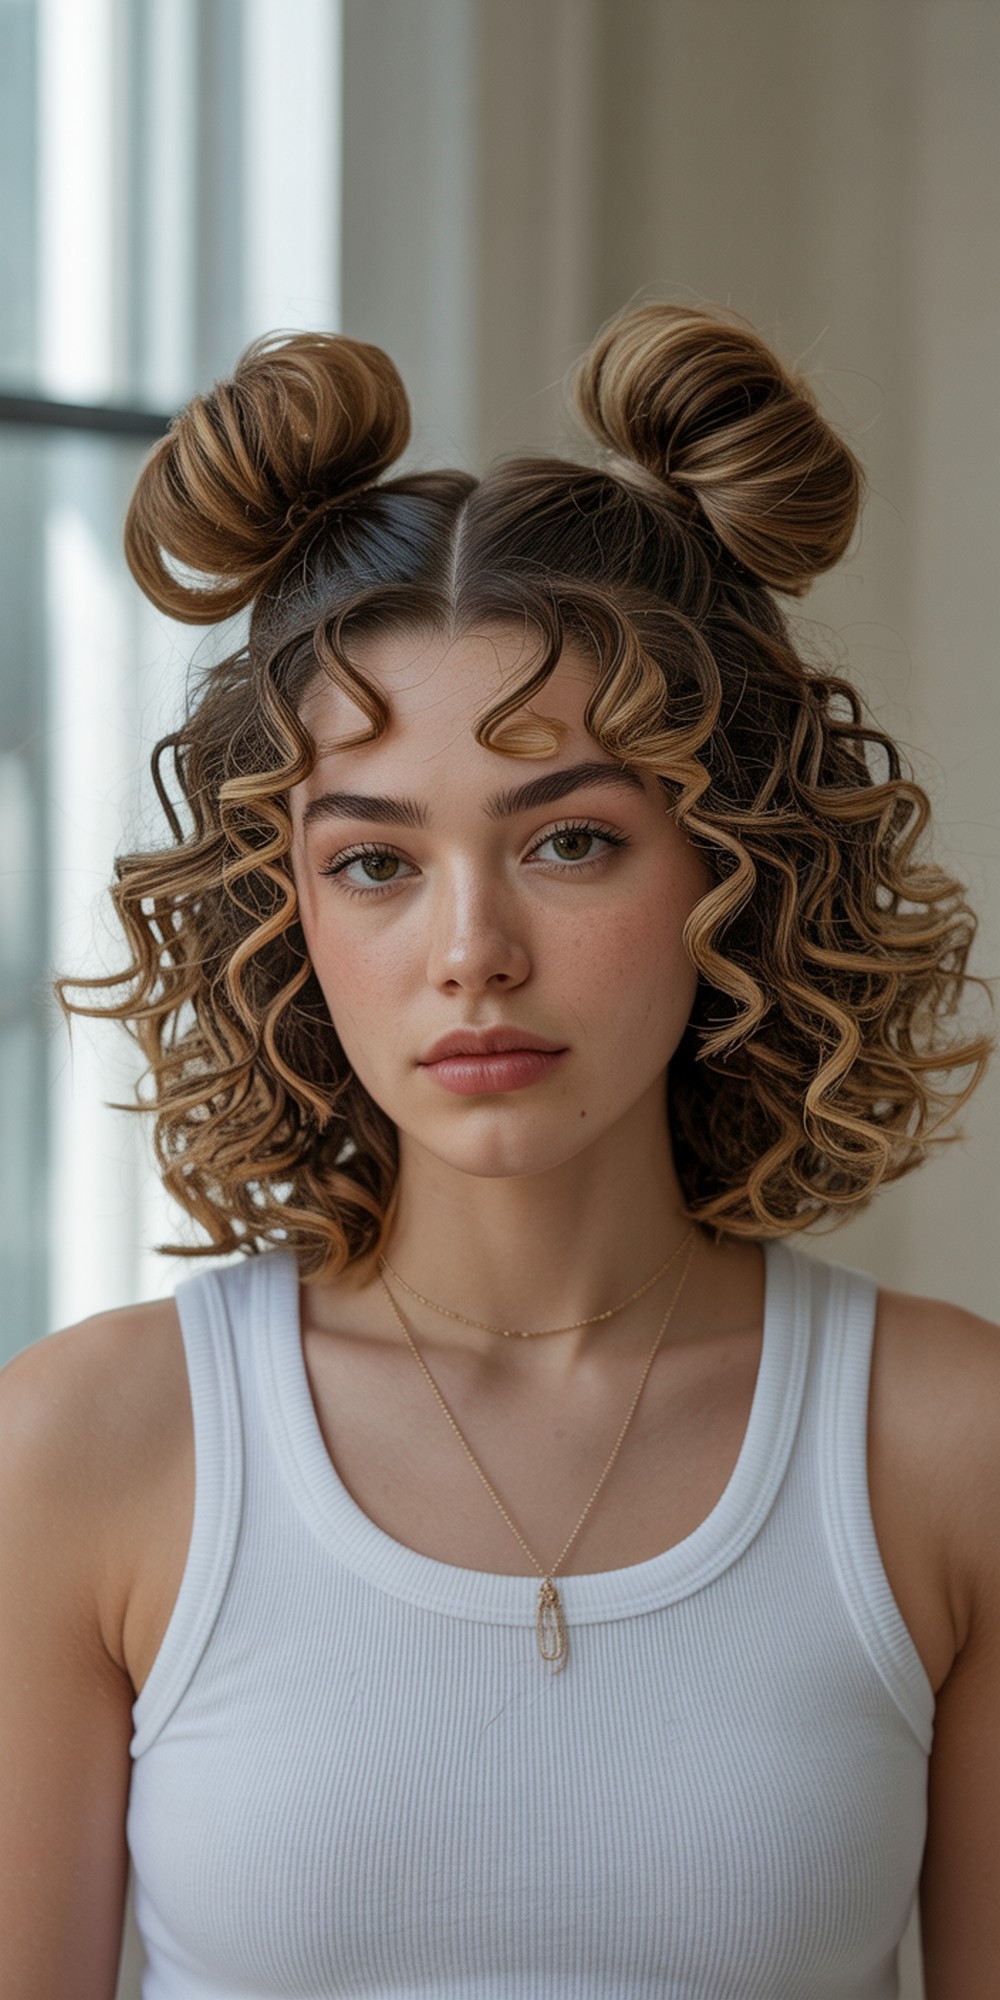
Two playful buns frame your face and show off springy texture. This balances long or oval faces and adds lift at the crown. Keep the part crisp and the buns fluffy for contrast. Great for festivals or off-duty days. Pro tip: twist each bun loosely and pin in an X pattern; over-tightening collapses curl definition and stresses the lace.
How To Style:
- Part center to nape; secure two high puffs.
- Twist each into a loose bun; pin.
- Pull a curl or two forward; set flyaways.
Best For: Oval, long, round; curly.
Tools & Products: Elastics, bobby pins, mousse, fine mist hairspray.
6. Low Curly Bun with Face Tendrils

A low bun at the nape reads elegant and protective. Leave two slender tendrils to soften cheekbones and hide any slight lace edge. Works for dinners, interviews, or formal events. Keep the bun coily and dimensional—don’t over-brush. Pro tip: coil the tail around two fingers first, then pin; the pre-coil keeps texture intact and prevents frizz.
How To Style:
- Gather low; smooth front with hot comb.
- Coil tail and wrap into bun; pin.
- Pull tendrils; scrunch a touch of foam.
- Mist lightly to set.
Best For: Square, heart, oval; curly/coily.
Tools & Products: Hot comb, pins, mousse, light hairspray, tail comb.
7. Wet Look Defined Curls

Glossy, separated curls feel modern and evening-ready. This technique relies on water, foam, and a little gel—not heavy oil. The result is high definition that spotlights your brown tones. Pro tip: brush through in wet sections to create clumps, then don’t touch until fully dry; break the cast only on the ends to keep shine up top.
How To Style:
- Saturate with water, apply foam section by section.
- Rake and brush to form clumps; add a light gel.
- Diffuse on low or air-dry completely.
- Scrunch out the cast on ends only.
Best For: Heart, oval; curly.
Tools & Products: Spray bottle, curl foam, light gel, diffuser, wide-tooth comb.
8. Big Layered Curly Volume

Go full, fluffy, and proud. Lift at the roots and pick out the halo for a soft, cloud-like shape that flatters square and heart faces. The key is root direction and gentle fluffing—not breaking curl clumps. Pro tip: use a hot comb to lay the first half inch, then pick only at the roots; keep mids/ends defined so the silhouette looks intentional, not frizzy.
How To Style:
- Press hairline flat; part slightly off-center.
- Diffuse upside down to build lift.
- Pick roots only; leave ends defined.
- Pat surface with a microfiber towel to de-poof.
Best For: Square, heart, round; curly/coily.
Tools & Products: Hot comb, diffuser, hair pick, mousse, microfiber towel.
9. Curly Bob with Flipped Ends
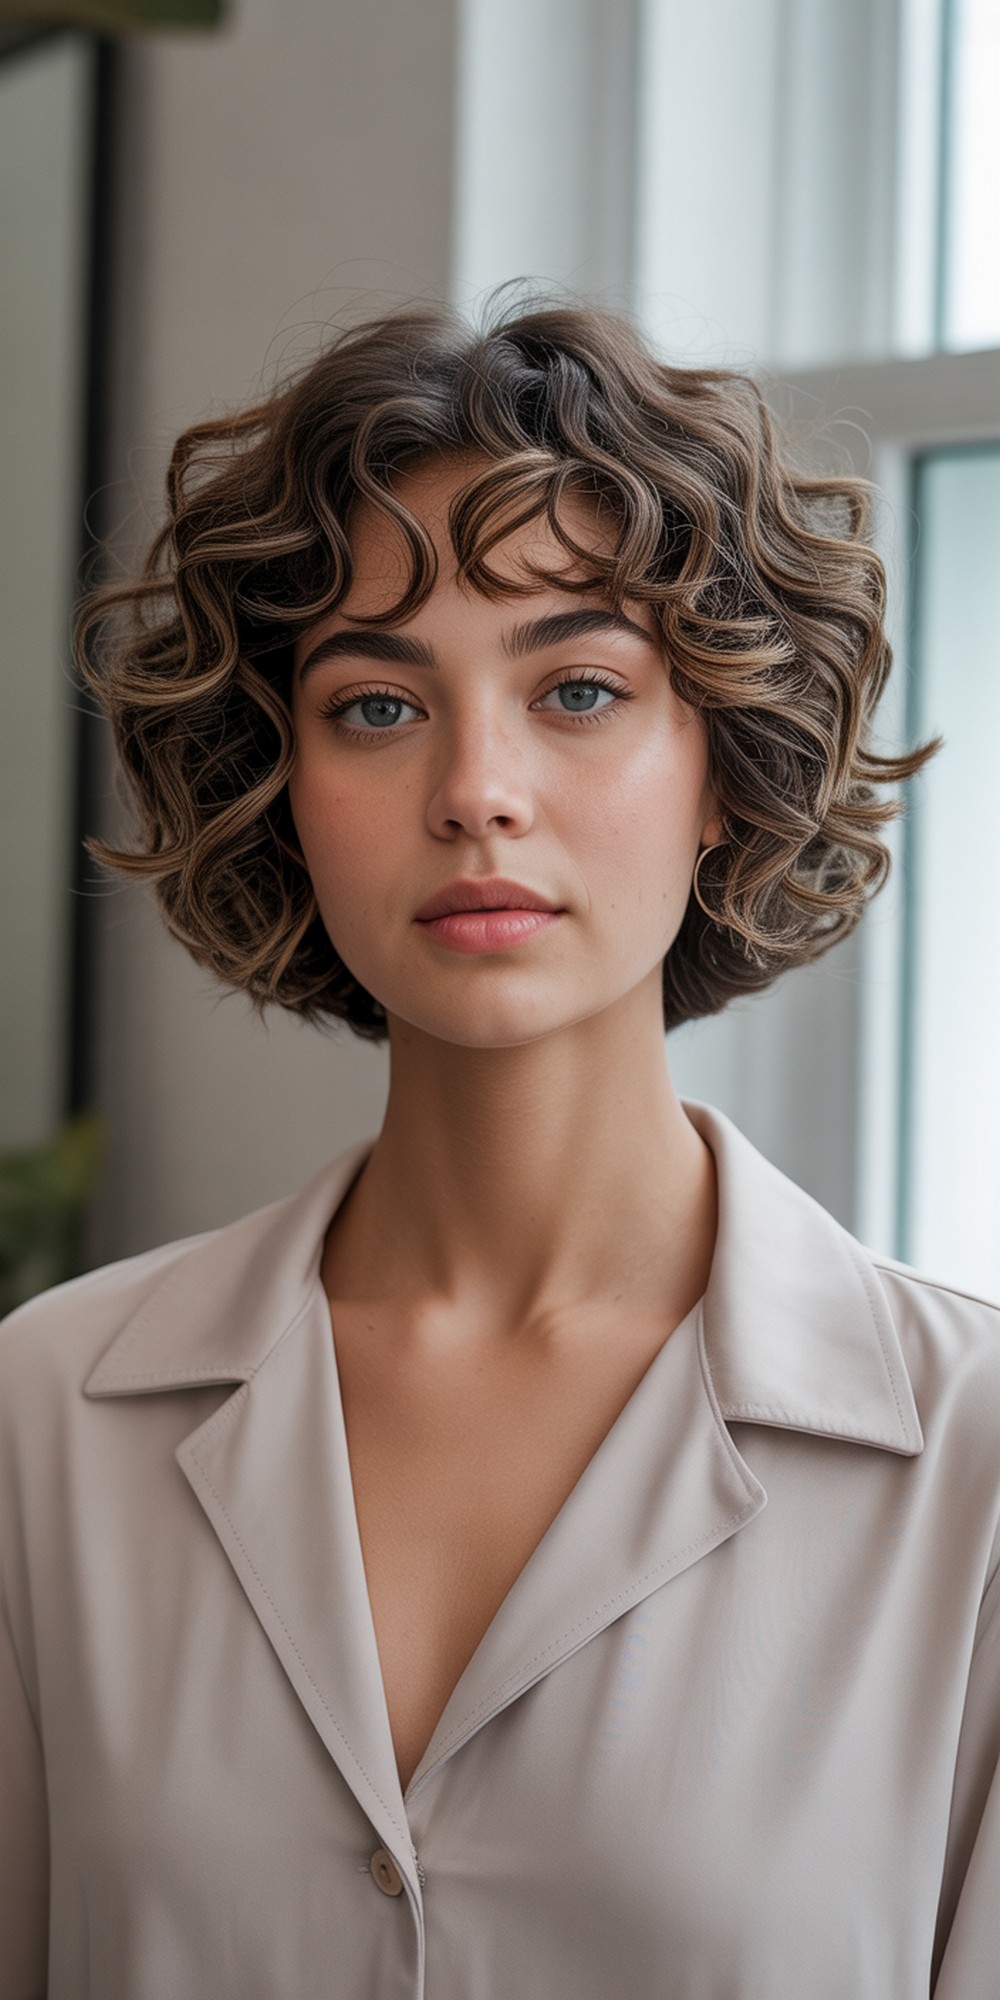
On shorter curly units, a subtle flip adds bounce and frames the jaw beautifully. It’s retro-fresh and easy to maintain. Keep the top smooth for contrast and let the flip start at the last inch. Pro tip: clamp a flat iron quickly at the tips only (human or heat-friendly fiber), or finger-shape while diffusing for zero-heat control.
How To Style:
- Create a soft side or center part.
- Define curls with foam; diffuse until almost dry.
- Flip ends outward with fingers or low heat.
- Tuck one side and pin if needed.
Best For: Round, oval; wavy/curly.
Tools & Products: Foam/mousse, diffuser, flat iron (if allowed), pins, tail comb.
10. Braided Headband with Curls

A slim braid across the hairline hides lace and adds delicate detail. It’s a quick switch that upgrades day looks. Braid a small section just behind the hairline so the start/finish is hidden. Pro tip: mist with water first for clean grip, then stretch the braid gently to widen it without frizz.
How To Style:
- Part slightly off-center; take a small temple section.
- Braid and secure with a tiny elastic.
- Lay it across the front; pin behind the opposite ear.
- Fluff curls around it.
Best For: Heart, round; curly/wavy.
Tools & Products: Small elastics, bobby pins, water mist, tail comb, mousse.
11. Scarfed Top Knot + Loose Curls

Wrap a slim scarf around a top knot while leaving the rest of the curls free. The scarf adds color and covers any seam without touching the lace line. This balances long faces by drawing eyes upward. Pro tip: fold the scarf narrow, tie at the back of the knot, and tuck the ends under for a clean finish.
How To Style:
- Section top quarter; twist into a knot and pin.
- Tie scarf around the knot; tuck ends.
- Refresh loose curls with foam; shake out.
- Smooth the hairline lightly.
Best For: Long, oval; curly.
Tools & Products: Scarf, pins, mousse, edge brush.
12. Half Up Rope Braid Waterfall
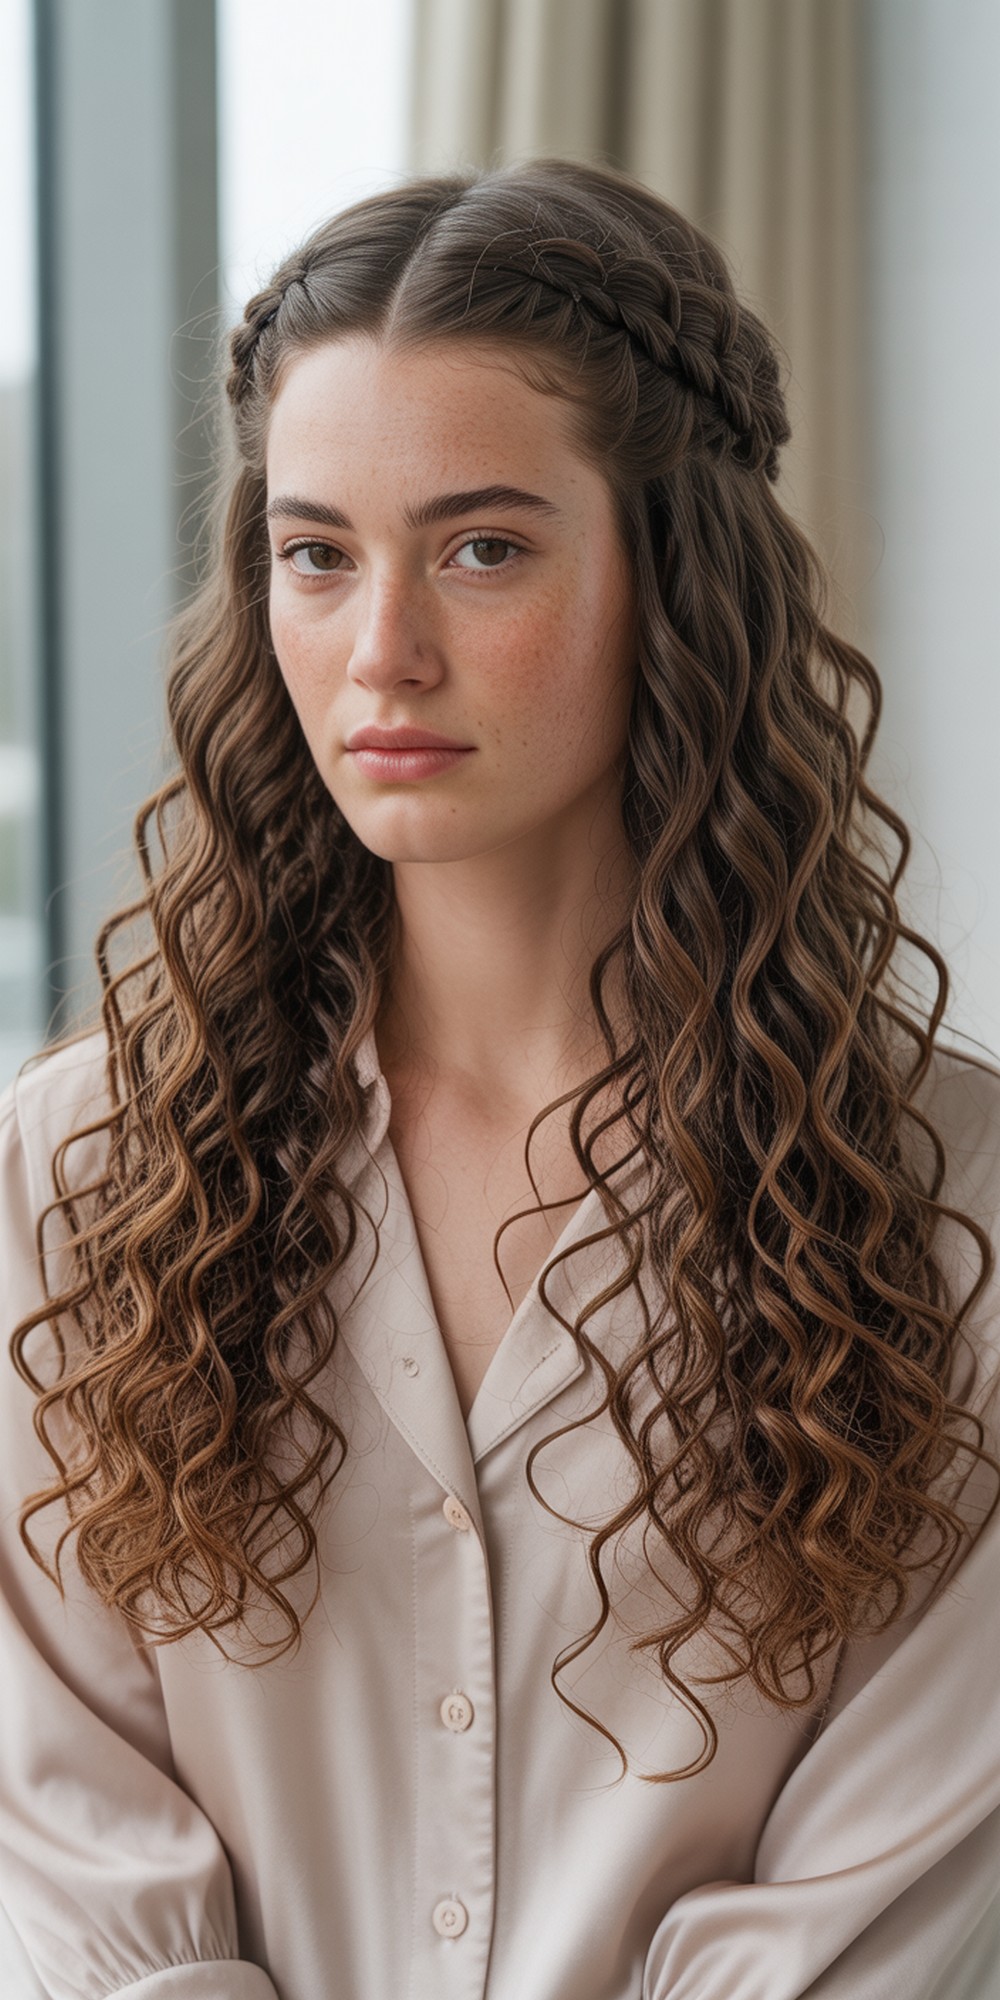
A rope braid laid ear-to-ear gives soft structure while curls spill underneath. It’s romantic without feeling fussy. Twist both strands in the same direction, then wrap them the opposite way so the rope locks. Pro tip: angle the braid slightly upward for a gentle lift at the crown that flatters round faces.
How To Style:
- Take a horseshoe section on top; split in two.
- Twist each strand, wrap together, and pin at back.
- Gently pancake the rope for width.
- Mist to set; fluff the lengths.
Best For: Round, heart; curly/wavy.
Tools & Products: Clips, bobby pins, light hairspray, tail comb.
13. Side Swept Curls with Clips

Sweep everything to one side and secure with two minimalist clips stacked above the ear. The off-balance shape slims the jaw and shows off the brown tones against skin. Keep the opposite side airy for contrast. Pro tip: place the first clip to anchor, then angle the second slightly upward to keep the sweep lifted all day.
How To Style:
- Part deep to one side; sweep hair over.
- Insert two clips above the ear.
- Scrunch foam into ends; let dry.
- Tuck and pin any loose wefts.
Best For: Square, round, heart; curly.
Tools & Products: Hair clips, mousse, pins, tail comb.
14. Curly Claw Clip French Twist
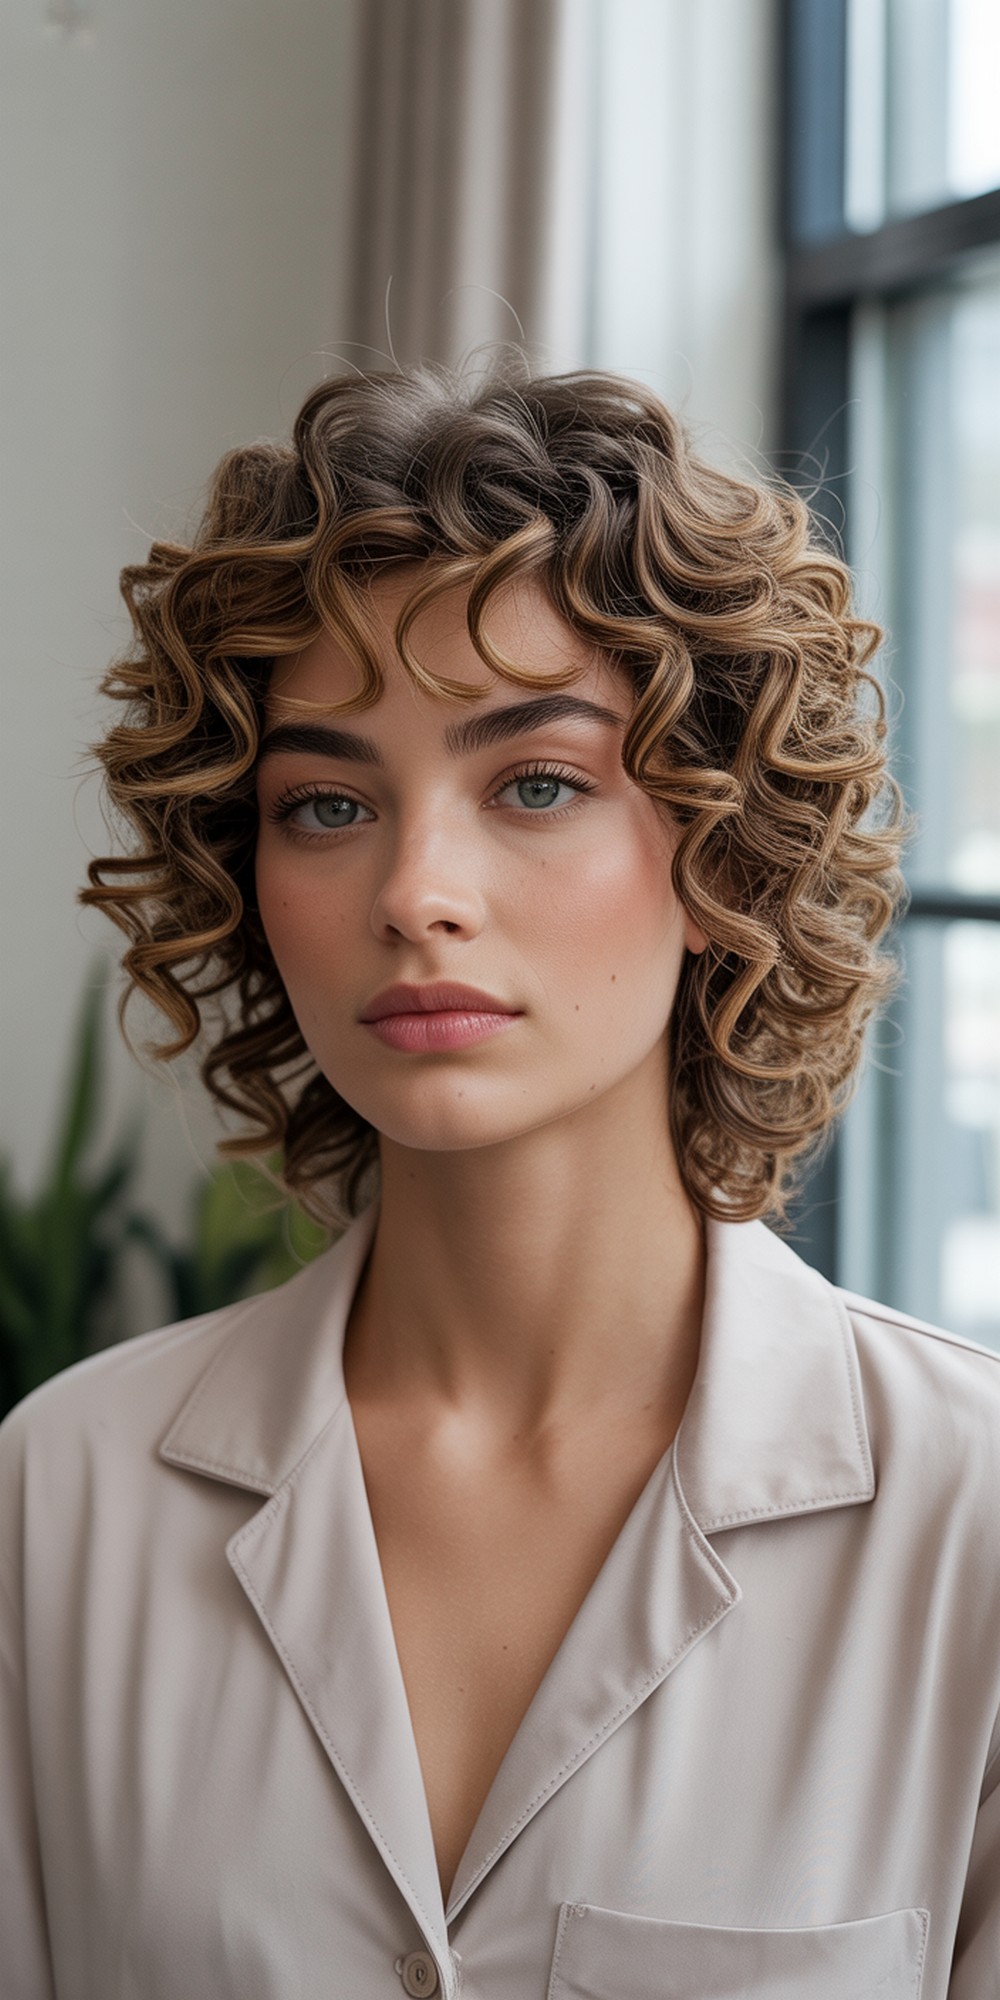
A modern twist with curls spilling out feels effortless and protective. Twist upward at the back and secure with a medium claw clip, leaving the ends to fan. This elongates the neck and flatters square faces. Pro tip: mist a little water and foam first so curls coil together and the fan looks intentional.
How To Style:
- Gather hair mid-back; twist upward.
- Clip to secure; let ends spill out.
- Pull a face tendril; smooth flyaways.
- Seal with a light mist.
Best For: Square, oval; wavy/curly.
Tools & Products: Claw clip, water spray, foam, light hairspray.
15. High Puff with Melted Headband
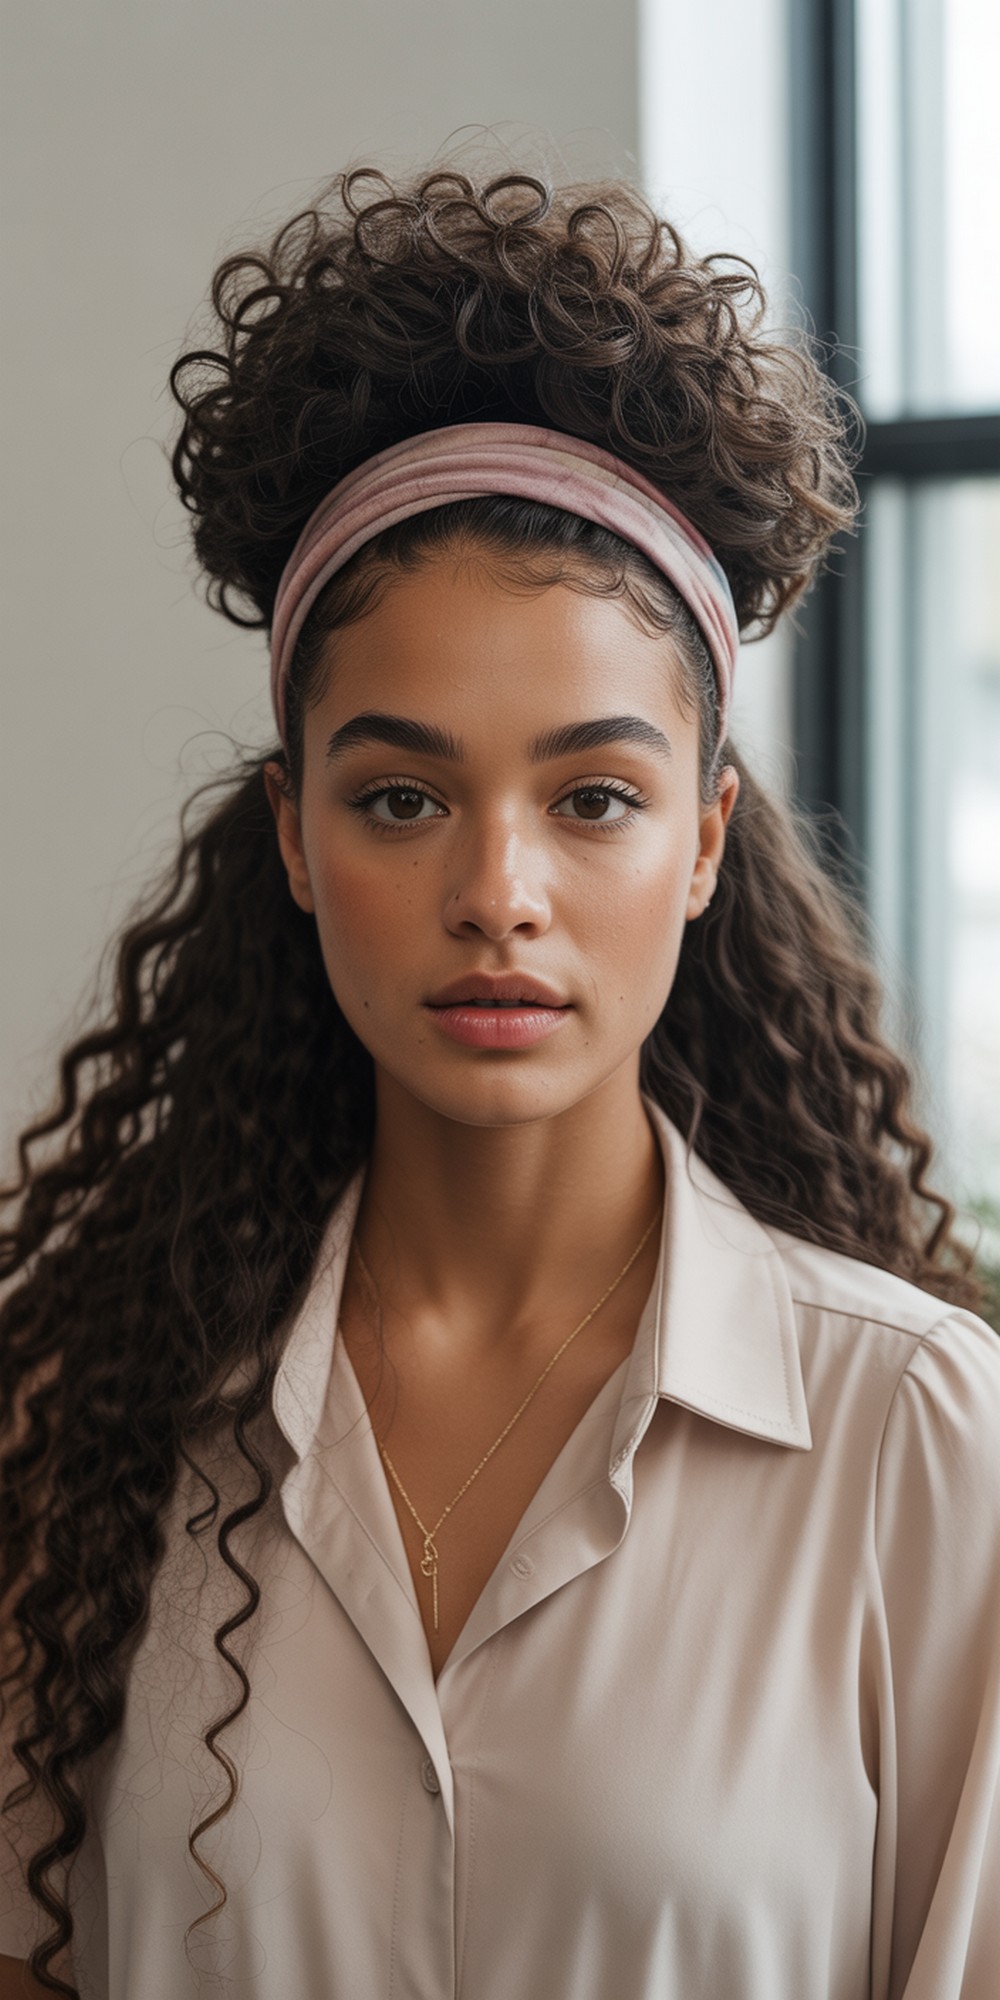
A wide, soft headband protects your melt while lifting curls into a proud puff. Great for workouts, travel, or hot days. Choose a neutral band to keep it polished. Pro tip: place the band just behind the lace, not on it; secure the puff loosely so curls stay buoyant, not crushed.
How To Style:
- Slide headband behind hairline; adjust.
- Gather curls high; tie loosely.
- Fluff the puff; smooth edges lightly.
- Refresh with water + foam as needed.
Best For: Round, heart; curly/coily.
Tools & Products: Soft headband, elastic, water mist, curl foam, edge brush.
Final Thoughts
Curly lace fronts are versatile once your base is smooth and your melt is set. Rotate these styles through the week, refreshing curls with water and foam, and protecting the hairline with an elastic band when needed. Keep heat low, favor diffusing, and store your unit on a stand. With a small kit—rat-tail comb, hot comb, mousse, pins, and a headband—you’ll look polished fast.
CTA — Tell me your wig length, density, and whether it’s human or heat-friendly synthetic, and I’ll build you a 7-day styling plan with exact steps and a compact tools checklist.
FAQs
1) How do I get a clean lace melt on curly wigs?
Clean skin, thin layers of adhesive or gel, and firm pressure with an elastic band make the difference. Set for a few minutes, tap down with a rat-tail comb, then remove residue before styling.
2) Can I use heat on a curly lace front?
Human hair handles low-to-moderate heat; synthetic requires “heat-friendly” labeling. Always use heat protectant, diffuse on low, and favor foam/mousse, water, and scrunching to keep curls springy.
3) How do I reduce frizz without flattening curls?
Work a small amount of mousse or curl foam, then scrunch. Once dry, glaze a pea of lightweight oil over the surface without raking through the curl clumps.
4) What’s the safest workout style?
Secure with a high or mid pony or puff and a wide, soft headband to protect the lace. Afterward, air out the wig cap and refresh curls with water and foam.
5) How often should I restyle?
Refresh curls as needed with water and mousse; deep restyles are best after gentle detangling on damp hair. Store on a stand, and sleep in a bonnet or satin bag.