14 Winter 2025/26 Haircuts for Women 60+
Winter air is dry, collars are high, and hats are non-negotiable—so your haircut should be warm, practical, and easy to refresh after you take a beanie off. This list brings together 14 winter-ready haircut ideas for women 60+ that boost volume, soften lines, and sit neatly against scarves and coats. You’ll find low-maintenance bobs, confidence-building pixies, softly feathered shags, and polished lobs with gentle movement.
Each idea includes quick styling steps, the face shapes it flatters (think oval, round, heart, or long), and which hair types it suits—straight, wavy, or curly—so you can pick what feels like you. Tools are simple: a round brush, a light mousse or cream, heat protectant, and a dryer or diffuser. Tips focus on combating static, keeping ends supple, and creating soft lift at the crown for fullness that lasts through chilly days. Whether you want a tidy neck-hugging cut for coat weather or a shoulder-grazing shape that still slips under a hat, these ideas are practical, modern, and doable at home with minimal fuss.
Quick List
- Soft Layered Bob with Side Sweep
- Neck-Hugging Stacked Bob
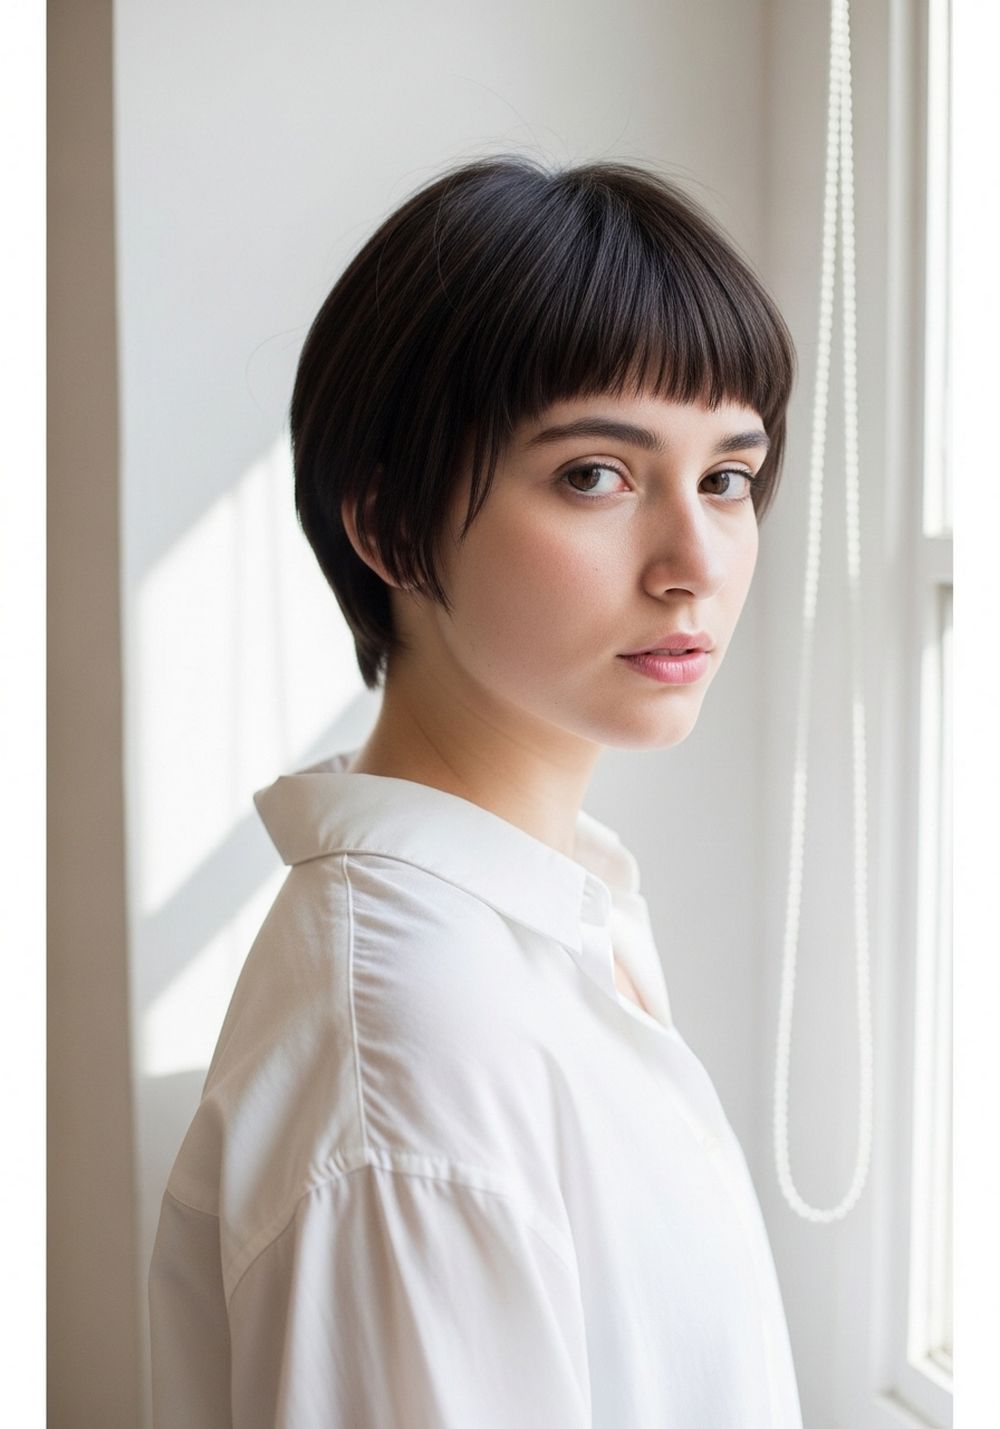
- Long Pixie with Soft Fringe
- Collarbone Lob with Tucked Ends
- Gentle Shag at Shoulder Length
- Polished Pageboy Revival
- Curly Mid-Length with Face-Framing Layers
- Sleek Chin Bob with Micro Lift
- Pixie-Bob Hybrid (Bixie) with Volume Crown
- Feathered Bob with Curtain Bangs
- Textured Crop with Side Part
- Rounded Bob with Inward Bend
- Mid-Length Blunt Cut with Soft Edge
- Ear-Length Crop with Tapered Nape
1. Soft Layered Bob with Side Sweep

A softly layered bob sits right at the jawline and skims the cheeks for instant lift. The side-swept front disguises fine lines and adds a gentle diagonal that slims the face. In winter, this length tucks into collars without puffing out, and the layers re-inflate easily after a hat. It’s polished for dinners, warm for walks, and quick to refresh with a round brush. Keep ends slightly beveled to avoid static-stick. If your hair is fine, a light mousse gives airy bounce; if it’s thick, a touch of smoothing cream keeps it sleek. The overall vibe: neat, youthful, and low-maintenance with soft movement—not stiff.
How To Style
- Apply heat protectant + light mousse.
- Blow-dry with a round brush, lifting at the crown.
- Sweep the front section to one side; bevel ends inward.
- Finish with a pea-size cream on tips.
Best For — Oval, heart; straight or wavy hair.
Tools & Products — Round brush, heat protectant, light mousse, smoothing cream, hairdryer.
2. Neck Hugging Stacked Bob

This tidy bob curves into the nape with short stacked layers that build volume while keeping your neck warm. The clean back sits smoothly against scarves and coats, so it never bunches. Front pieces are slightly longer for softness around the jaw. It’s a great choice if you like a structured shape that still looks feminine. After hat hair, a quick finger shake restores lift thanks to the internal layering. Wear it sleek for the office or softly bended for weekends. Keep ends moisturized to prevent winter frizz.
How To Style
- Work in heat protectant and lightweight volumizing spray.
- Blow-dry, directing hair down the back of the head for a snug nape.
- Use a round brush to add crown lift; bend front pieces slightly.
- Smooth flyaways with cream.
Best For — Round, oval; straight or wavy hair.
Tools & Products — Vent brush, round brush, heat protectant, volumizing spray, dryer.
3. Long Pixie with Soft Fringe

A long pixie keeps ears cozy with slightly longer sides and a wispy fringe that grazes the brows. Crown layers add height, opening the face and balancing glasses beautifully. It’s ultra-fast to style, ideal for cold mornings. The soft fringe peeks from under hats without separating into pieces. Use a tiny dab of paste for texture, or smooth it for a neater look. This cut reads modern but gentle—nothing severe.
How To Style
- Apply heat protectant and a touch of lightweight cream.
- Blow-dry forward on top, lifting the crown.
- Rake fringe into place; pinch ends with a dot of paste.
Best For — Heart, oval; straight or wavy hair.
Tools & Products — Small round brush, heat protectant, light cream, texture paste, dryer.
4. Collarbone Lob with Tucked Ends

A collarbone lob gives coverage without feeling heavy. Ends are slightly tucked under for a neat line that resists static and sits nicely over sweater necklines. The length still fits under a beanie, and once it’s off, a quick brush returns the curve. Wear a side part for softness or a middle part for balance. It’s versatile for holiday events and everyday errands. Keep a light serum handy for shine.
How To Style
- Heat protectant + smoothing serum on mid-lengths to ends.
- Blow-dry with a round brush, turning ends inward.
- Set part; tap a cool blast to lock curve.
- Comb through with a wide-tooth comb.
Best For — Oval, long; straight or wavy hair.
Tools & Products — Round brush, heat protectant, smoothing serum, wide-tooth comb, dryer.
5. Gentle Shag at Shoulder Length

A soft shag brings piecey layers and light fringe for movement without bulk. It’s wonderful for winter because the layers create airiness that revives quickly after you remove a hat. The shoulder length keeps warmth while avoiding heavy ends. Scrunch in mousse for daytime texture; smooth for evenings. The shag’s feathery edges soften jawlines and necklines, adding liveliness to fine hair.
How To Style
- Apply heat protectant and light mousse.
- Diffuse or blow-dry, scrunching through mid-lengths.
- Define the fringe with your fingers; twist a few ends.
- Finish with a touchable hold spray.
Best For — Heart, round; wavy or straight hair.
Tools & Products — Diffuser or dryer, heat protectant, light mousse, flexible-hold spray.
6. Polished Pageboy Revival
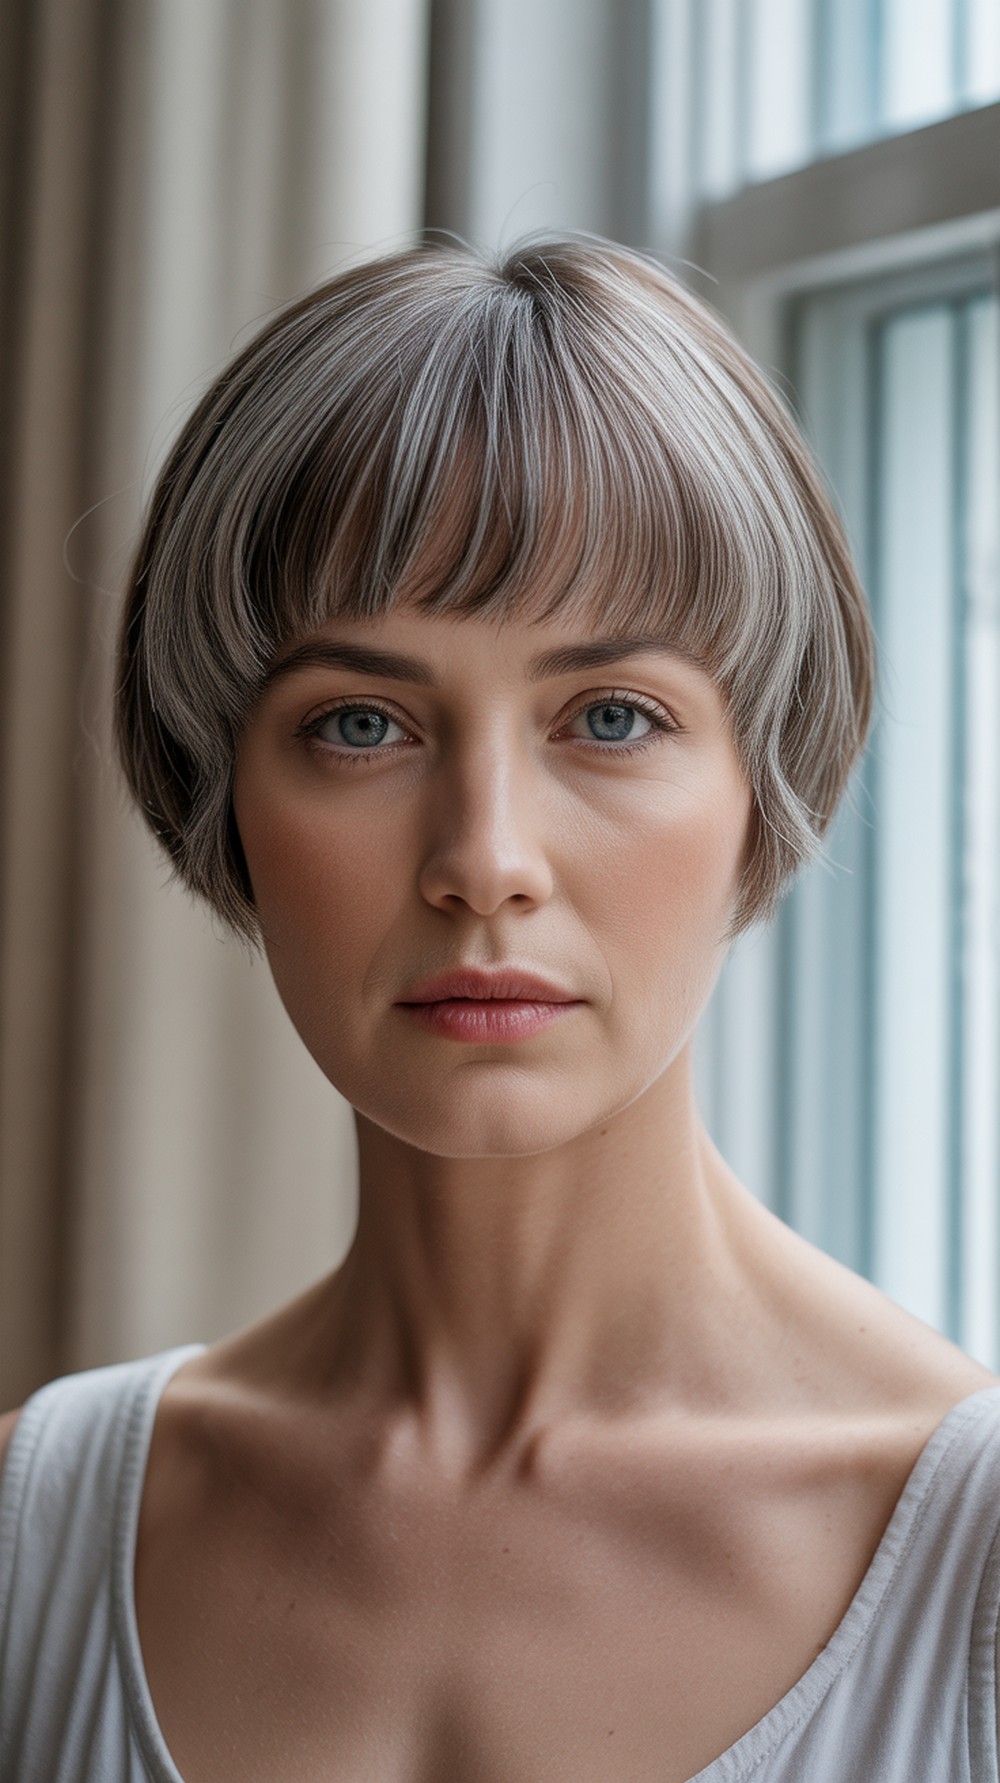
The modern pageboy is sleek with a soft bevel and a tidy fringe that skims the brows. It frames the eyes, covers the forehead from winter winds, and slides cleanly over coat collars. Today’s version is more fluid than sharp—think silky movement, not strict lines. It looks elegant with glasses and shines at holiday dinners. Keep the fringe feathered so it grows softly.
How To Style
- Use heat protectant and smoothing cream.
- Blow-dry flat with a paddle brush, then bevel ends slightly.
- Lightly curve the fringe under; cool-shot to set.
- Smooth the surface with a comb.
Best For — Oval, long; straight hair.
Tools & Products — Paddle brush, round brush, heat protectant, smoothing cream, dryer.
7. Curly Mid Length with Face Framing Layers

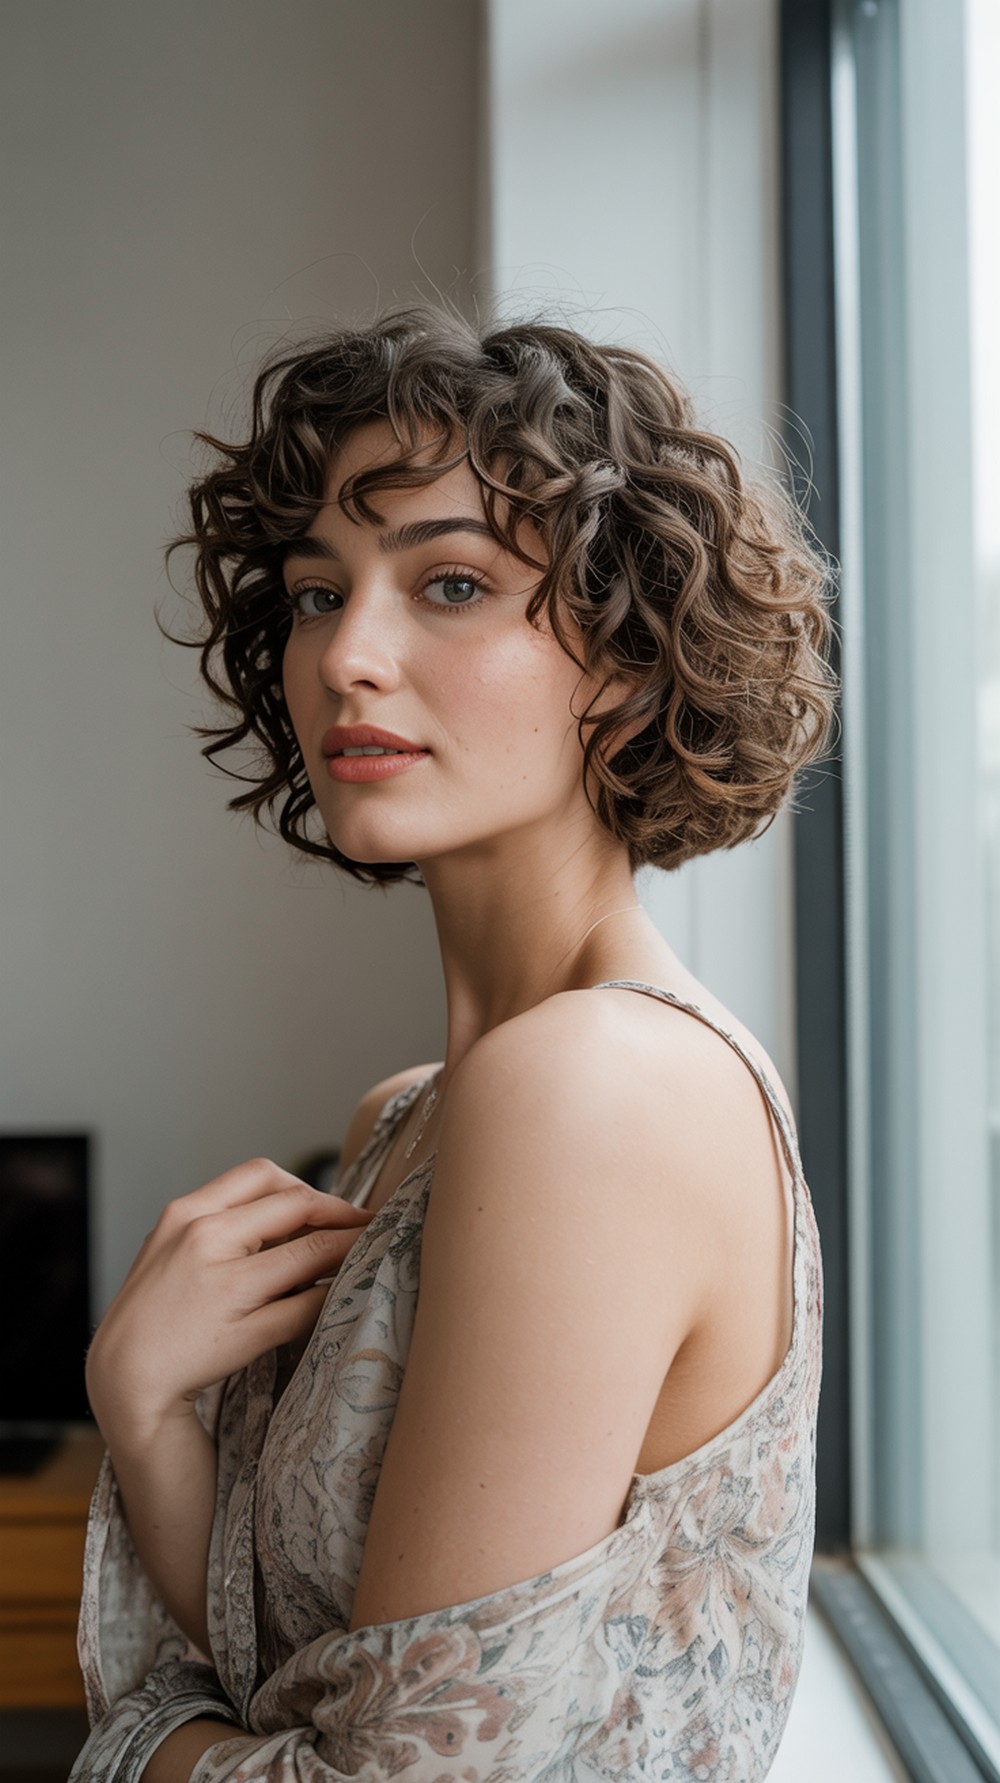
For natural curls, a mid-length cut with face-framing layers keeps definition while preventing winter triangle-shape. The layering removes weight near the cheeks and adds gentle bounce. A diffuser sets curls that hold up under hats; a few scrunches bring them back to life. Avoid heavy creams—go for lightweight gels that keep softness. This length still covers the neck for warmth and looks festive with scarves.
How To Style
- Apply leave-in and heat protectant.
- Rake in lightweight curl gel.
- Diffuse on low, lifting at the roots.
- Scrunch out any cast; seal ends with a drop of oil.
Best For — Round, heart; curly or wavy hair.
Tools & Products — Wide-tooth comb, diffuser, heat protectant, lightweight curl gel, light hair oil.
8. Sleek Chin Bob with Micro Lift

A chin-length bob with barely-there layering at the crown creates subtle height and a refined line along the jaw. It’s brilliant for winter because it sits above collars and won’t flip up against coats. The micro lift keeps the style from falling flat after a hat. Tuck one side for a tidy look or wear both sides down for symmetry.
How To Style
- Apply heat protectant and a small amount of volumizing spray at roots.
- Blow-dry with a round brush, lifting only at the crown.
- Smooth lengths with a paddle brush; set your part.
- Finish with light serum on ends.
Best For — Oval, square; straight hair.
Tools & Products — Round brush, paddle brush, heat protectant, volumizing spray, serum.
9. Pixie Bob Hybrid (Bixie) with Volume Crown
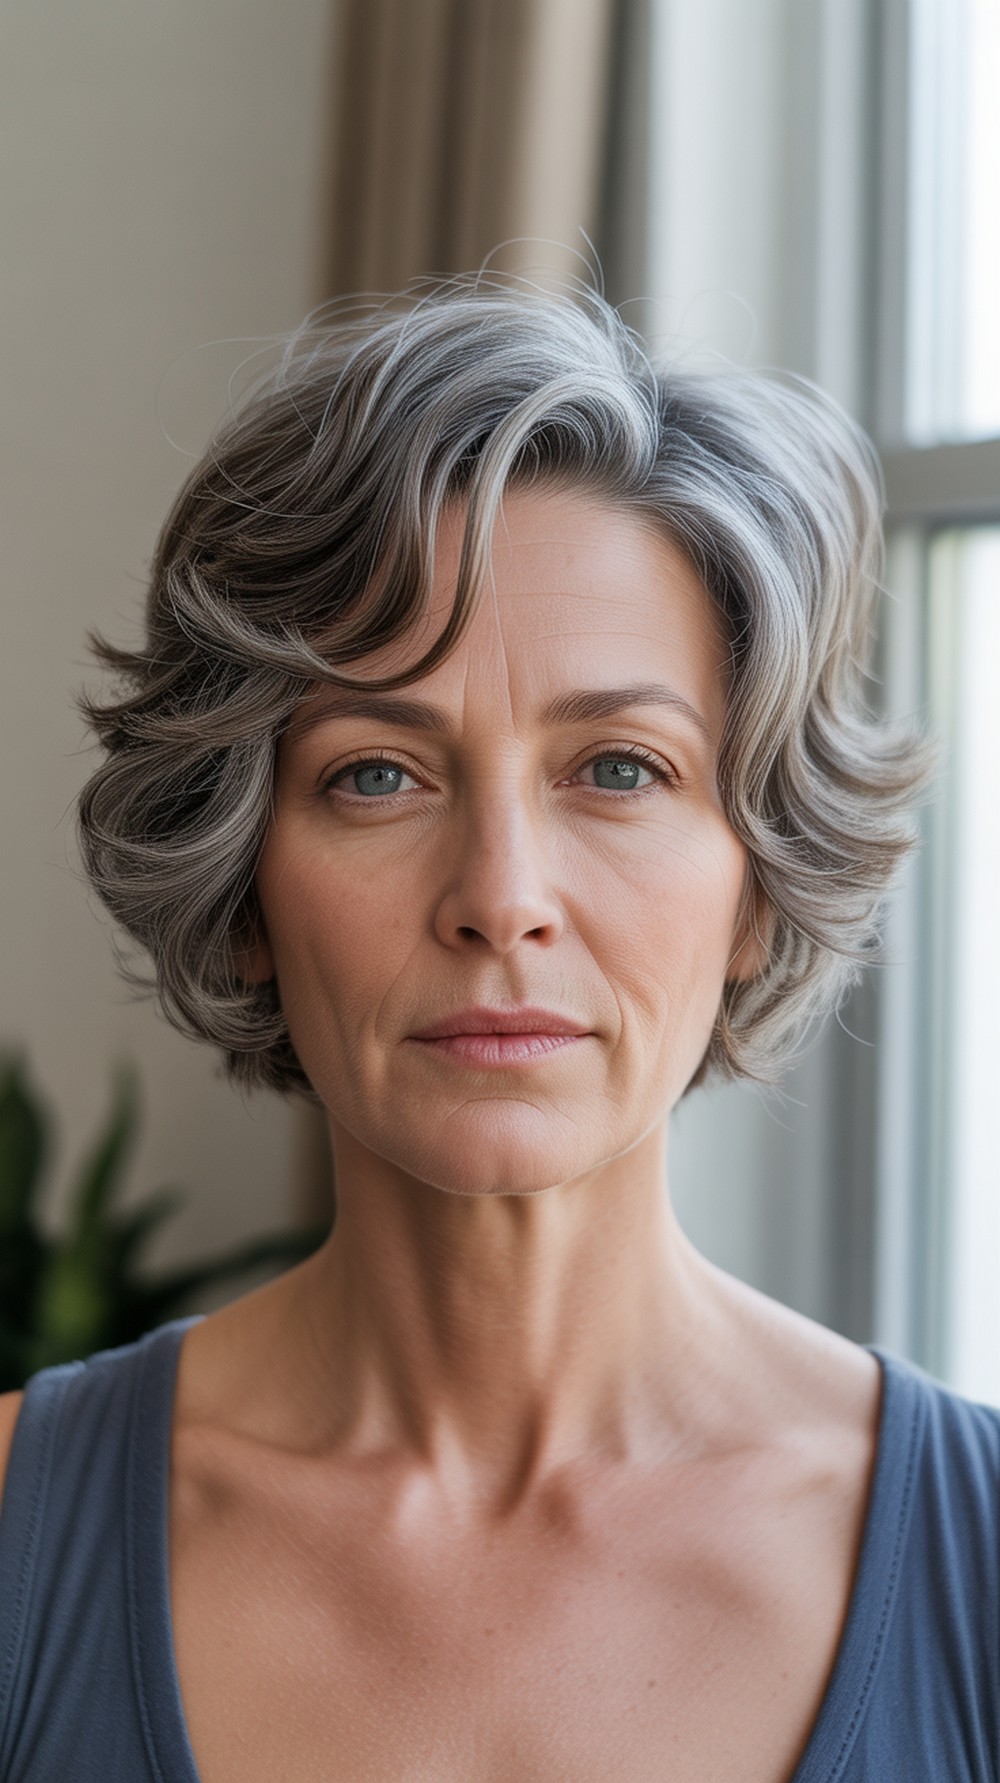
The bixie mixes pixie ease with bob softness. Short layers in back add crown height, while longer top pieces give feminine movement. It’s hat-friendly: flip it forward for a playful look or sweep it back for polish. The nape stays snug for warmth, and the shape grows out gracefully. A touch of mousse delivers airy lift without stiffness.
How To Style
- Work in heat protectant and light mousse.
- Blow-dry, lifting at crown with fingers.
- Sweep top forward or back; pinch ends for texture.
Best For — Heart, oval; straight or wavy hair.
Tools & Products — Vent brush, heat protectant, light mousse, texture paste, dryer.
10. Feathered Bob with Curtain Bangs
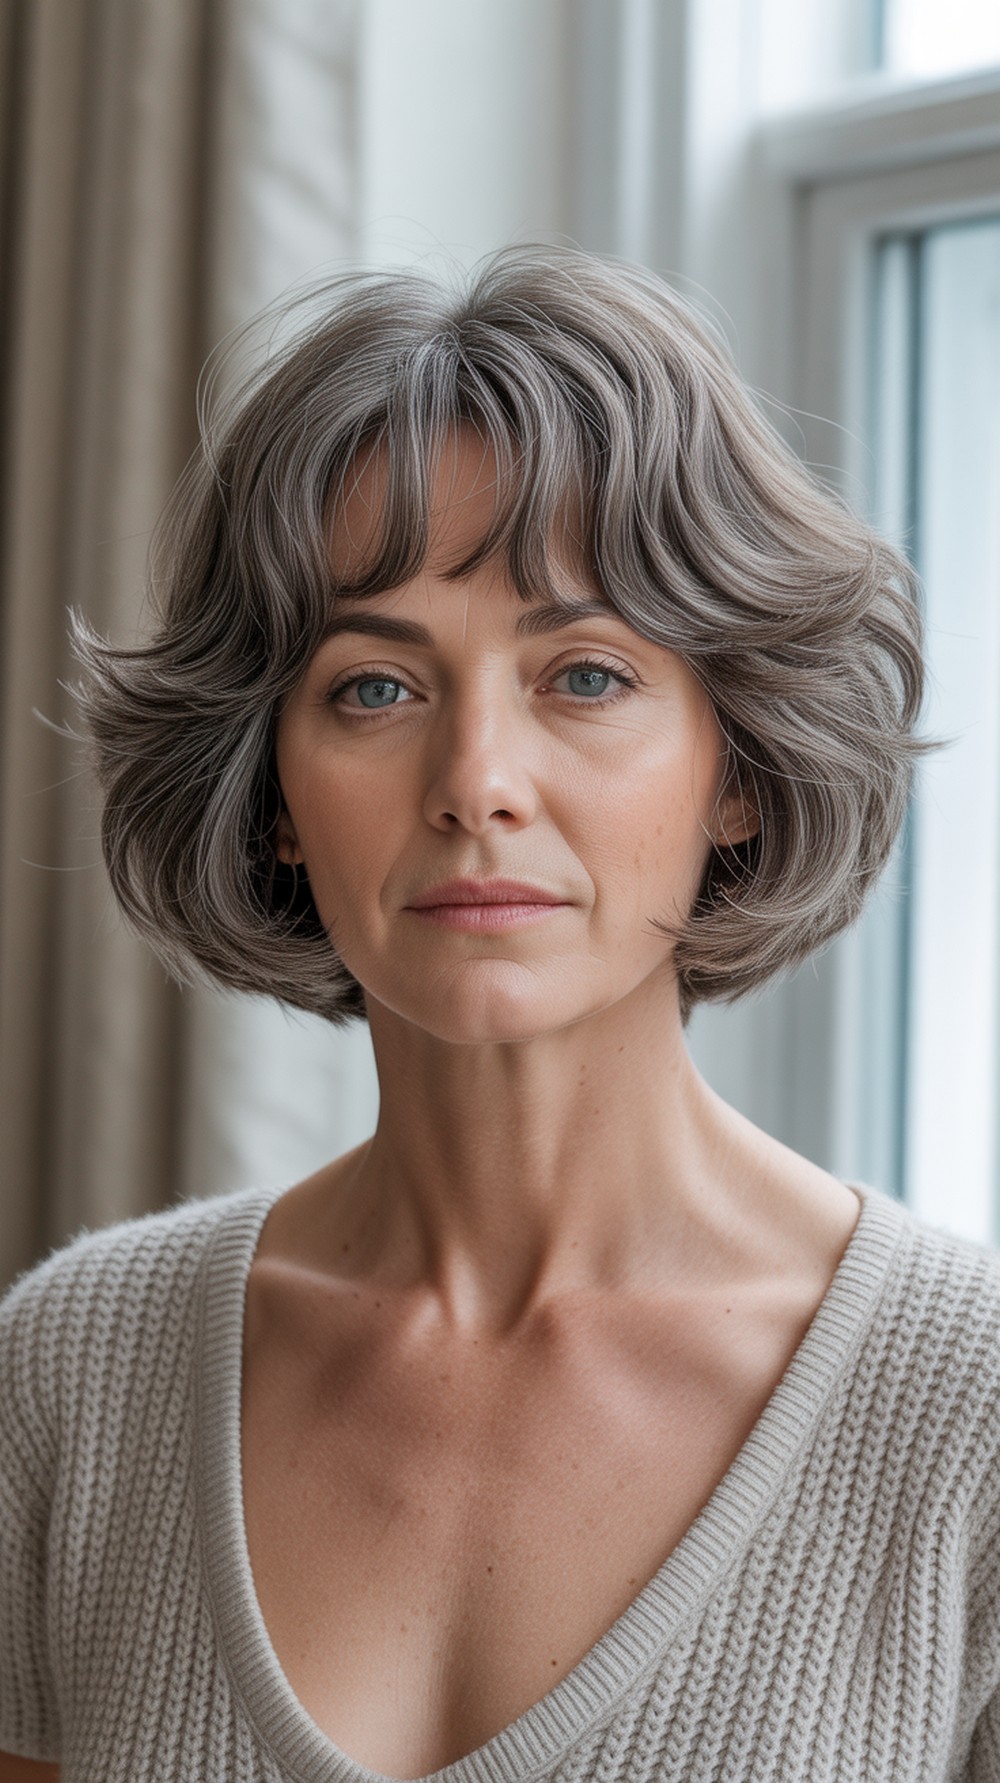
Curtain bangs softly frame the eyes and blend into feathered layers that move even in dry air. This bob sits between jaw and shoulder, offering warmth and easy styling. The split fringe grows out kindly and suits glasses. After wearing a hat, shake at the roots and smooth the front with your fingers.
How To Style
- Apply heat protectant and lightweight styling cream.
- Blow-dry bangs away from the face using a small round brush.
- Dry the rest with a larger round brush, turning ends under.
- Tousle lightly; mist flexible spray.
Best For — Oval, round; straight or wavy hair.
Tools & Products — Two round brushes (small/large), heat protectant, light cream, flexible spray.
11. Textured Crop with Side Part
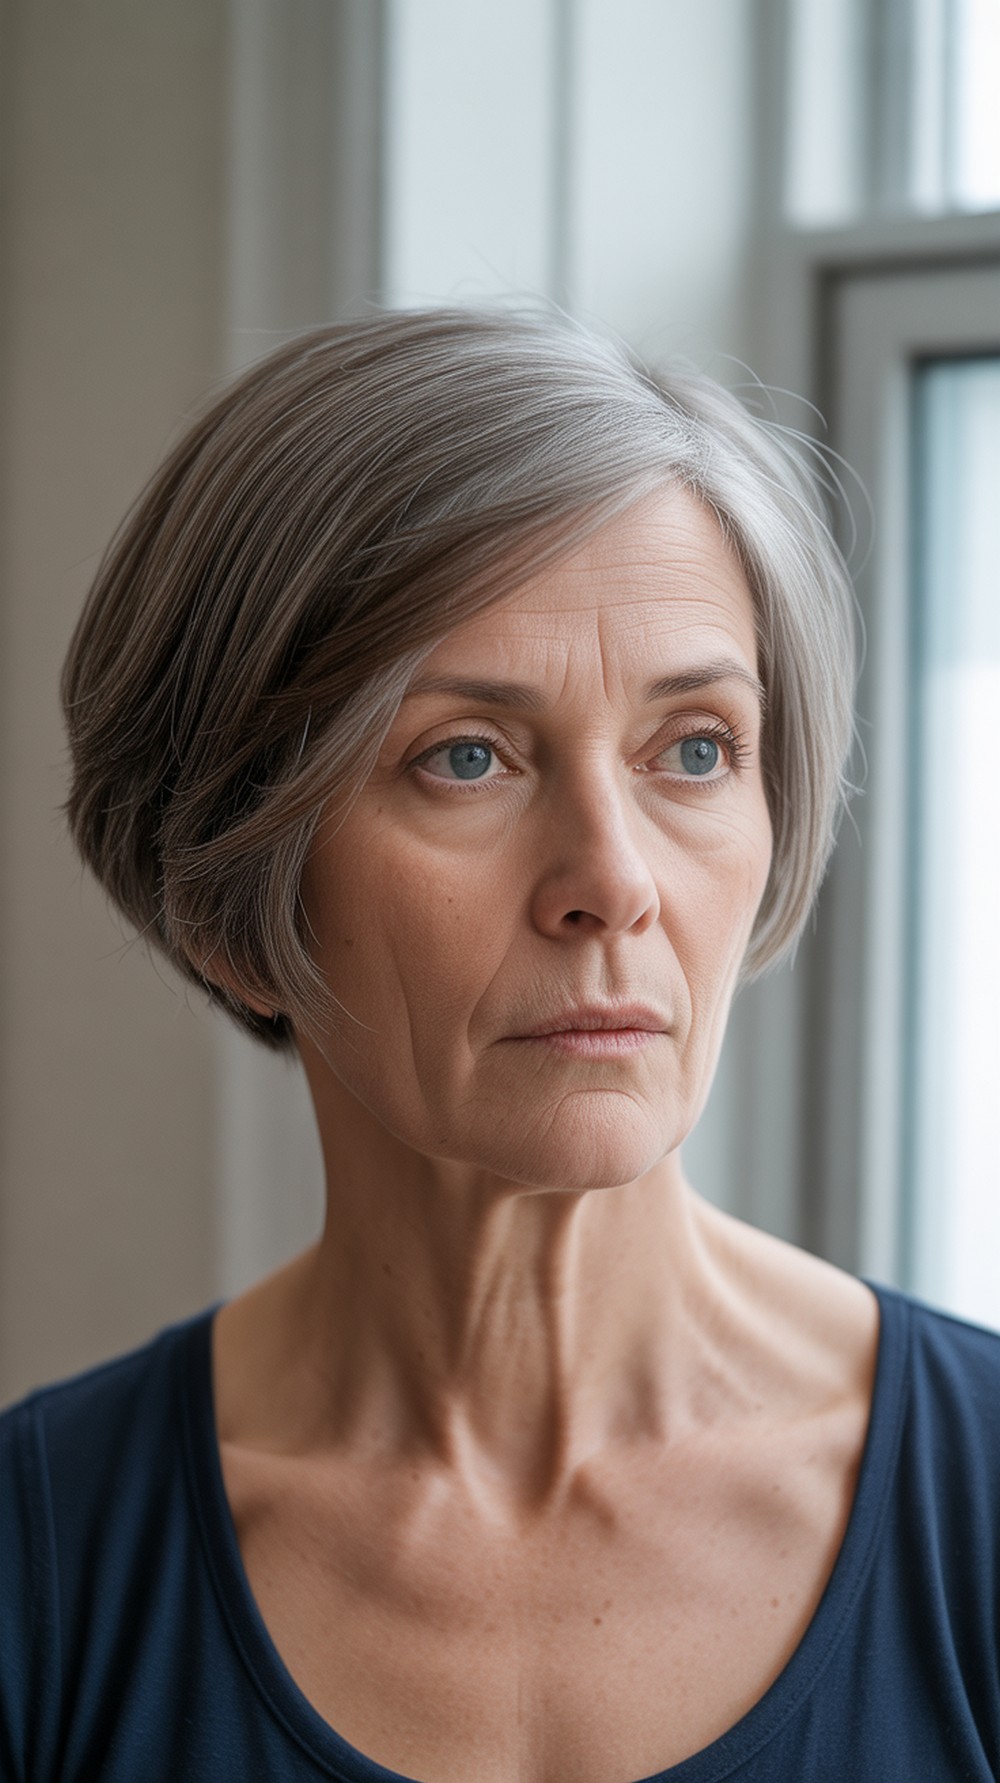
A short textured crop with a defined side part gives instant structure and volume. The airy layers are easy to lift after a hat, and the side part creates a flattering sweep across the forehead. Keep the edges soft so it never looks harsh. This is a fast, confident cut that pairs well with chunky knits and scarves.
How To Style
- Towel-dry; add heat protectant and volumizing foam.
- Blow-dry, directing hair opposite your natural part for lift.
- Flip to your chosen side; pinch texture at the ends.
Best For — Round, heart; straight or wavy hair.
Tools & Products — Vent brush, heat protectant, volumizing foam, light paste, dryer.
12. Rounded Bob with Inward Bend

A rounded bob curves in at the ends for a soft, polished shape that hugs the face and keeps the nape warm. It’s sleek but not severe, perfect for winter outings and family photos. The inward bend resists flyaways and looks neat after coats come off.
How To Style
- Heat protectant + smoothing lotion.
- Blow-dry with a round brush, lifting roots slightly and turning ends inward.
- Use a cool shot to set the curve.
- Comb surface smooth.
Best For — Oval, long; straight hair.
Tools & Products — Round brush, fine comb, heat protectant, smoothing lotion, dryer.
13. Mid Length Blunt Cut with Soft Edge
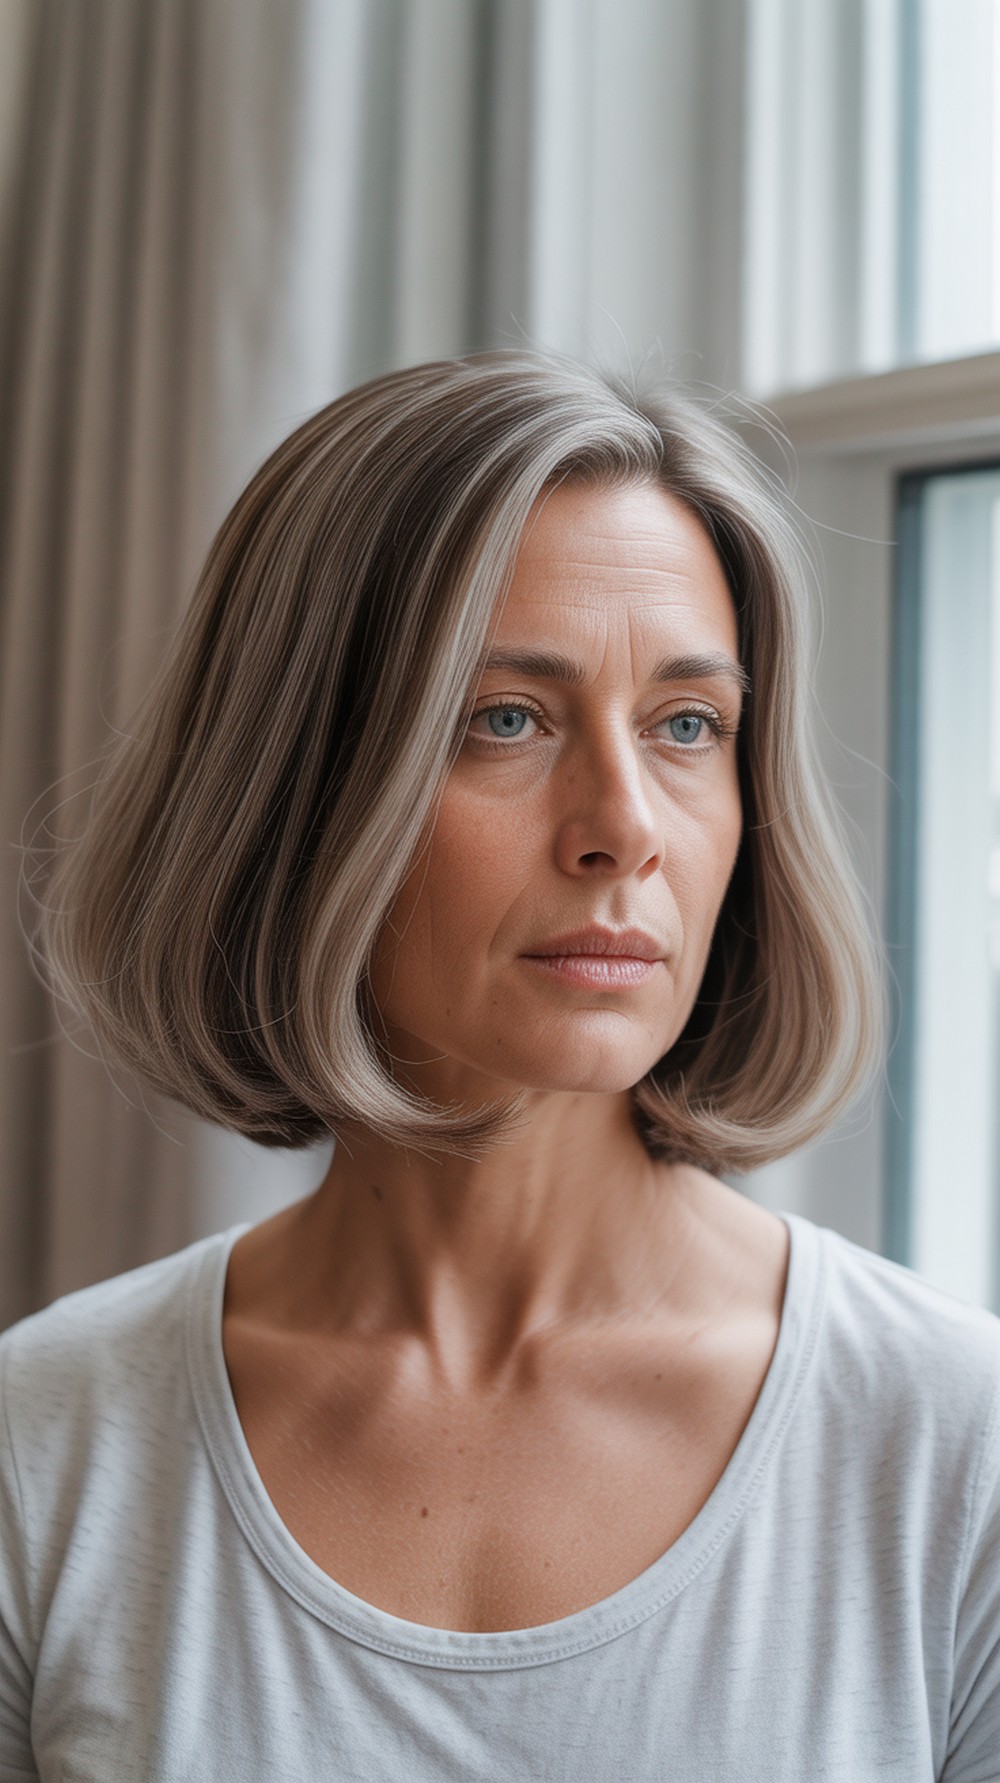
This cut hits just past the shoulders with a blunt baseline for fullness and lightly softened tips for movement. It looks thick without heavy layering—great for fine hair in dry months. The length slips under hats and still frames the face when you take them off. Add a side part for lift or keep it center-parted for balance.
How To Style
- Apply heat protectant and light mousse.
- Blow-dry smooth with a paddle brush.
- Bend the last inch under with a round brush.
- Add a drop of serum to ends.
Best For — Square, oval; straight or wavy hair.
Tools & Products — Paddle brush, round brush, heat protectant, light mousse, serum.
14. Ear Length Crop with Tapered Nape
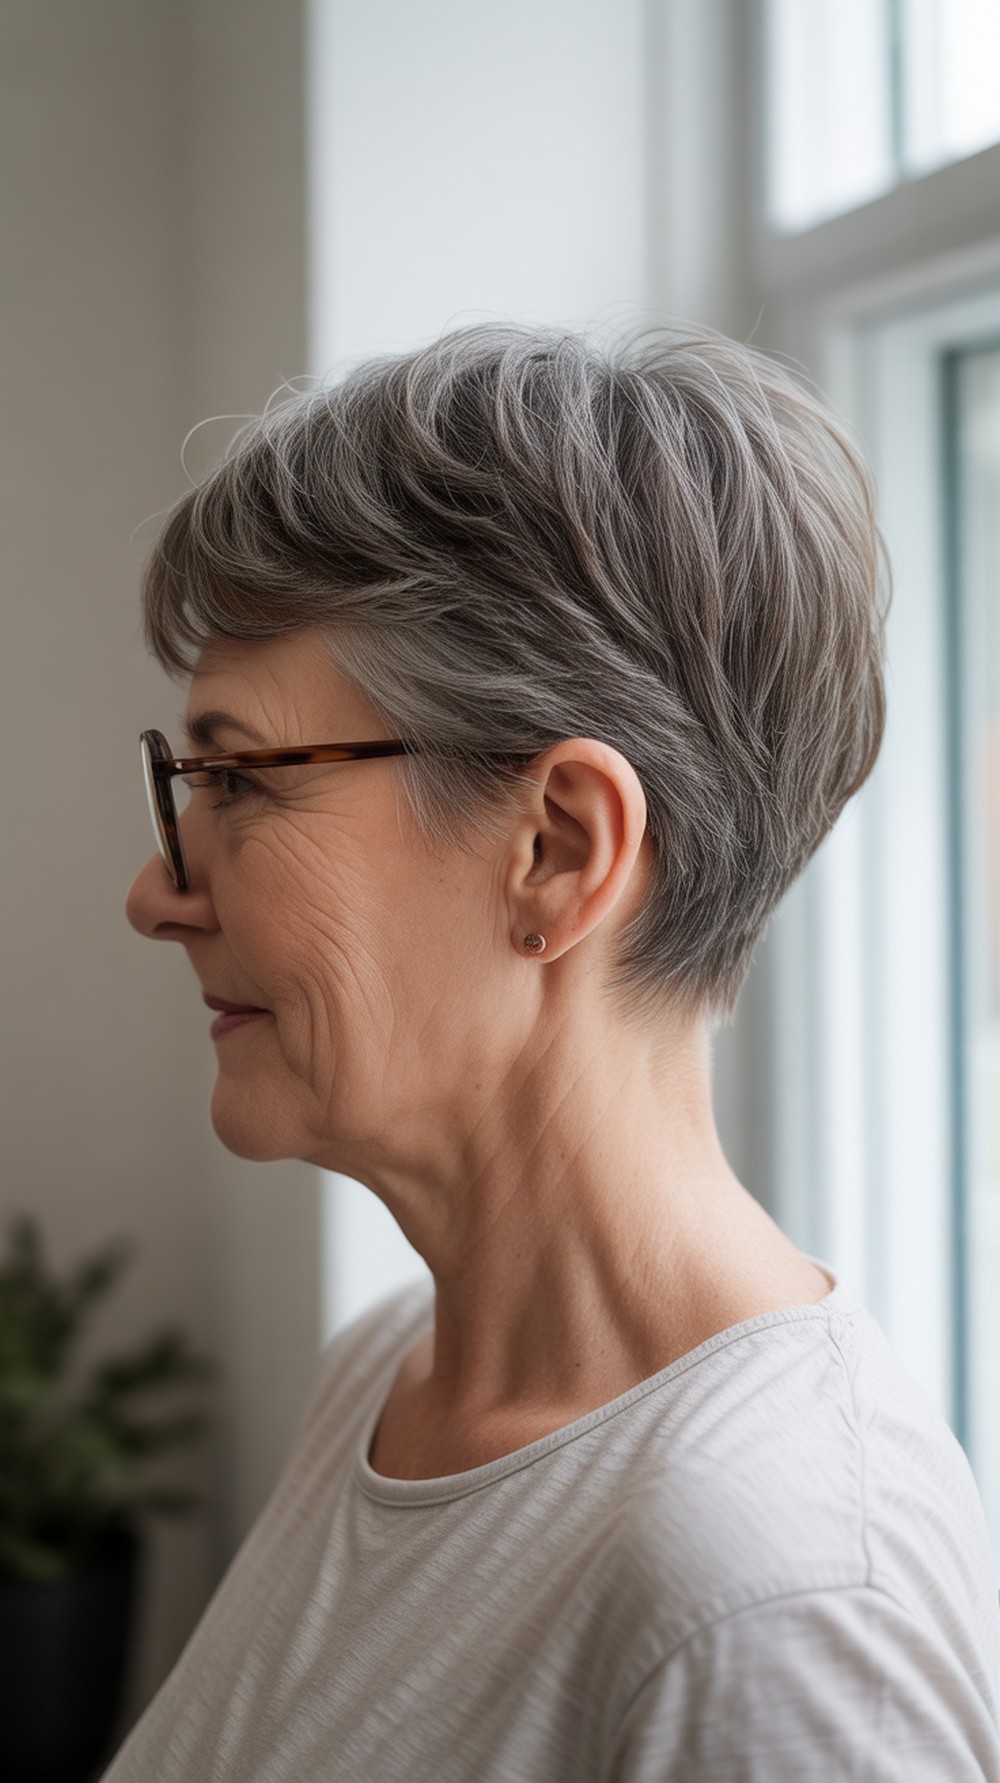
An ear-length crop is crisp and comfortable under winter layers. The tapered nape feels warm, while slightly longer top pieces add softness. It styles in minutes and gives glasses room at the temples. Wear it tousled for daytime energy or smooth for evenings. Keep edges neat with regular quick trims.
How To Style
- Work in heat protectant and a small amount of styling cream.
- Blow-dry forward on top; refine with fingers.
- Tap in a tiny bit of paste at the crown for lift.
Best For — Heart, oval; straight or wavy hair.
Tools & Products — Small round brush, heat protectant, light cream, texture paste, dryer.
Conclusion
Winter cuts should be warm, simple, and easy to revive after hats, not high-maintenance. Choose the shape that supports your daily layers—coats, scarves, and sweaters—then keep products light so hair moves. Bring one photo you love to your appointment and ask for soft edges and crown lift. A quick trim every 6–8 weeks maintains ease, shine, and shape through the season.
CTA
Ready to pick one? Tell me your hair type, face shape, and how much time you like to style—I’ll tailor two or three of these cuts to fit you perfectly.
FAQs
1) What haircuts add winter volume without heavy styling?
Layered bobs, bixies, and long pixies create built-in lift. Ask for soft layers at the crown and light texturizing so a quick blow-dry restores shape after hats.
2) How can I avoid static and flyaways?
Use a pea-size smoothing cream on dry ends and switch to a microfiber towel. A light mist of leave-in conditioner before blow-drying helps reduce static in cold air.
3) Are bangs a good idea for winter?
Yes—soft fringes hide forehead lines and peek nicely under hats. Keep them feathered and slightly longer at the edges so they blend when the weather flattens them.
4) What if my neck gets cold with short hair?
Choose neck-hugging shapes like stacked or rounded bobs. They cover the nape and still fit comfortably under scarves without bunching.
5) How often should I trim in winter?
Every 6–8 weeks keeps ends from drying and splitting. Shorter cuts may need a tidy-up at 4–6 weeks to maintain shape and easy styling.