15 Winter Kids Hairstyles – Twin Braided Buns + Bows
Cold mornings need fast, cute hair that stays neat under hats and scarves. This list gives you 15 kid-friendly ways to wear twin braided buns with polka dot bows—high, low, tucked, and hat-proof. You’ll find options for straight, wavy, curly, and coily hair, plus small tweaks for thickness, frizz, and tender scalps. Round and heart faces suit higher buns with soft face-framing pieces; oval and long faces love low buns and centered parts. Prep is simple: mist detangler, add a pea of leave-in or curl cream, and smooth edges with a soft brush. For winter static, finish with a drop of lightweight oil on ends and use snag-free elastics. Each idea includes quick steps, what it suits best, and basic tools—so school runs, holiday concerts, and family photos all feel easier, warmer, and way cuter.
Quick List
- Low Dutch Braided Earmuff Buns
- High Rope-Braid Space Buns
- Cozy Hat-Gap Twin Buns
- Heart-Part Polka Dot Buns
- Twisted Milkmaid Twin Buns
- Bubble-Braid to Mini Buns
- Criss-Cross French Buns
- Side-Sweep Twin Buns with Bangs
- Boxer Braid Twin Buns
- Ribbon-Wrapped Twin Buns
- Curly Puff Braided Buns
- Tucked Coil Twin Buns
- Half-Up Twin Mini Buns
- Scarf-Safe Nape Buns
- Party Bow Glitter-Dust Buns
Low Dutch Braided Earmuff Buns

Think warm and secure. Two Dutch braids run from the front hairline down to just behind each ear, finishing in neat low buns that sit where earmuffs or ear-warmers won’t disturb them. The look is tidy for school, perfect under hooded coats, and comfy for kids who dislike hair on their cheeks. Pro tip: angle the braids slightly inward toward the nape so the buns nestle under hat height and don’t press against collars.
How To Style
Center part; Dutch braid each side to behind the ear; secure; twist ends into buns; pin; clip small polka dot bows on top.
Best For
Round, heart; straight, wavy, or curly.
Tools & Products
Detangler; tail comb; clear elastics; bobby pins; light oil.
High Rope Braid Space Buns
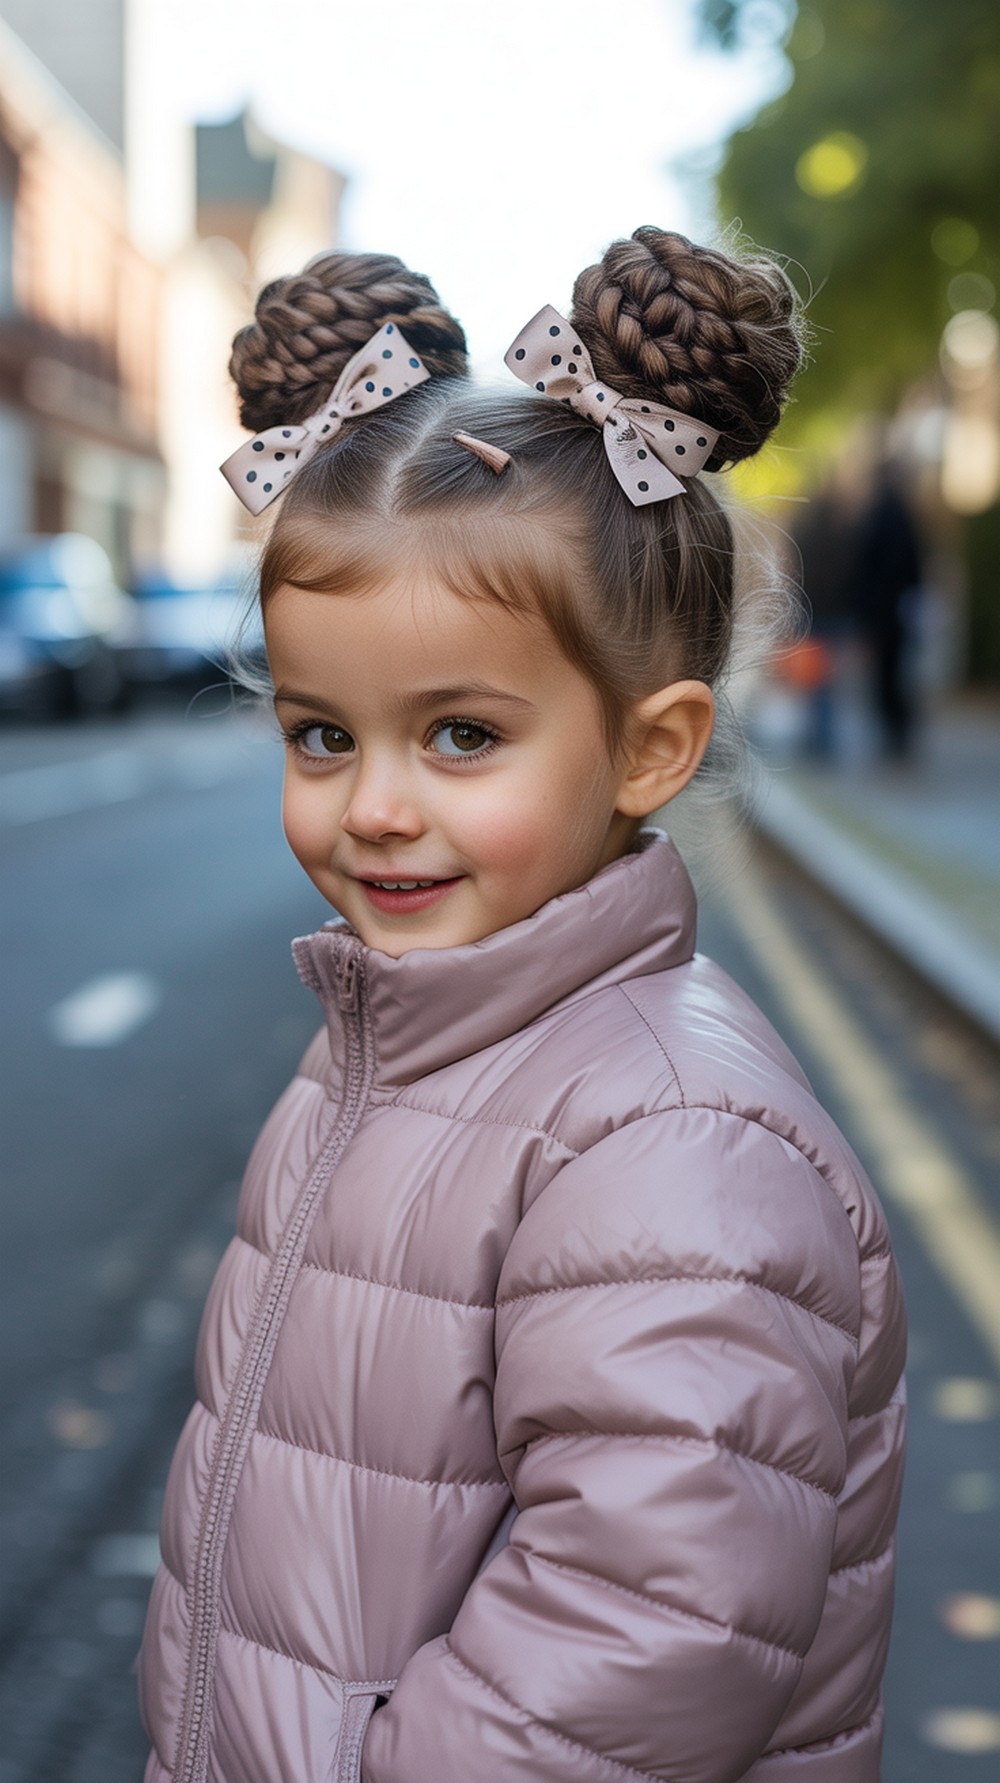
Playful and quick. Rope braids (two-strand twists) spiral into top-of-head buns for a cartoon-cute finish that still wears well under a roomy beanie. The twist texture grips, so fewer pins are needed. Pro tip: mist hands with a touch of water + leave-in as you twist to keep fuzz down in dry winter air.
How To Style
Create high pigtails; twist each into a rope; coil into buns; secure; clip polka dot bows at the front of each bun.
Best For
Oval, long; straight or wavy, medium to thick.
Tools & Products
Brush; elastics; light leave-in; flexible hairspray.
Cozy Hat Gap Twin Buns

Designed to sit just below the beanie edge, these buns avoid hat friction. The result: no hat hair at school drop-off. Bows peek out when the hat lifts, making photos adorable. Pro tip: try a soft zigzag part to disguise regrowth and add volume when the hat comes off.
How To Style
Mark hat line; place low pigtails beneath it; braid each tail; coil into buns; add small bows; slide on hat to confirm placement.
Best For
Round, square; straight or wavy.
Tools & Products
Comb; elastics; pins; smoothing cream.
Heart Part Polka Dot Buns

A shaped part ups the cute factor for winter birthdays and class parties. A heart part at the crown feeds two braids into medium buns. The bow spots echo the heart theme without feeling fussy. Pro tip: trace the heart with a tail comb and hold the “outline” with a thin gel line so it stays crisp all day.
How To Style
Section a heart at crown; clip away; braid each side downward; secure into buns; position bows at outer corners.
Best For
Heart, oval; straight or wavy.
Tools & Products
Tail comb; sectioning clips; light gel; elastics; pins.
Twisted Milkmaid Twin Buns

A soft twist across the nape leads into two compact buns that read classic and warm. It’s dressy enough for concerts and family dinners but comfortable under scarves. Pro tip: keep buns slightly higher than scarf level to avoid rubbing; check in a coat before final pins.
How To Style
Part center; twist hair along nape from each side; secure tails; coil into buns; add bows above each bun.
Best For
Oval, long; straight, wavy, or curly.
Tools & Products
Detangler; elastics; pins; shine spray.
Bubble Braid to Mini Buns

A soft twist across the nape leads into two compact buns that read classic and warm. It’s dressy enough for concerts and family dinners but comfortable under scarves. Pro tip: keep buns slightly higher than scarf level to avoid rubbing; check in a coat before final pins.
How To Style
Part center; twist hair along nape from each side; secure tails; coil into buns; add bows above each bun.
Best For
Oval, long; straight, wavy, or curly.
Tools & Products
Detangler; elastics; pins; shine spray.
Criss Cross French Buns
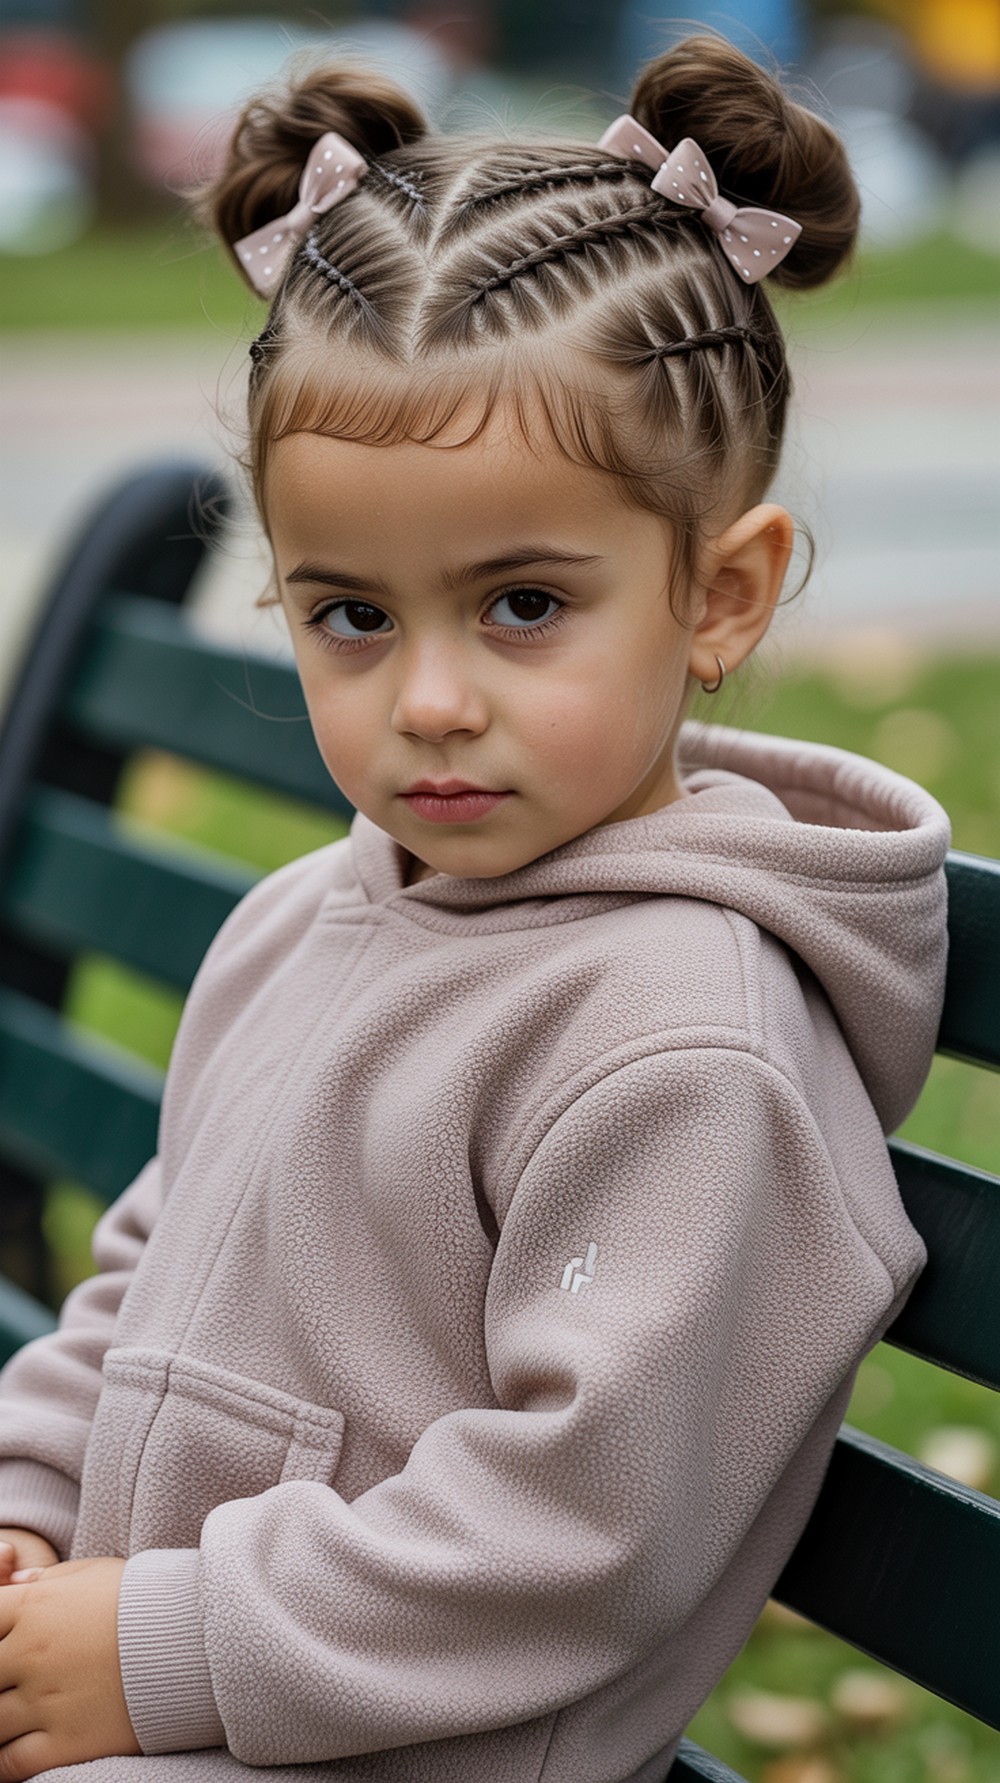
Two diagonal French braids cross at the back and finish in buns—secure for PE days and sledding. The pattern keeps flyaways contained while still looking sweet with bows. Pro tip: braid firmly through the cross, then loosen the outer edges slightly so the X shows in photos.
How To Style
Create diagonal parts; French braid each side crossing mid-back; secure; coil tails into buns; add small bows.
Best For
Square, oval; straight, wavy, or coily.
Tools & Products
Tail comb; elastics; pins; texture spray.
Side Sweep Twin Buns with Bangs
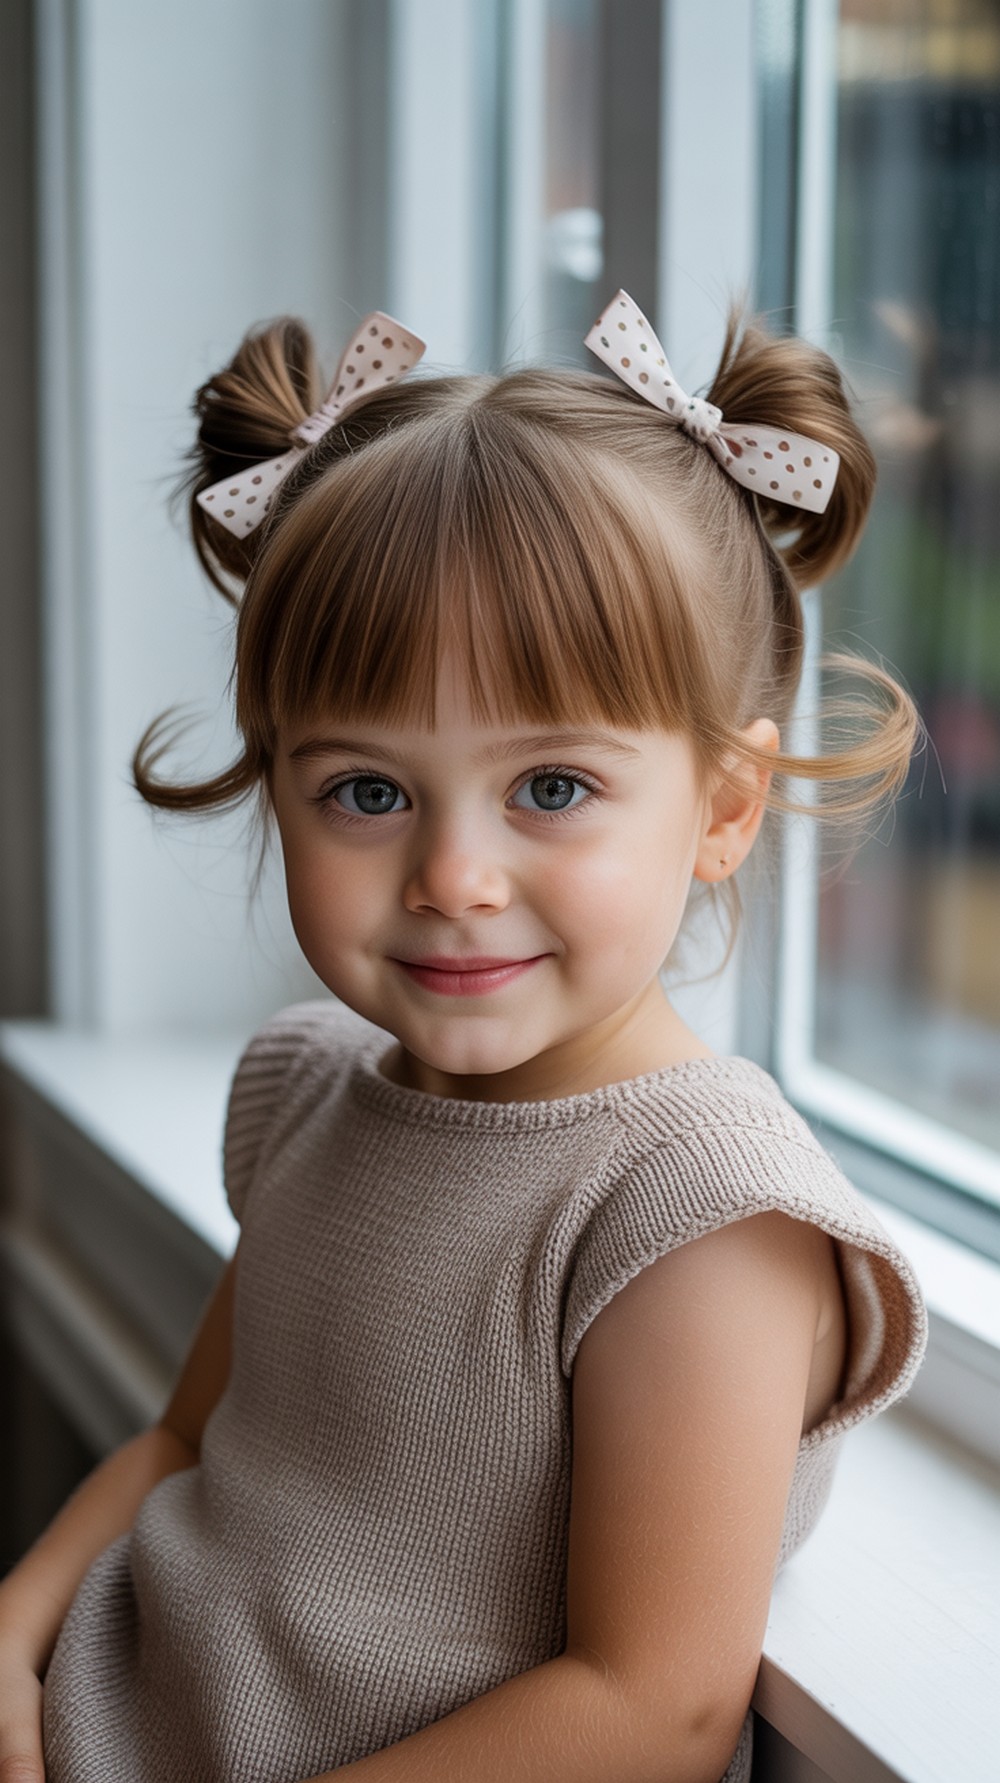
Keep soft bangs or shorter curls forward, then sweep the rest into offset buns just behind the ears. The asymmetry flatters small round faces and shows off bow dots peeking from the sides. Pro tip: lightly curve the part to follow the bangs so there’s no hard line at the hairline.
How To Style
Create a curved part; leave fringe out; braid side sections to behind ears; twist into buns; bow each side.
Best For
Round, heart; straight or wavy.
Tools & Products
Soft brush; mini elastics; light cream; pins.
Boxer Braid Twin Buns
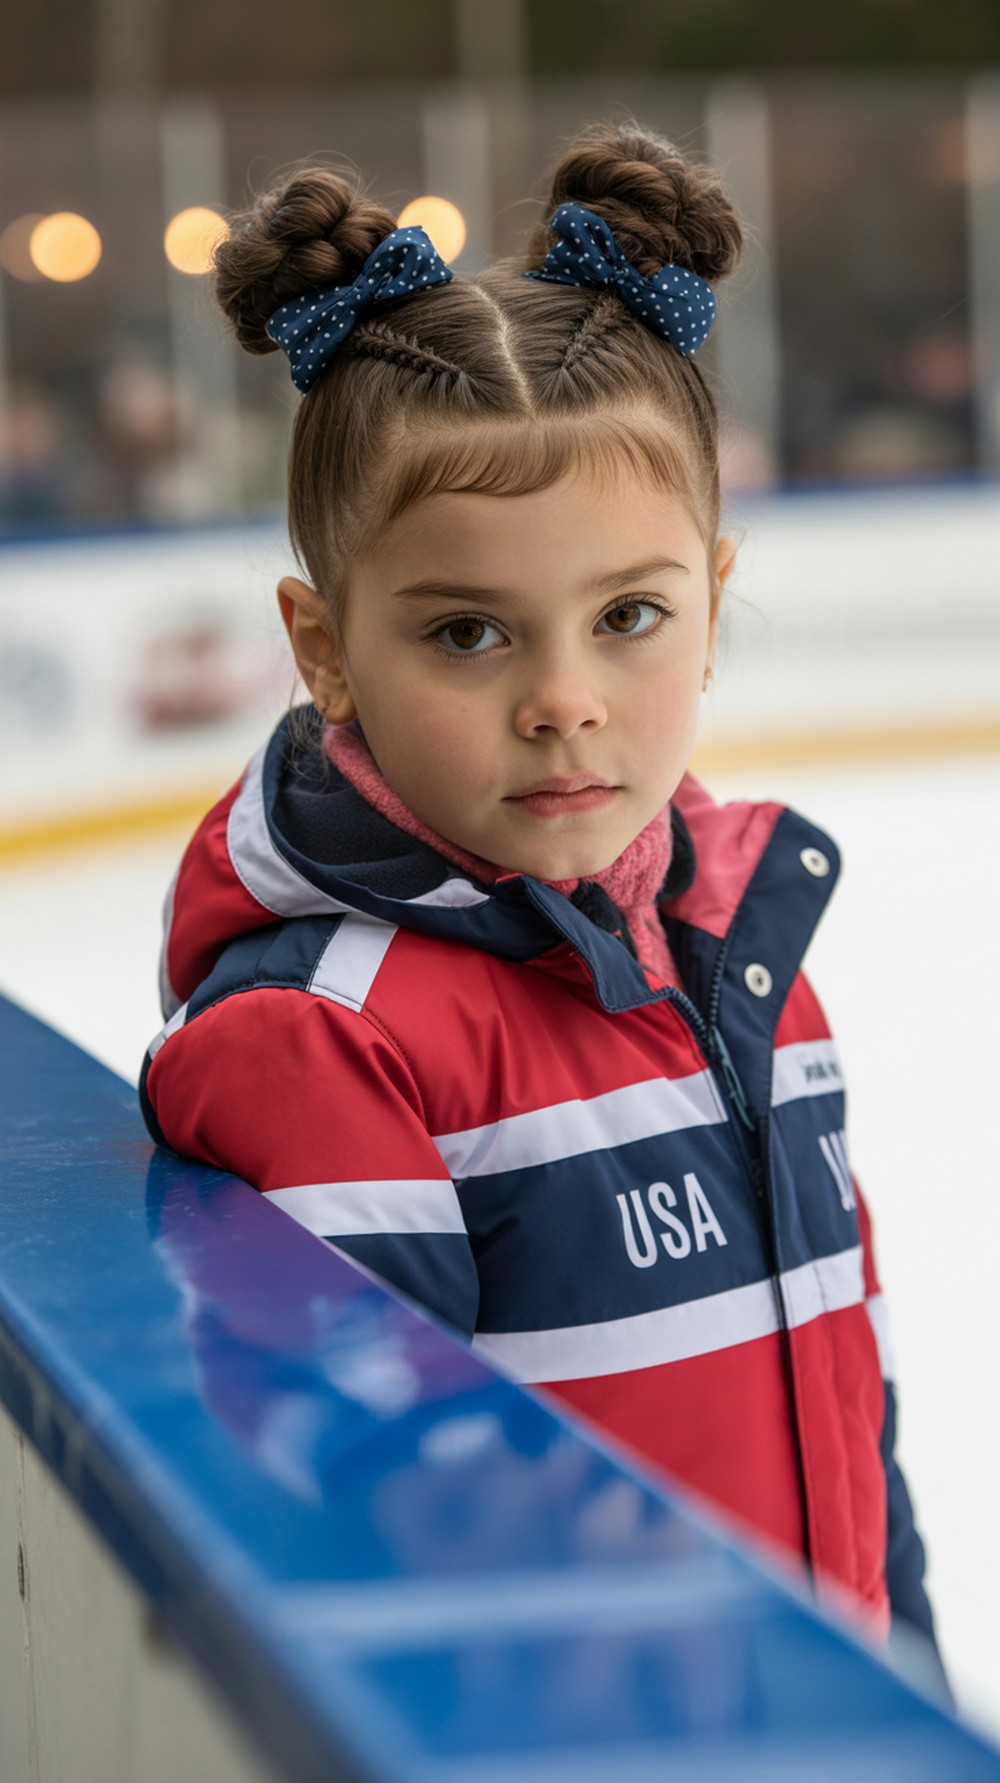
Start with two inside-out (Dutch) boxer braids down the head and finish in medium buns at the nape—snug, sporty, and helmet-friendly for skating. Pro tip: keep tension even but gentle; if edges look tight, massage with fingertips before pinning buns.
How To Style
Center part; Dutch braid both sides to nape; secure; coil tails into buns; clip bows at outer edges.
Best For
Oval, long; straight, wavy, or coily.
Tools & Products
Detangler; elastics; edge brush; light oil.
Ribbon Wrapped Twin Buns
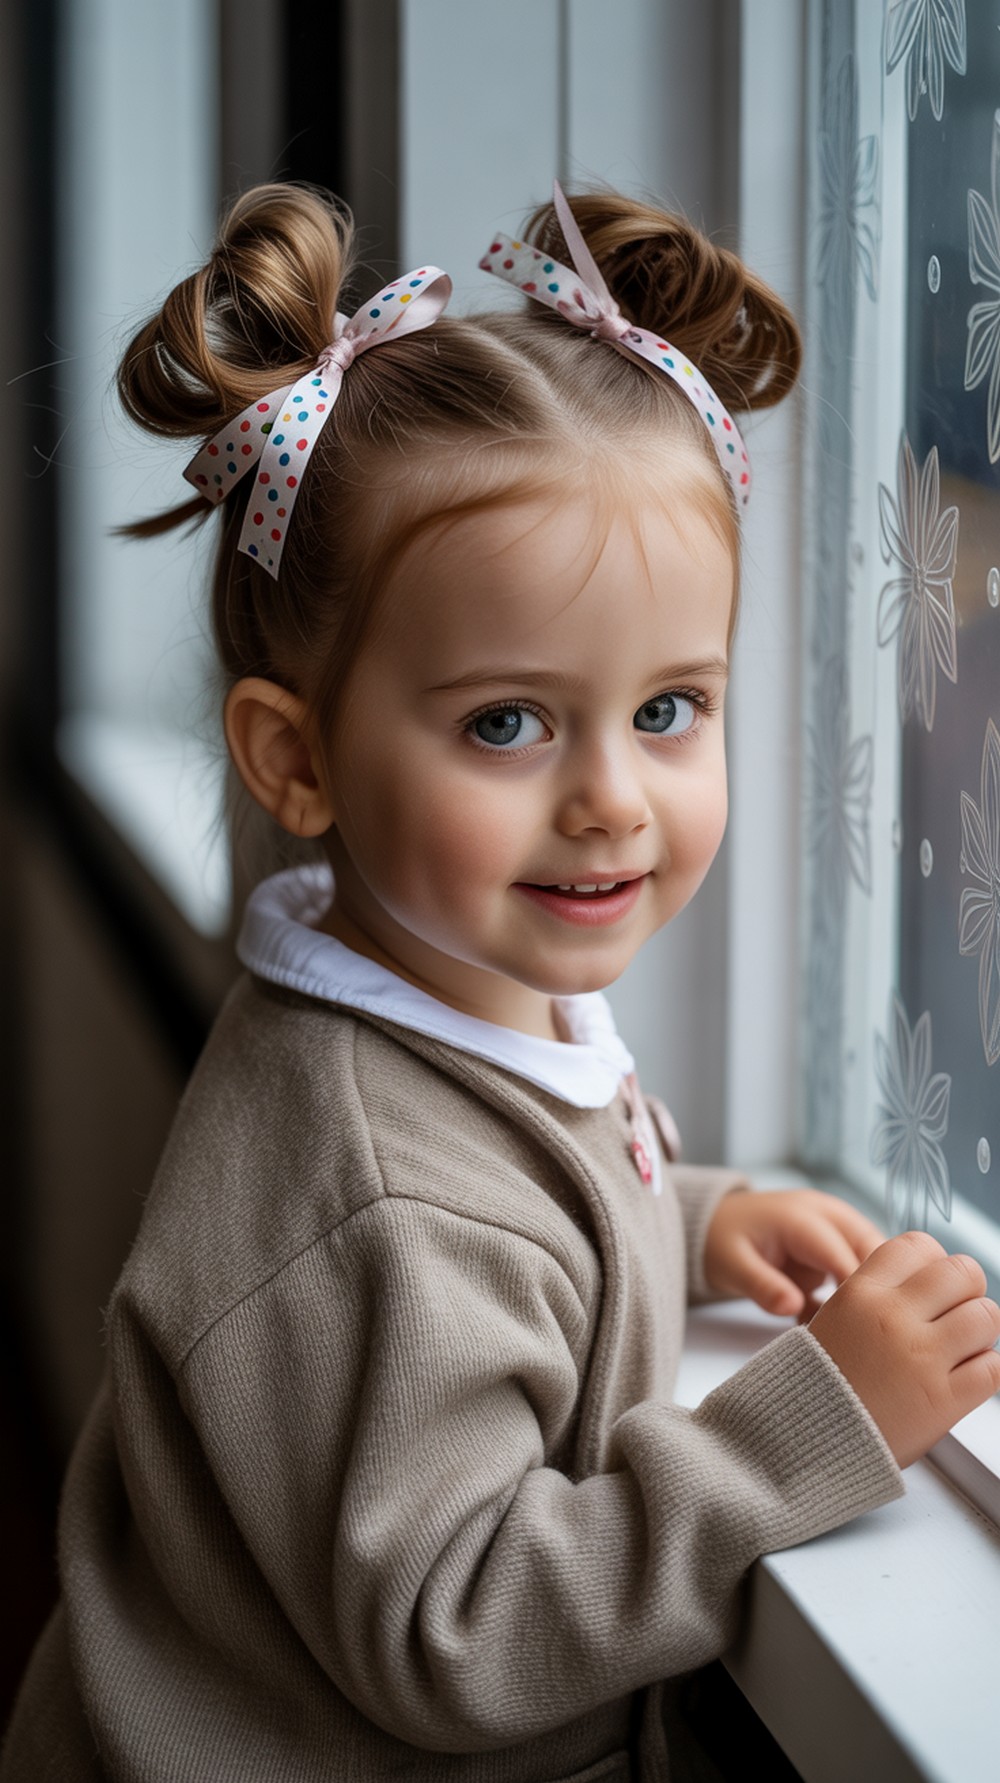
Thread slim polka dot ribbons around each bun base for a neat, gift-wrap feel—perfect for holiday photos. The ribbon adds hold without extra pins. Pro tip: tie bows slightly off-center so hat brims don’t squash the knot.
How To Style
Make low braids; coil into buns; wrap polka dot ribbon; tie small bows; tuck ends.
Best For
Heart, oval; straight or wavy.
Tools & Products
Polka dot ribbon; elastics; pins; serum.
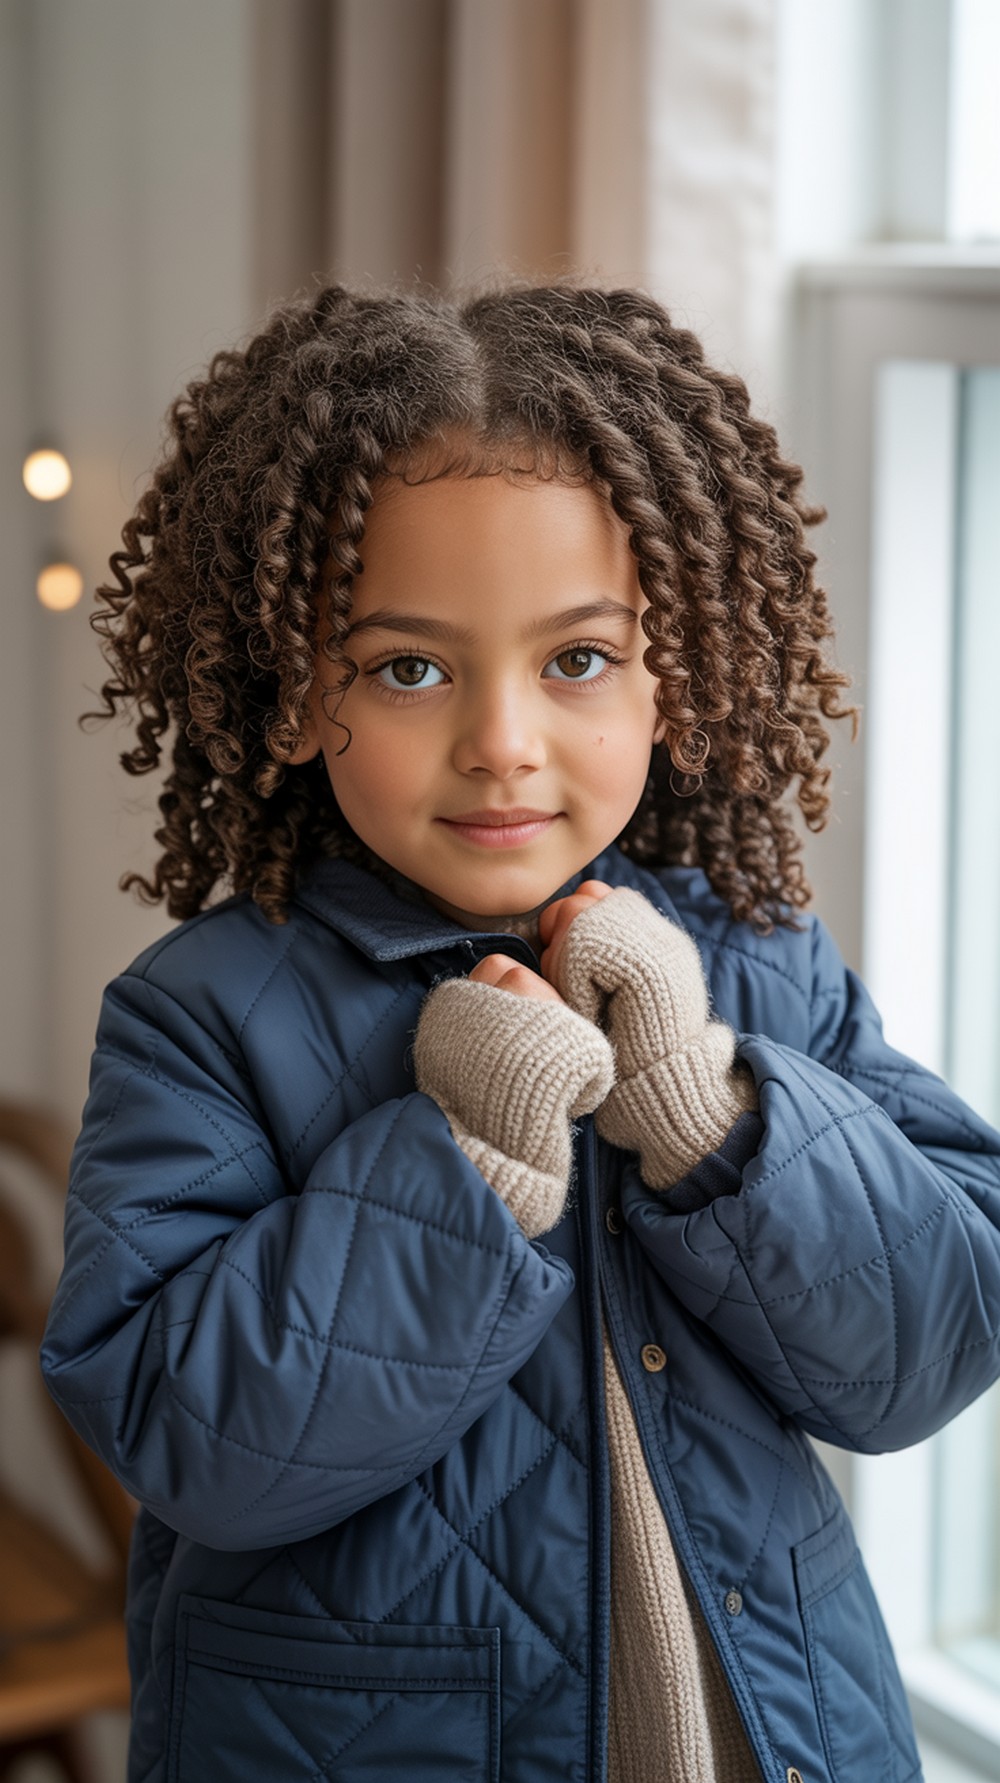
Curly Puff Braided Buns
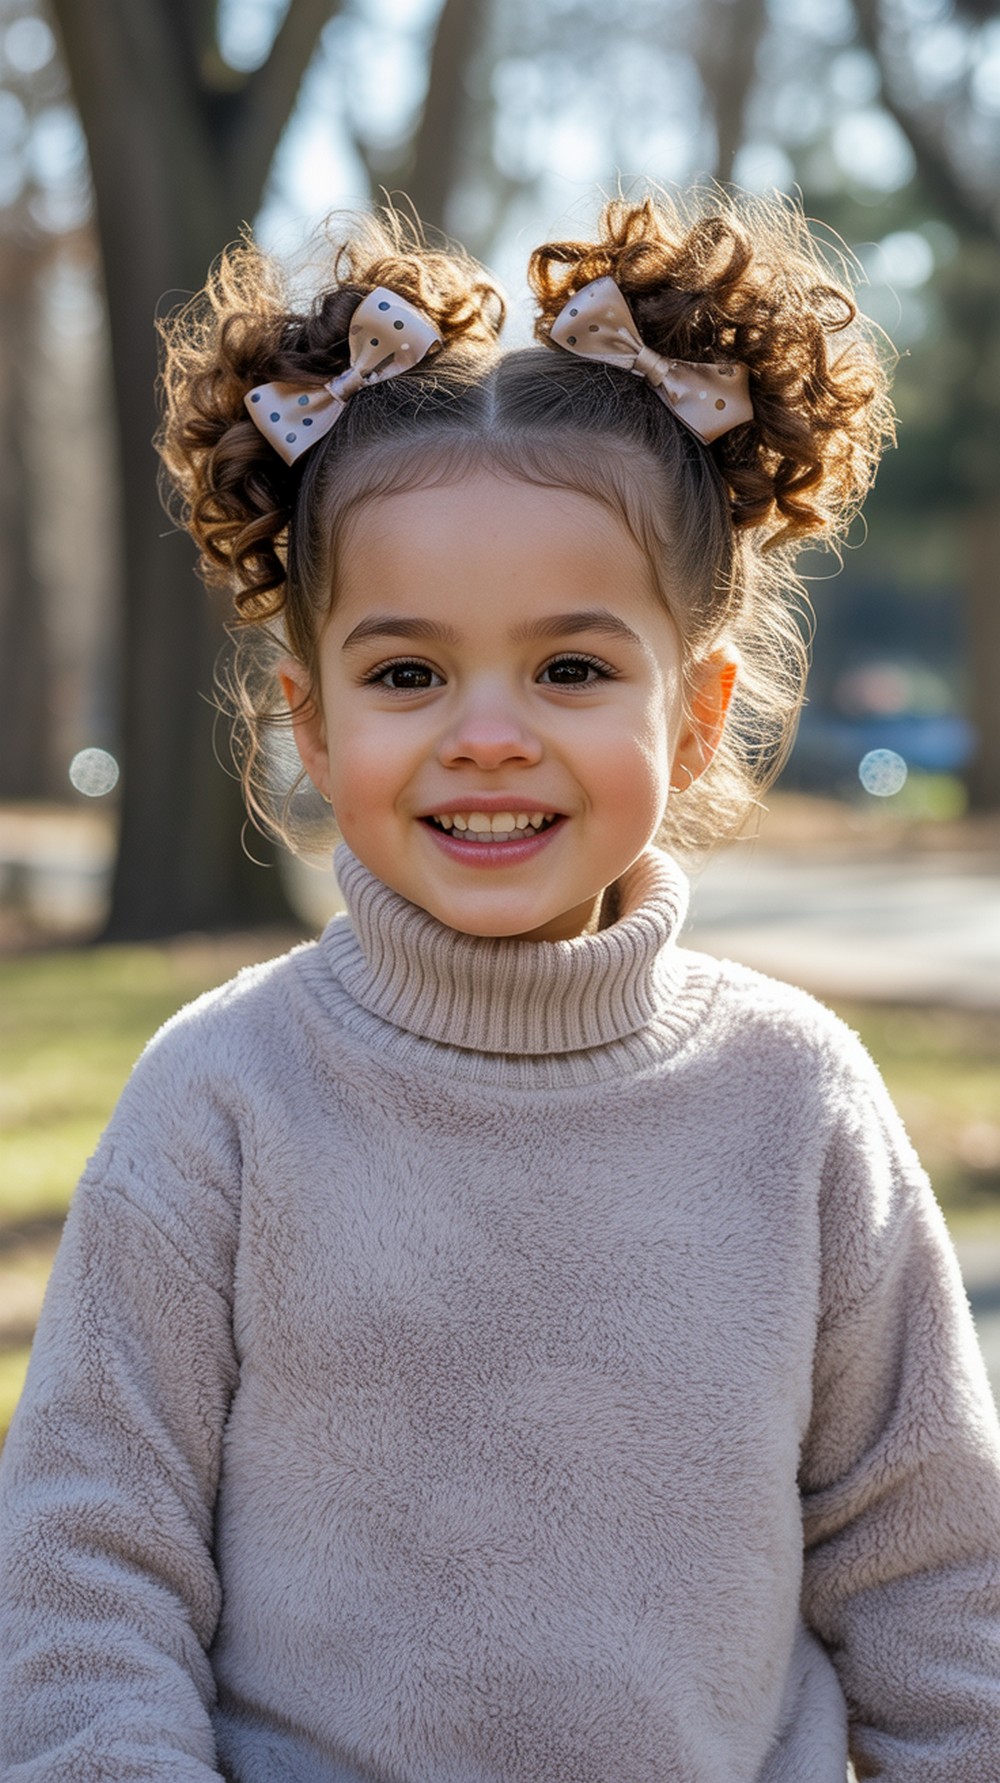
For natural curls, braid only the base and let each bun puff softly at the ends—cozy, protective, and full of personality. Pro tip: apply curl cream on wet hair, part, braid bases, then diffuse a little so puffs set without frizz.
How To Style
Apply curl cream; part center; braid a short base on each side; coil ends into puffy buns; bow clips on top.
Best For
Round, oval; curly or coily.
Tools & Products
Wide-tooth comb; curl cream; clips; diffuser.
Tucked Coil Twin Buns

Coiled buns tucked under themselves create a smooth, snag-resistant shape for scarves and high collars. It’s sleek but still sweet with dotted bows. Pro tip: use snag-free elastics and tuck ends fully under the coil to avoid rubbing against coats.
How To Style
Low pigtails; twist; roll up and tuck; pin; finish with small bows at the top edge.
Best For
Square, oval; straight or wavy.
Tools & Products
Elastics; pins; smoothing cream; light hairspray.
Tucked Coil Twin Buns

Keep hair “open” while taming the front. Two mini buns made from half-up sections keep flyaways off the face for playdates and school assemblies. Pro tip: leave lower lengths braided or waved for extra warmth on the neck.
How To Style
Take temple-to-crown sections; braid or twist; coil into mini buns; bow each; leave rest down.
Best For
Heart, long; straight, wavy, or curly.
Tools & Products
Clips; elastics; pins; light oil.
Scarf Safe Nape Buns
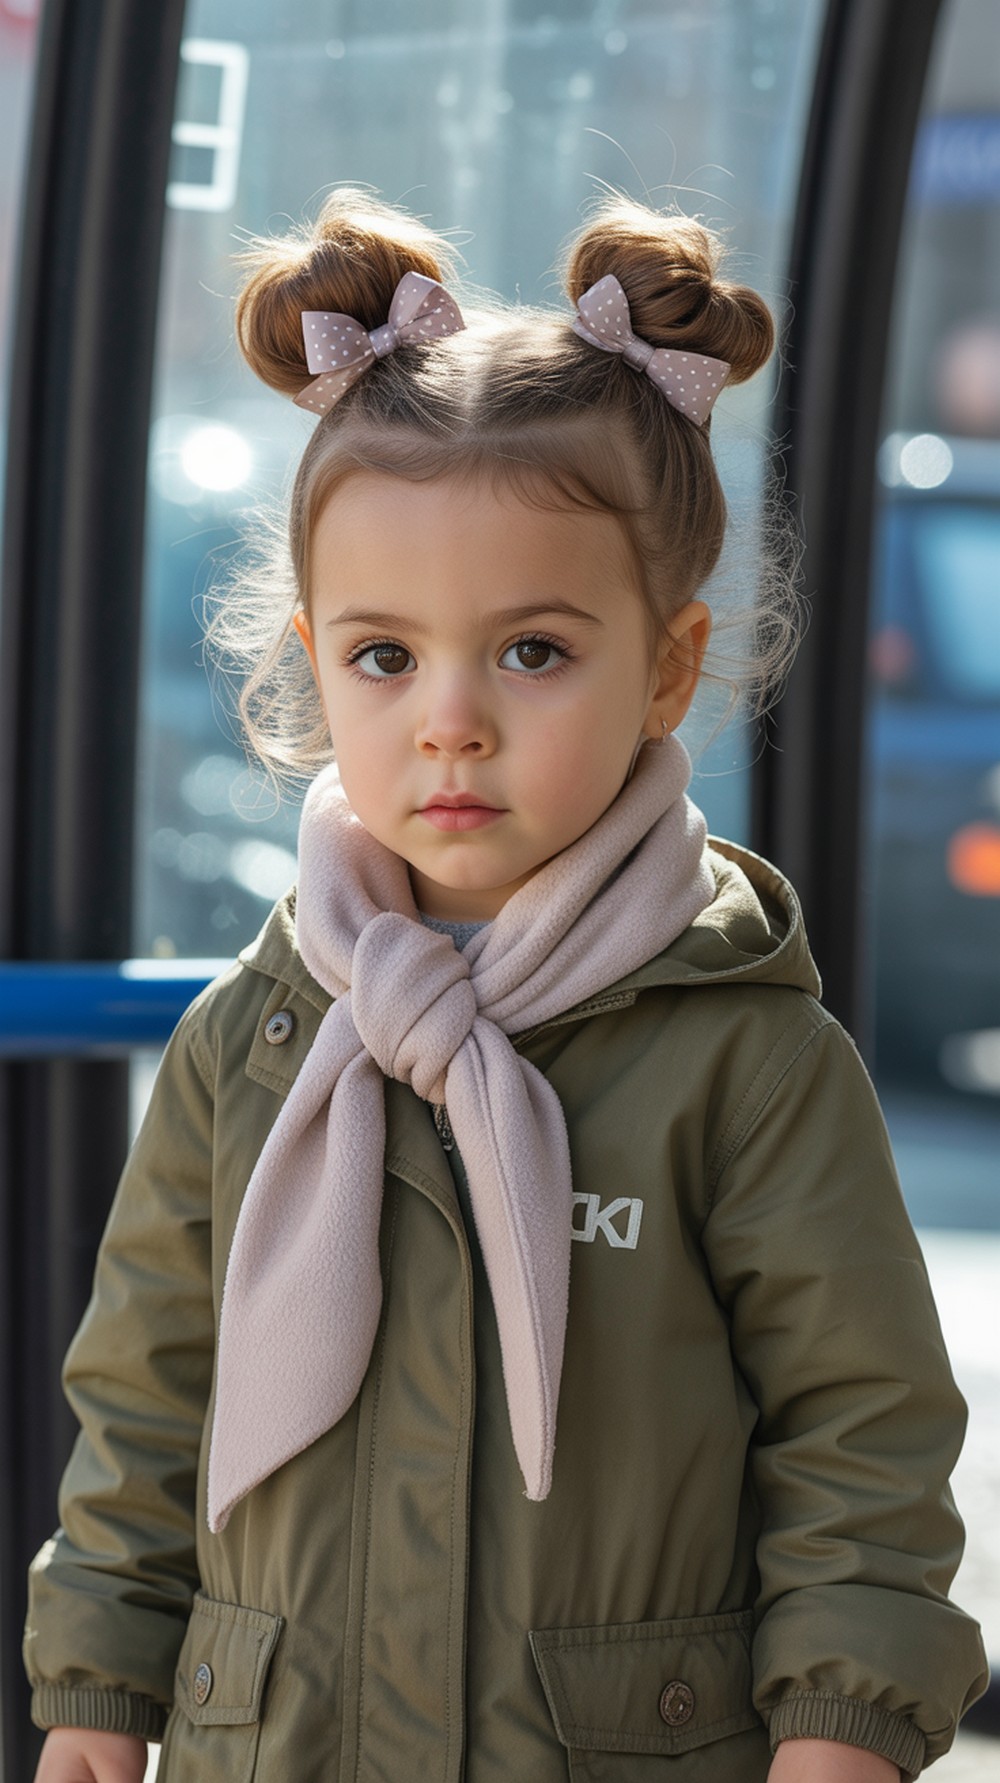
Place buns at the very nape so winter scarves glide over without catching. This is the no-snag choice for coat days. Pro tip: check bun height while wearing the coat—adjust up or down a finger-width until the collar clears.
How To Style
Part center; low pigtails at nape; braid; coil into small buns; add bows on the side facing outward.
Best For
Round, square; straight or wavy.
Tools & Products
Brush; elastics; pins; shine spray.
Party Bow Glitter Dust Buns

For celebrations, add a tiny touch of eco glitter gel to the bun seams—just enough to sparkle, not shed. Polka dot bows make the look playful and photo-ready. Pro tip: apply glitter only to hair (not scalp), and wash out with a gentle clarifying rinse after the event.
How To Style
Create mid-height braided buns; smooth; tap a little glitter gel on seams; clip bows; set with light spray.
Best For
Oval, long; straight, wavy, or curly.
Tools & Products
Glitter hair gel; elastics; pins; flexible hairspray.
Conclusion
Twin braided buns are winter MVPs—cute, quick, and hat-friendly when you place them wisely. Choose low for coats and scarves or high for playful photos, and keep tension gentle for comfort. Detangle, add a touch of leave-in, and finish with a drop of oil to fight static. Swap in polka dot bows to match outfits and brighten gray days. Practice once on a calm evening and you’ll fly through chilly school mornings.
CTA — Pick one style, set a five-minute timer tomorrow morning, and try it with your child’s favorite polka dot bows.
FAQs
1) How do I make twin buns hat-friendly in winter?
Place buns low behind the ears or just below hat height. Secure with clear elastics first, then pins, so the hat slides on without shifting the style.
2) What helps with winter static and flyaways?
Use a little leave-in conditioner and finish with a tiny drop of oil on ends. A quick pass of a dryer sheet over the hat liner can also reduce static buildup.
3) Are braided buns safe for tender scalps?
Yes—keep sections larger, braids looser, and avoid tight edges. If there’s redness or complaints of pulling, take it down and rest the scalp.
4) How long should these styles take?
Most take 5–10 minutes once you’ve practiced. Pre-parting the hair after bath time can save morning minutes.
5) Which bows work best in winter?
Fabric polka dot bows on soft clips or small ribbons tied around elastics hold well. Avoid heavy metal clips under hats—they can press and cause discomfort.