12 Face-Framing Hairstyle Ideas
Face-framing is all about soft pieces that guide the eye to your best features. These twelve ideas use layers, bangs, bends, and clever parting to open the face, slim the mid-cheek area, and add lift where you want it. You’ll find quick everyday finishes and cut shapes that suit straight, wavy, and curly hair. Most flatter heart, oval, and square faces; gentle off-center parts and longer cheekbone pieces help balance round or long shapes. Start with clean or day-two hair. If you’re heat-styling, apply protectant; if you’re air-drying, use a light cream or gel for control. Keep a tail comb, brush, elastics, bobby pins, a curling wand or rollers, and flexible hold spray handy. Pick two favorites to rotate this week and watch your features pop with minimal effort.
Quick List
- Cheekbone Curtain Pieces
- Off-Center Layered Lob
- Soft Shag with Crown Lift
- Long Layers with Face Flip
- Wispy Fringe + Waves
- Side-Part Sleek Pony with Tendrils
- Air-Dry Curly Face Pieces
- Butterfly Layers (Two-Tier)
- Side Braid with Jaw-Grazing Pieces
- Half-Up Twist with Front Drops
- Glassy Straight with Beveled Front
- Low Knot with Face Curtains
Cheekbone Curtain Pieces

Curtain pieces split near the center and sweep to the cheekbones, creating instant contour without heavy bangs. They highlight eyes and soften the upper face while leaving length free to style wavy or straight. The diagonal movement narrows the mid-face and photographs beautifully. Tuck one side for polish or let both float for weekend ease. Pro tip: Keep the shortest point at or slightly below the brows so the pieces open the face instead of closing it.
How To Style: Blow-dry fringe side-to-side; set a soft middle split; add loose bends that kick away from the face; brush through and mist flexible spray.
Best For: Heart, square, oval; straight to wavy hair.
Tools & Products: Small round brush, curling wand or rollers, heat protectant, flexible hold spray.
Off-Center Layered Lob

A collarbone lob with an off-center part lengthens your profile and keeps sides light. Soft face layers skim cheeks, then melt into airy ends for movement. It suits work and weekends, sleek or tousled. The slight offset boosts crown height and cuts through symmetry. Pro tip: Blow-dry across the part (not down it) to lock root lift so front pieces float.
How To Style: Create a soft off-center part; round-brush smooth; add loose bends from mid-lengths; tuck the lighter side; finish with flexible spray.
Best For: Round, heart; straight to wavy hair.
Tools & Products: Round brush, blow-dryer, heat protectant, curling wand, light hold spray.
Soft Shag with Crown Lift
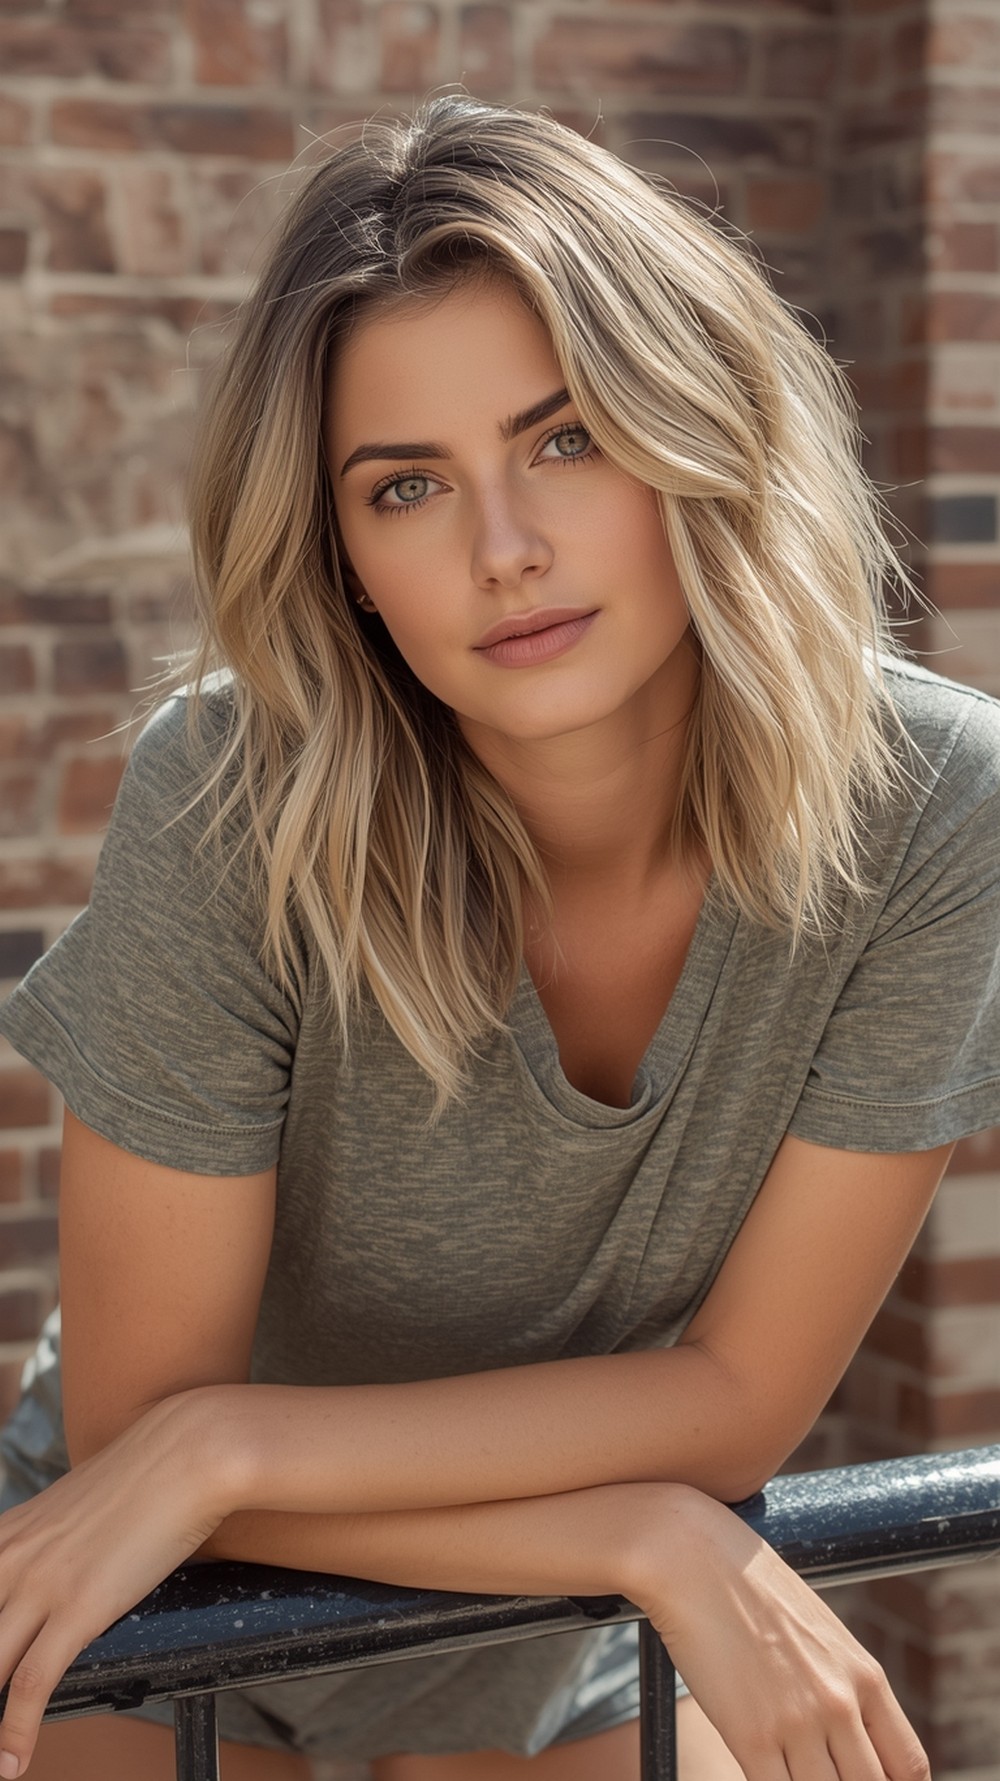
Shaggy, staggered layers raise the crown and keep weight off the cheeks, while face pieces carve gentle angles. The result is airy movement with a flattering outline that reads effortless. Great for creative offices and off-duty days. Pro tip: Pinch a tiny bit of matte paste into jawline ends for definition without stiffness.
How To Style: Scrunch in texture product on damp hair; diffuse or air-dry; flip the part slightly deeper; refine front pieces with fingers.
Best For: Round, square; wavy to curly hair (works on straight with added texture).
Tools & Products: Texture cream or spray, diffuser (optional), light paste, flexible spray.
Long Layers with Face Flip
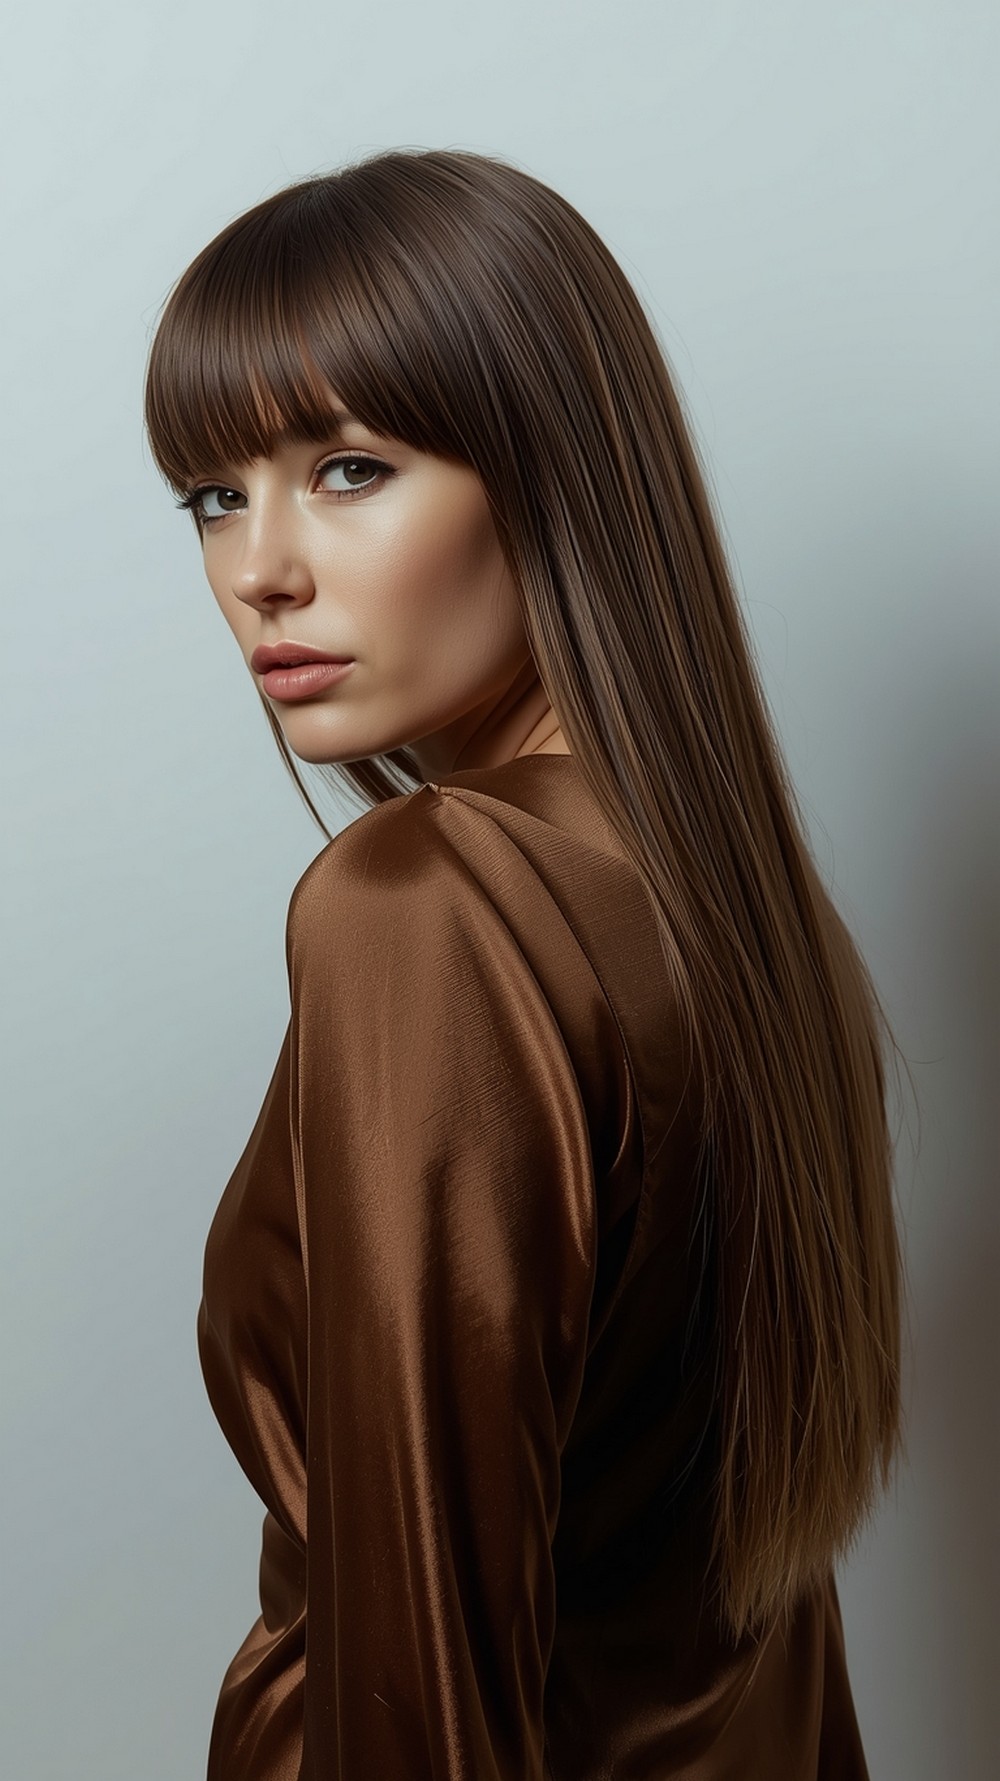
Long layers remove bulk and let the front flip out subtly below the jaw, drawing the eye downward and away from the mid-face. It’s romantic, wearable, and perfect for events. Keep roots airy so the face pieces do the work. Pro tip: Curl only the bottom third in large sections to keep the top sleek and lengthening.
How To Style: Off-center part; wrap big sections away from the face from mid-lengths down; cool and brush out; add shine mist.
Best For: Round, oval; straight to wavy hair.
Tools & Products: Large-barrel curler or rollers, brush, heat protectant, shine spray.
Wispy Fringe + Waves

A light, see-through fringe softens features while loose waves blend the sides into a flattering frame. The airy line shows a touch of forehead, keeping things fresh and youthful. Great for everyday polish with minimal time. Pro tip: Blow-dry bangs side-to-side to erase splits, then let them fall naturally.
How To Style: Set fringe first; curl alternating directions from mid-lengths; brush through for movement; finish with flexible spray.
Best For: Heart, oval; straight to wavy hair.
Tools & Products: Blow-dryer, small brush, curling wand, heat protectant, light hold spray.
Side-Part Sleek Pony with Tendrils
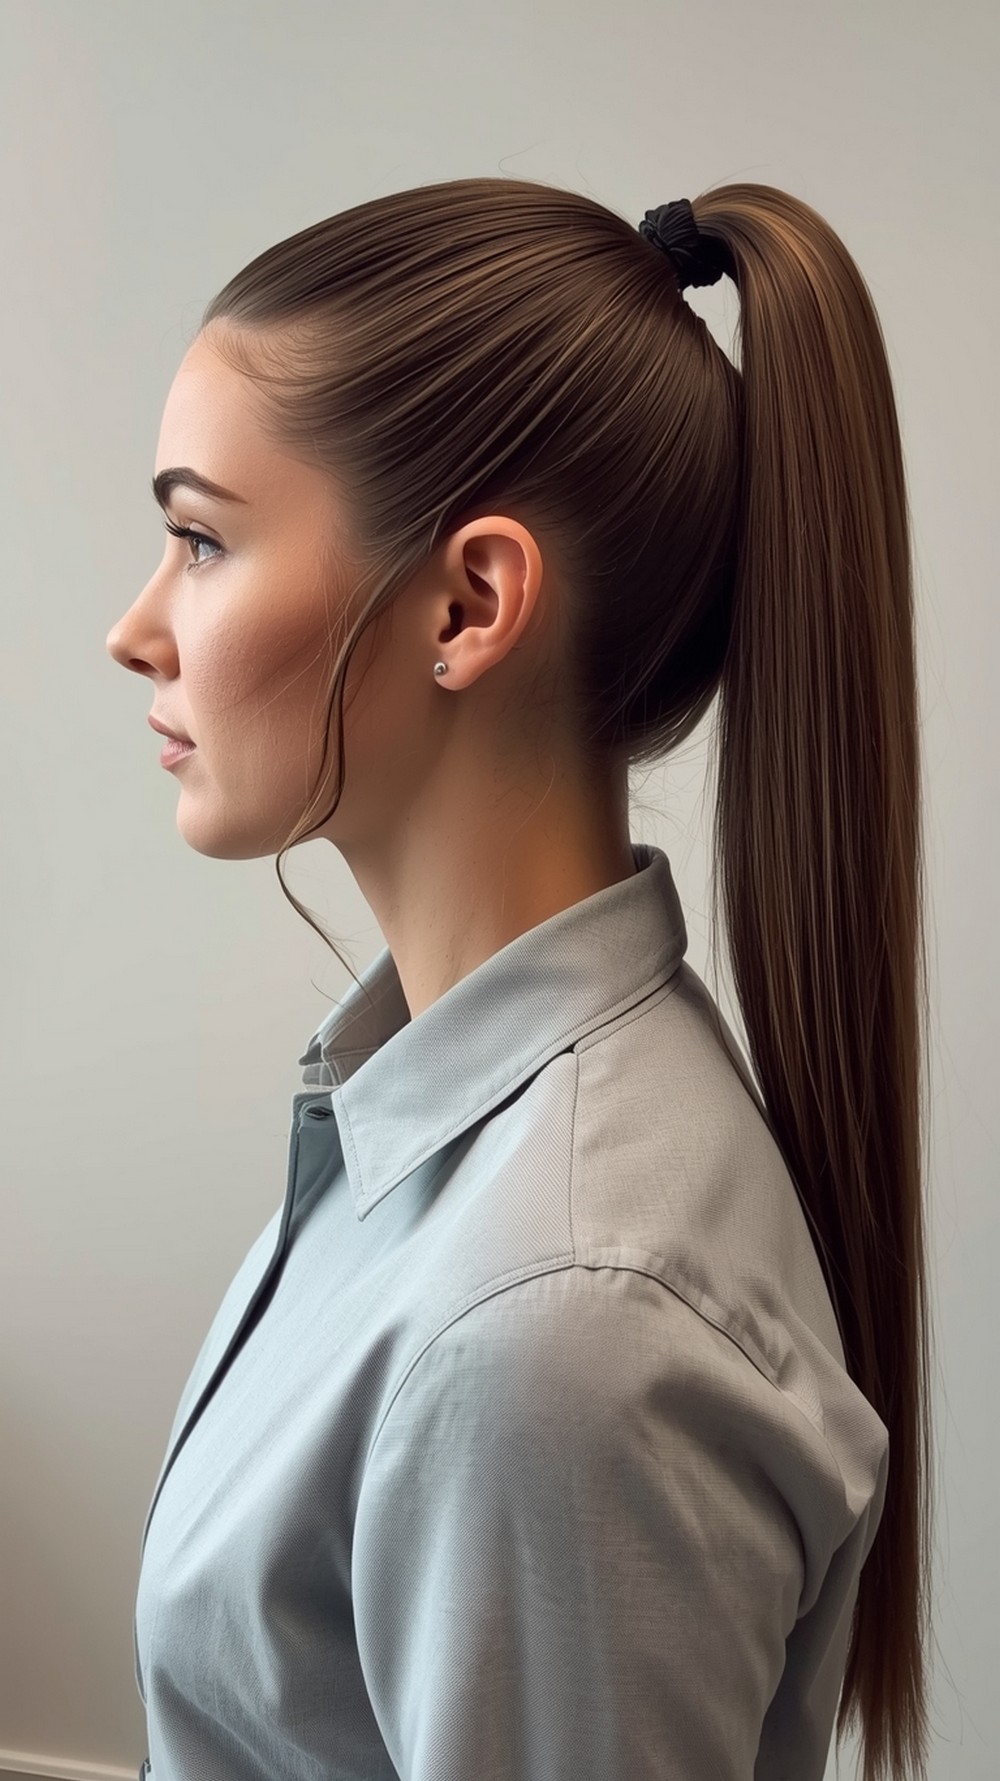
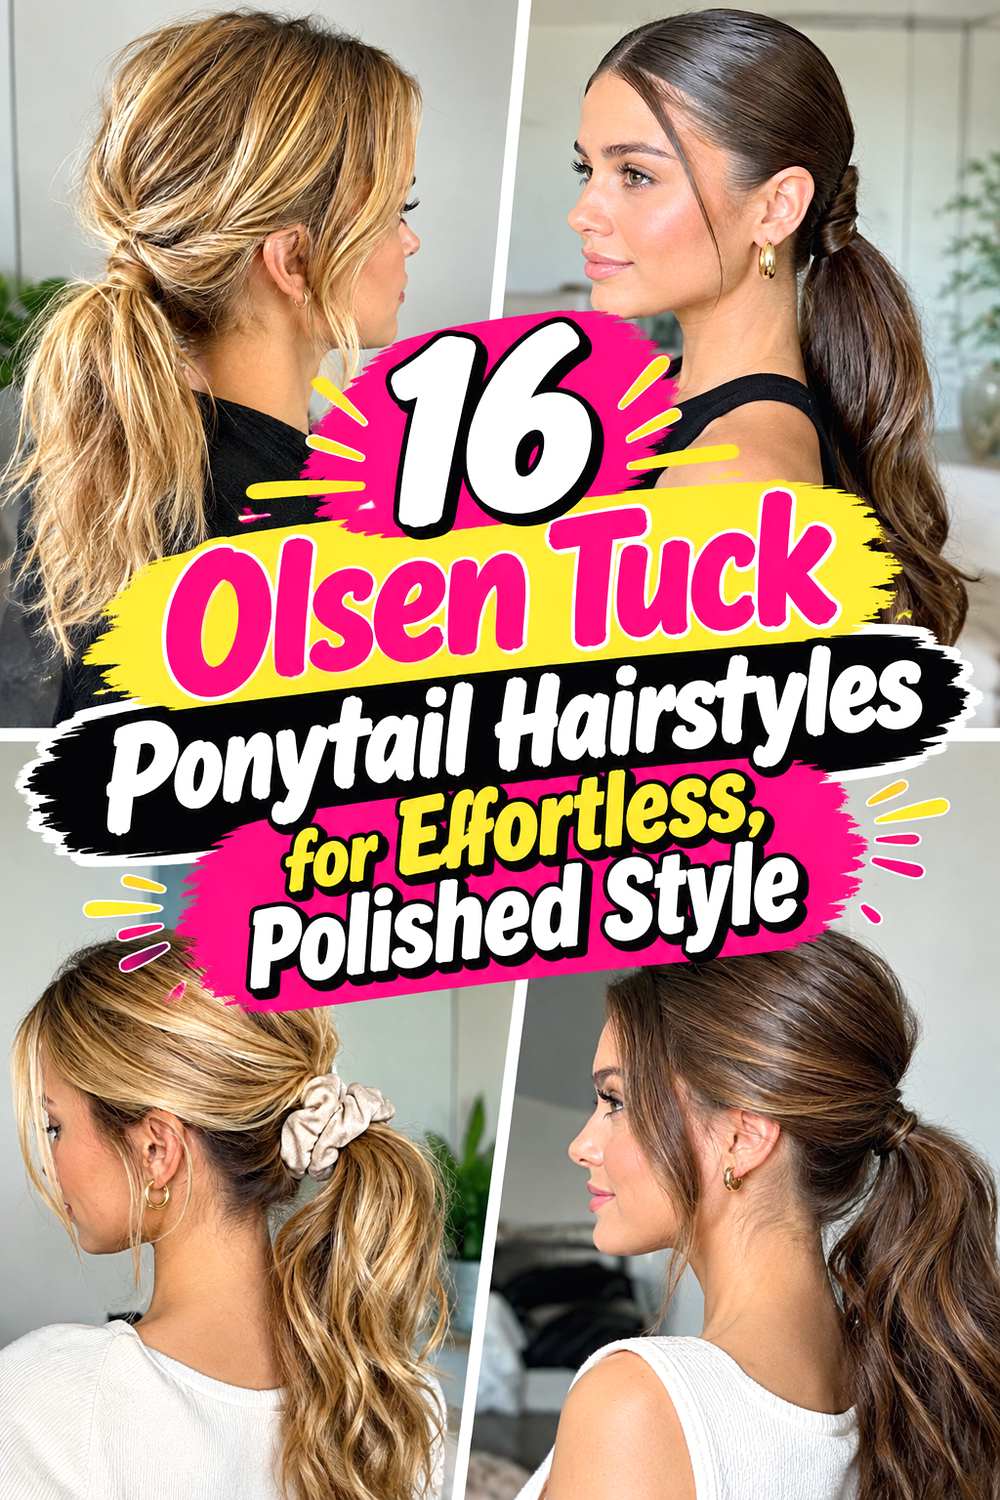
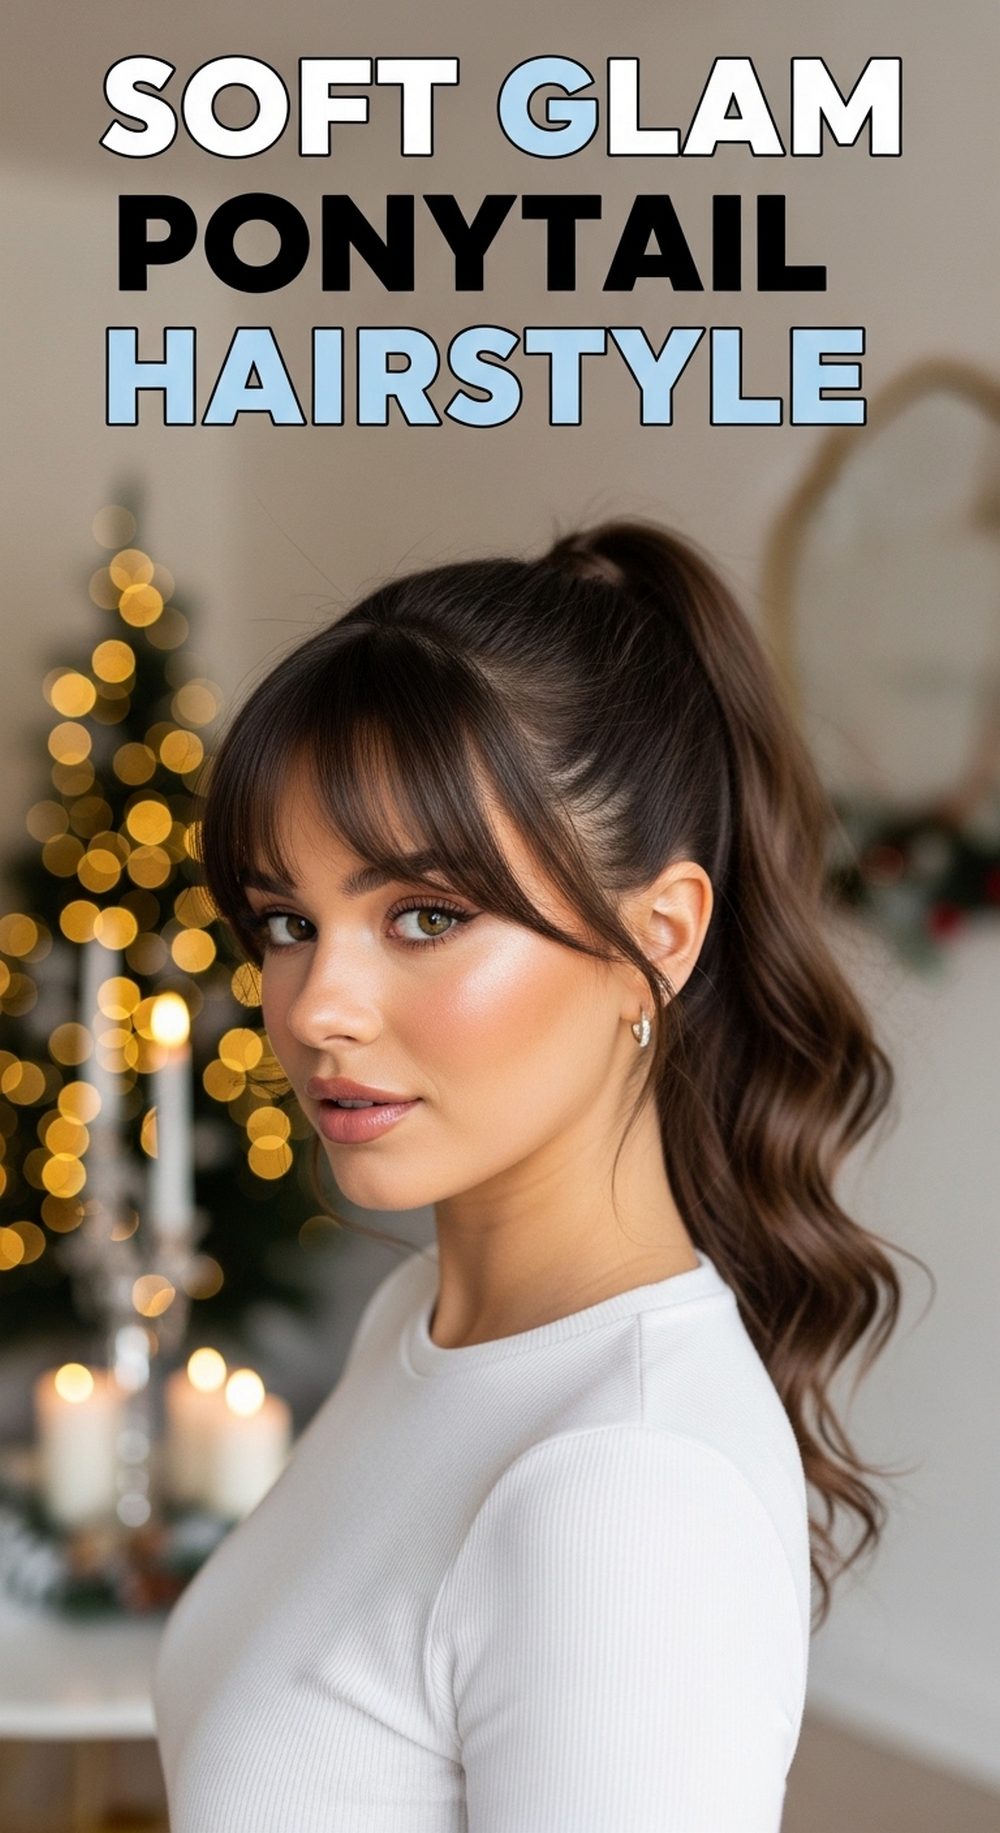
A smooth, low pony plus two slim, jaw-skimming tendrils puts the face frame front and center. The diagonal part slims round faces and keeps the look neat under collars. Pro tip: Wrap a thin strand around the elastic for a tidy finish without bulk.
How To Style: Draw a side part; brush lengths to the nape; secure; release two fine face pieces; smooth flyaways with a touch of cream.
Best For: Round, heart; straight to wavy hair.
Tools & Products: Fine-tooth comb, hair elastic, bobby pins, smoothing cream, flexible spray.
Air-Dry Curly Face Pieces
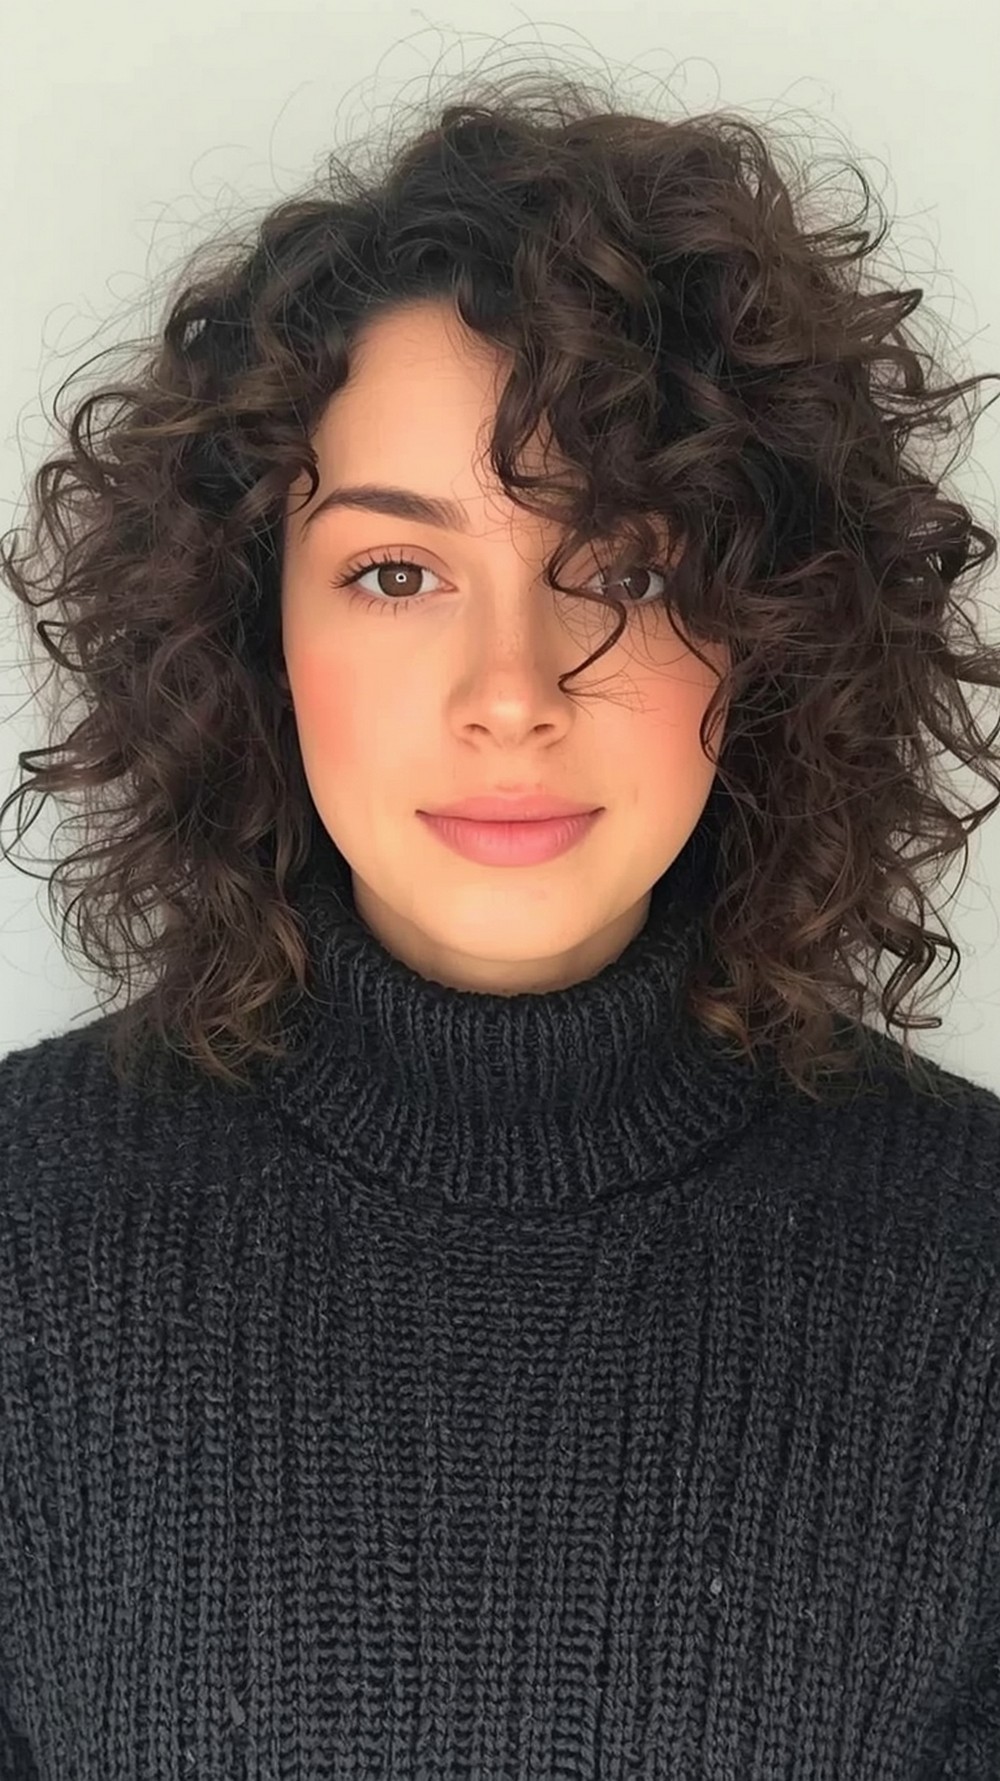
A smooth, low pony plus two slim, jaw-skimming tendrils puts the face frame front and center. The diagonal part slims round faces and keeps the look neat under collars. Pro tip: Wrap a thin strand around the elastic for a tidy finish without bulk.
How To Style: Draw a side part; brush lengths to the nape; secure; release two fine face pieces; smooth flyaways with a touch of cream.
Best For: Round, heart; straight to wavy hair.
Tools & Products: Fine-tooth comb, hair elastic, bobby pins, smoothing cream, flexible spray.
Butterfly Layers (Two-Tier)
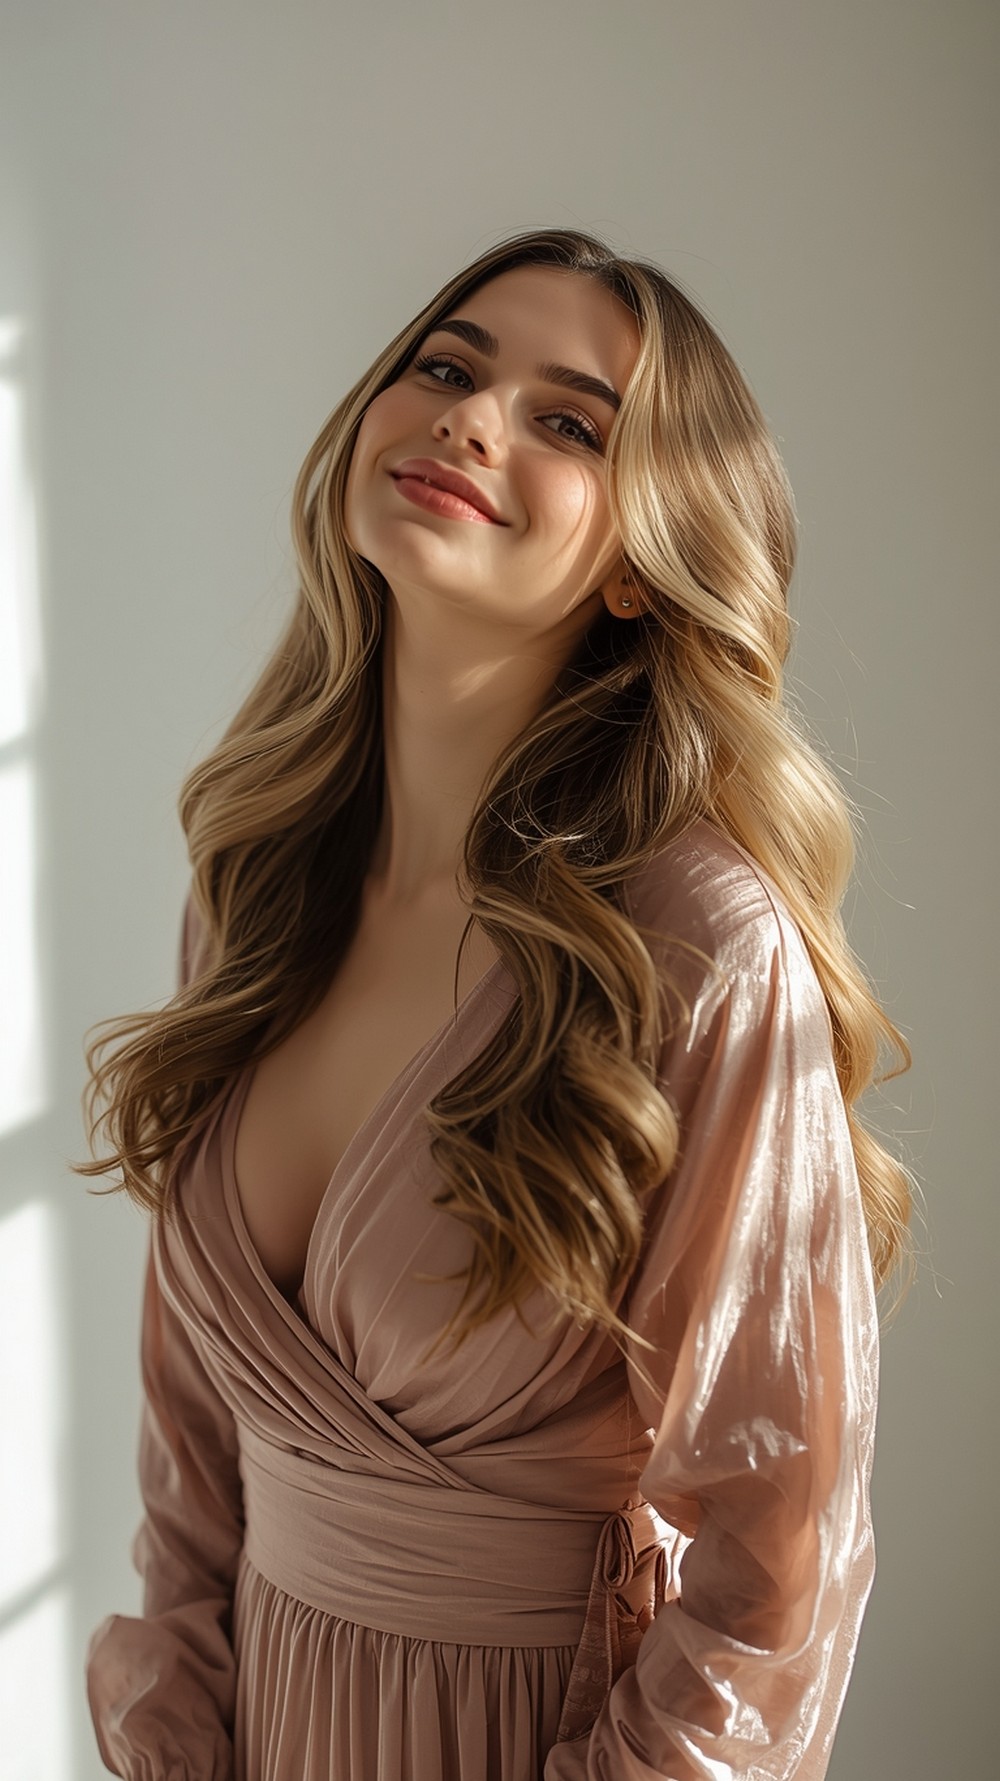
Shorter “wings” around the face sit over longer layers, giving lift at the crown while preserving length. The top tier softens the upper face; the bottom tier keeps the sweep dramatic. It’s a high-impact, low-commitment refresh. Pro tip: Keep the shortest face piece near lip or chin for contour without jumping.
How To Style: Off-center part; round-brush the top layer away from the face; add a soft outward bend to ends; mist flexible hold.
Best For: Round, heart; straight to wavy hair.
Tools & Products: Round brush, blow-dryer, heat protectant, light mousse, flexible spray.
Side Braid with Jaw-Grazing Pieces
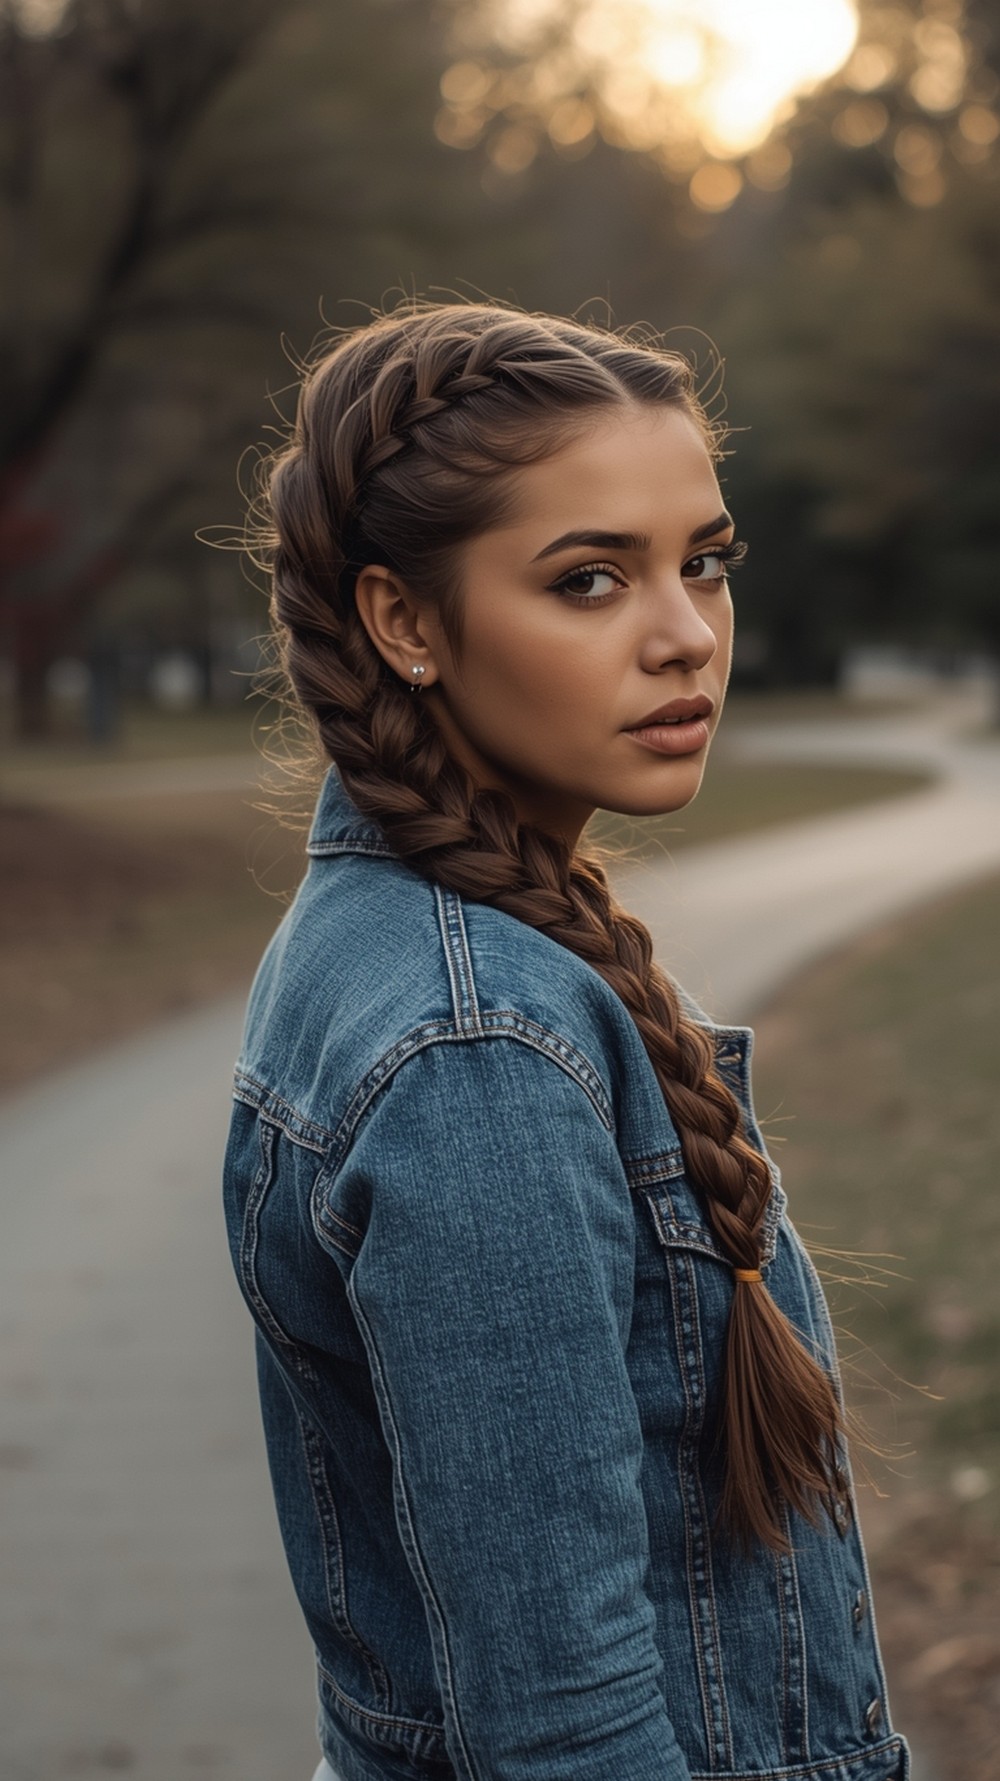
A loose side braid showcases layered texture while two jaw-grazing tendrils frame the face. The diagonal sweep slims the mid-face and holds shape through wind and errands. Pro tip: Start the braid below the ear so the face pieces stay visible from the front.
How To Style: Sweep hair to one side; braid loosely; secure; pancake the edges; curl or finger-shape two tendrils.
Best For: Round, heart; straight to wavy hair.
Tools & Products: Hair elastic, tail comb, texture spray, bobby pins, light hold spray.
Half-Up Twist with Front Drops
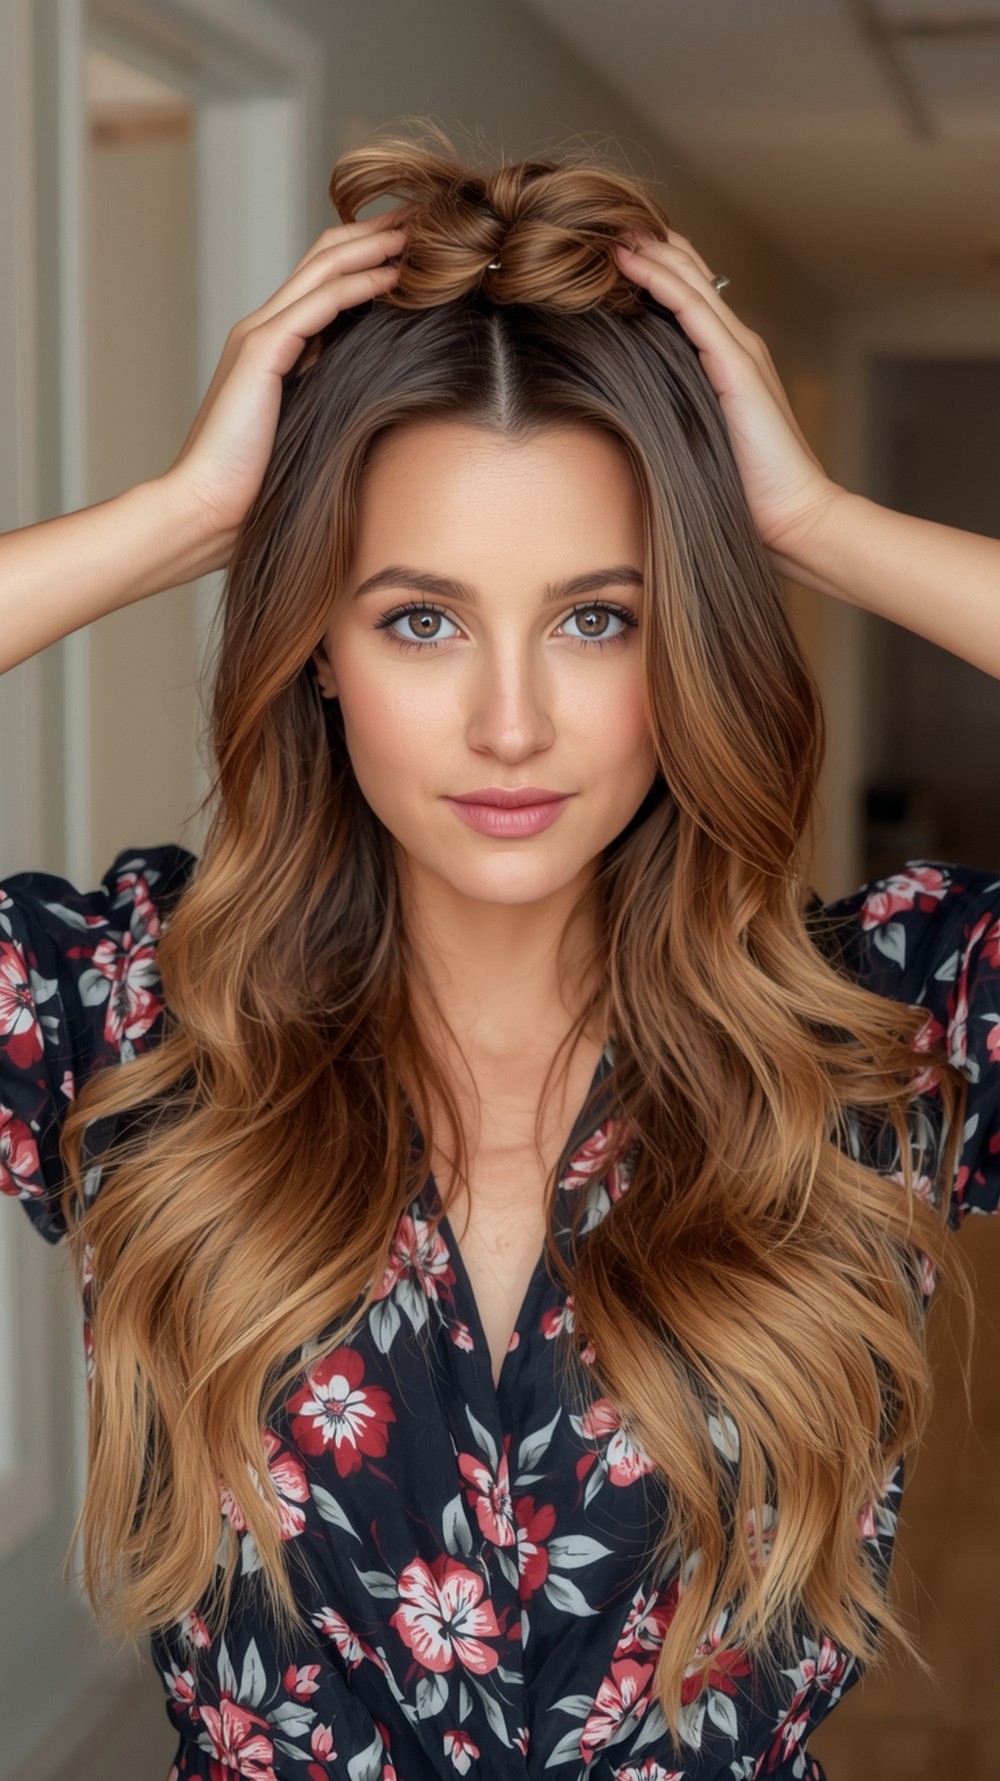
A half-up twist lifts the crown and leaves two soft front drops to frame the cheeks. It’s romantic, quick, and ideal for day-to-night plans. The height elongates; the drops add softness. Pro tip: Pin the twist slightly above the crown so it doesn’t sink.
How To Style: Part off-center; take temple sections; twist back and cross; pin; pull two slim pieces forward; soften with fingers.
Best For: Round, oval; straight to wavy hair.
Tools & Products: Tail comb, bobby pins, texture spray, flexible hold spray.
Glassy Straight with Beveled Front
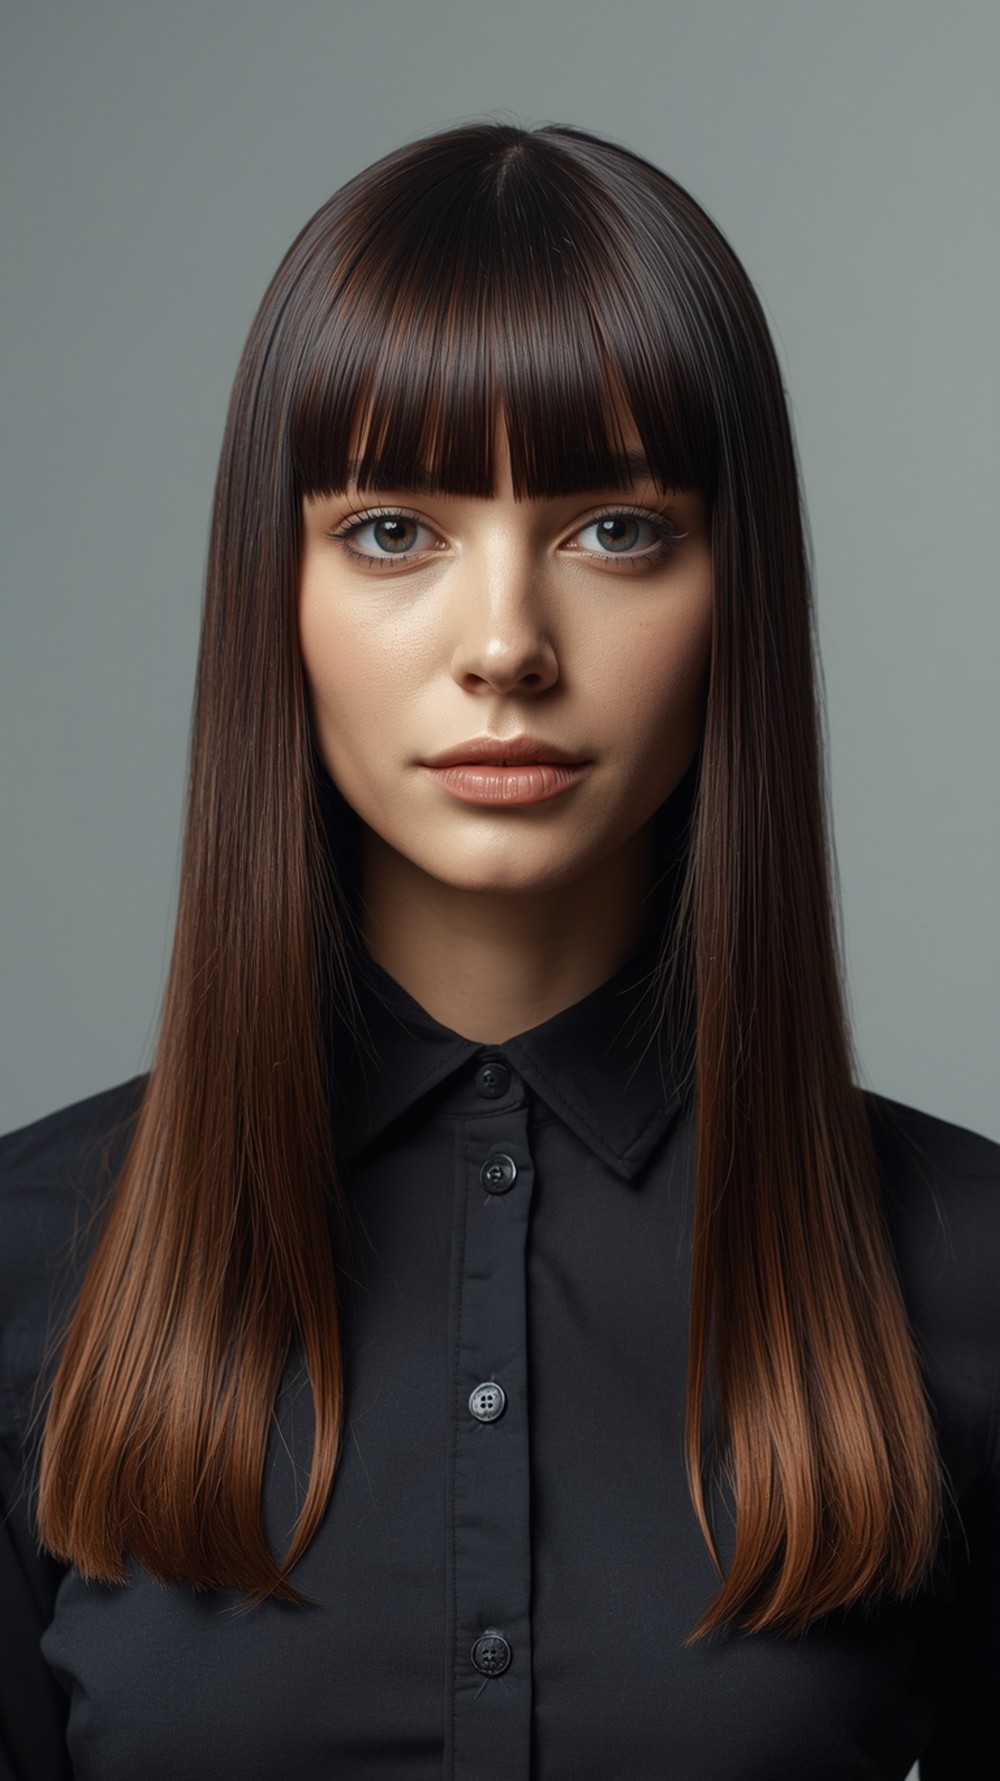
Ultra-smooth lengths with a tiny bevel at the front create clean lines while face pieces curve gently toward the jaw. The effect is sleek yet soft, perfect for formal moments or minimal outfits. Pro tip: Run a fine-tooth comb ahead of the flat iron for the smoothest passes.
How To Style: Smooth with a blow-dryer; flat-iron in quick sections; bevel the last inch of front pieces; add a small drop of serum to ends.
Best For: Heart, oval; straight or smoothed wavy hair.
Tools & Products: Blow-dryer, flat iron, heat protectant, fine-tooth comb, lightweight serum.
Low Knot with Face Curtains

A compact low knot keeps collars tidy while cheekbone-length curtains soften the front. It reads effortless and chic for commutes or dinners. The balance of tidy back and airy front flatters most faces. Pro tip: Place the knot just below the occipital bone for comfort and hold.
How To Style: Style the face curtains first; gather lengths low; twist into a small bun; pin; pull two soft pieces forward; smooth flyaways.
Best For: Oval, heart; straight to wavy hair.
Tools & Products: Brush, hair elastic, bobby pins, smoothing cream, flexible spray.
Conclusion
Face-framing is the fastest way to refresh your look without losing length. Focus on cheekbone-to-jaw pieces, a smart part, and light movement through the ends. Choose one everyday shape and one dressier option, then practice your blow-dry or air-dry routine for consistent, flattering results.
CTA
Want this tailored to your hair and face shape? Tell me your length, texture, and daily routine, and I’ll build a five-day face-framing plan with steps and a simple shopping list.
FAQs
1) What does “face-framing” mean in a haircut?
It’s the shorter pieces around your face—usually cheekbone to jaw—that create gentle angles. They soften strong lines, highlight eyes and lips, and blend into your overall length.
2) Which parting helps most with face-framing?
A side or off-center part breaks symmetry and adds height. Center parts work too when paired with curtain pieces that open at the brows and sweep to the cheekbones.
3) Will face-framing make my hair look thinner?
Not if it’s light and blended. Keep the shortest point near the cheekbone or chin and avoid over-removing bulk at the ends so your perimeter stays full.
4) Can curls do face-framing without frizz?
Yes. Cut with shrinkage in mind, style on wet hair with leave-in plus cream or gel, and avoid touching until dry. Define a few front curls for a polished outline.
5) Do I need heat tools for these looks?
Many styles are heat-optional. If you add heat, keep temperatures moderate, use protectant, and finish with flexible spray so face pieces move naturally.