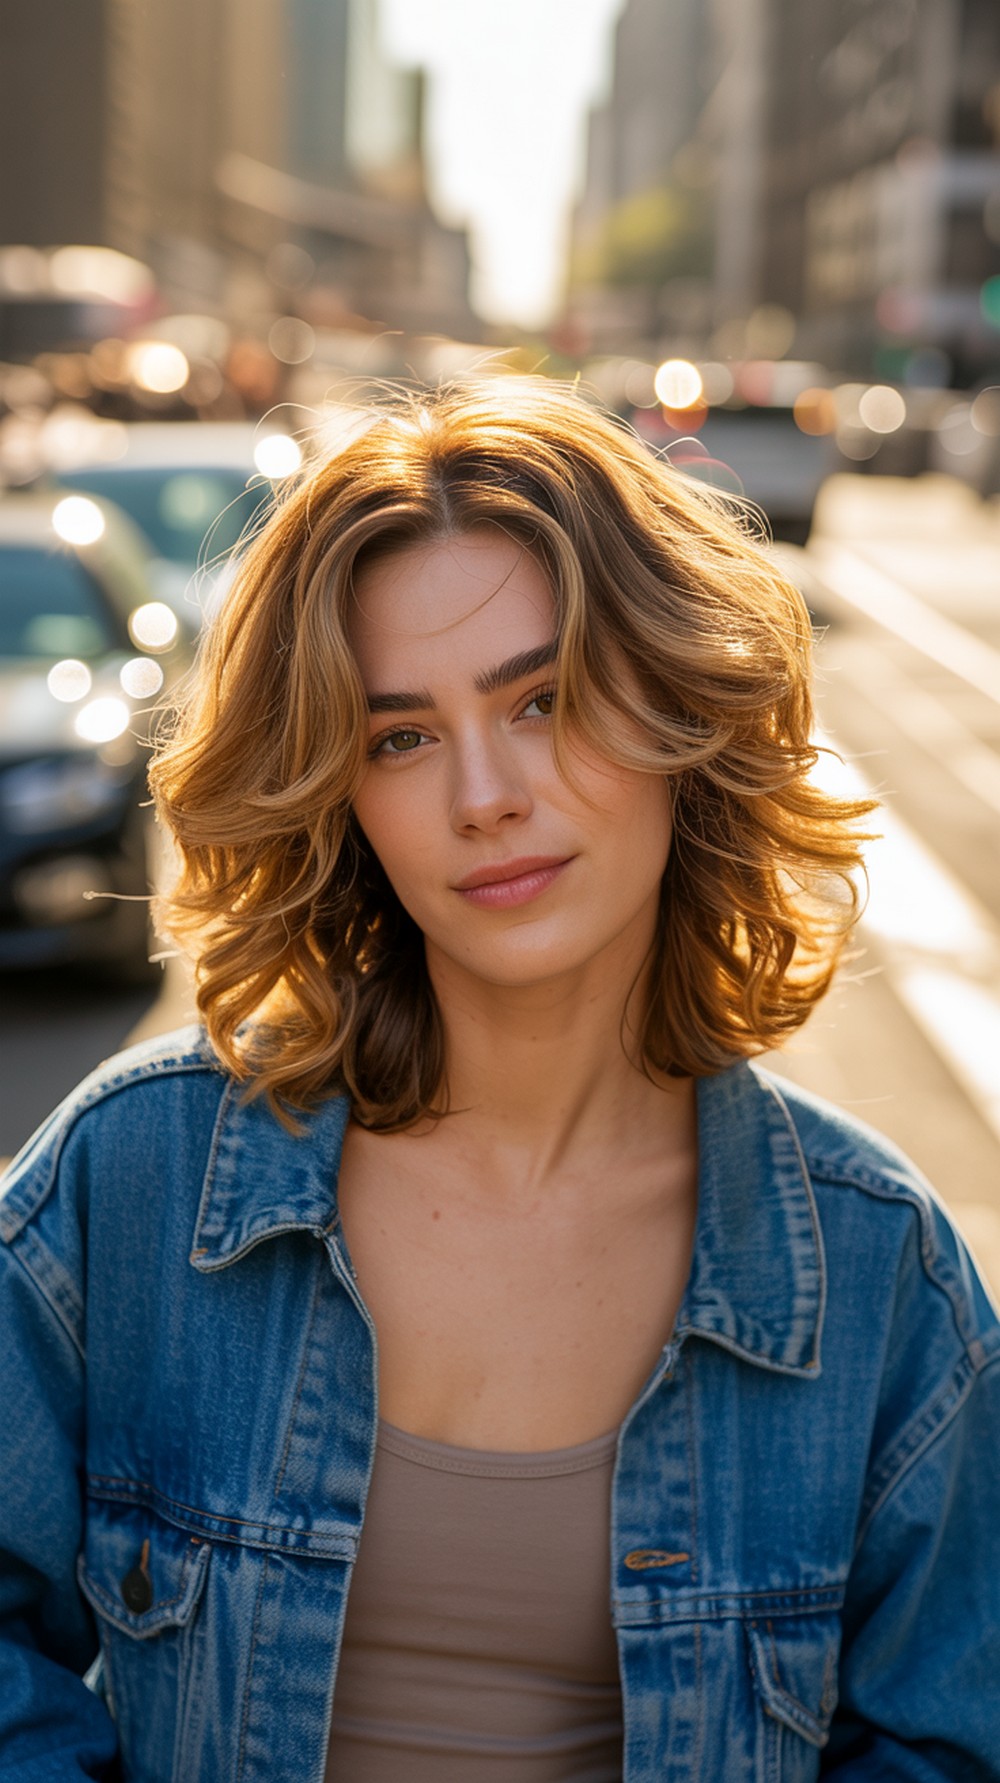
10 Fairy Wave Hairstyles for Long Hairs
Fairy waves are soft, airy bends that look light, floaty, and touchable—perfect when you want your long hair down but still styled. This list gives you ten wearable versions with small changes in parting, texture, and finish so each look feels fresh. Most ideas suit straight and wavy hair; curls can keep their pattern and add gentle definition for the same dreamy effect. Round and heart faces often love a side part; oval and long faces do well with a center part and a bit of crown lift. Before you start, detangle, add a small amount of leave-in or water, and keep a round brush, clips, a wide-tooth comb, and light, flexible spray nearby. The goal is movement, not stiffness—bends through mid-lengths and calm ends.
Quick List
- Airy Center-Part Fairy Waves
- Soft Side-Part Fairy Waves
- Ribbon-Headband Fairy Waves
- Fairy S-Waves with Straight Ends
- Face-Framing Fairy Waves
- Fairy Waves with Mini Accent Braids
- Root-Lift Fairy Waves
- Glossy Fairy Waves with Tucked Ear
- Boho Fairy Waves with Loose Fringe
- Day-After Fairy Waves Refresh
Airy Center-Part Fairy Waves

Classic fairy waves with a center part feel balanced and clean, great for school, work, or casual dinners. The bend sits mostly through the mid-lengths, leaving the ends soft so hair moves when you walk. This keeps long hair looking light instead of bulky. A little crown pinch adds height without teasing. For finer hair, work in bigger sections so the pattern stays airy. For thicker hair, clip each section to cool before you rake it out. Pro tip: bend only the middle third and tap the ends straight to keep that floaty look.
How To Style: Create a center part; add light leave-in; form bends from cheek to chest level; let cool; rake; mist flexible spray.
Best For: Oval, long; straight or wavy hair.
Tools & Products: Round brush, clips, wide-tooth comb, flexible hairspray.
Soft Side-Part Fairy Waves
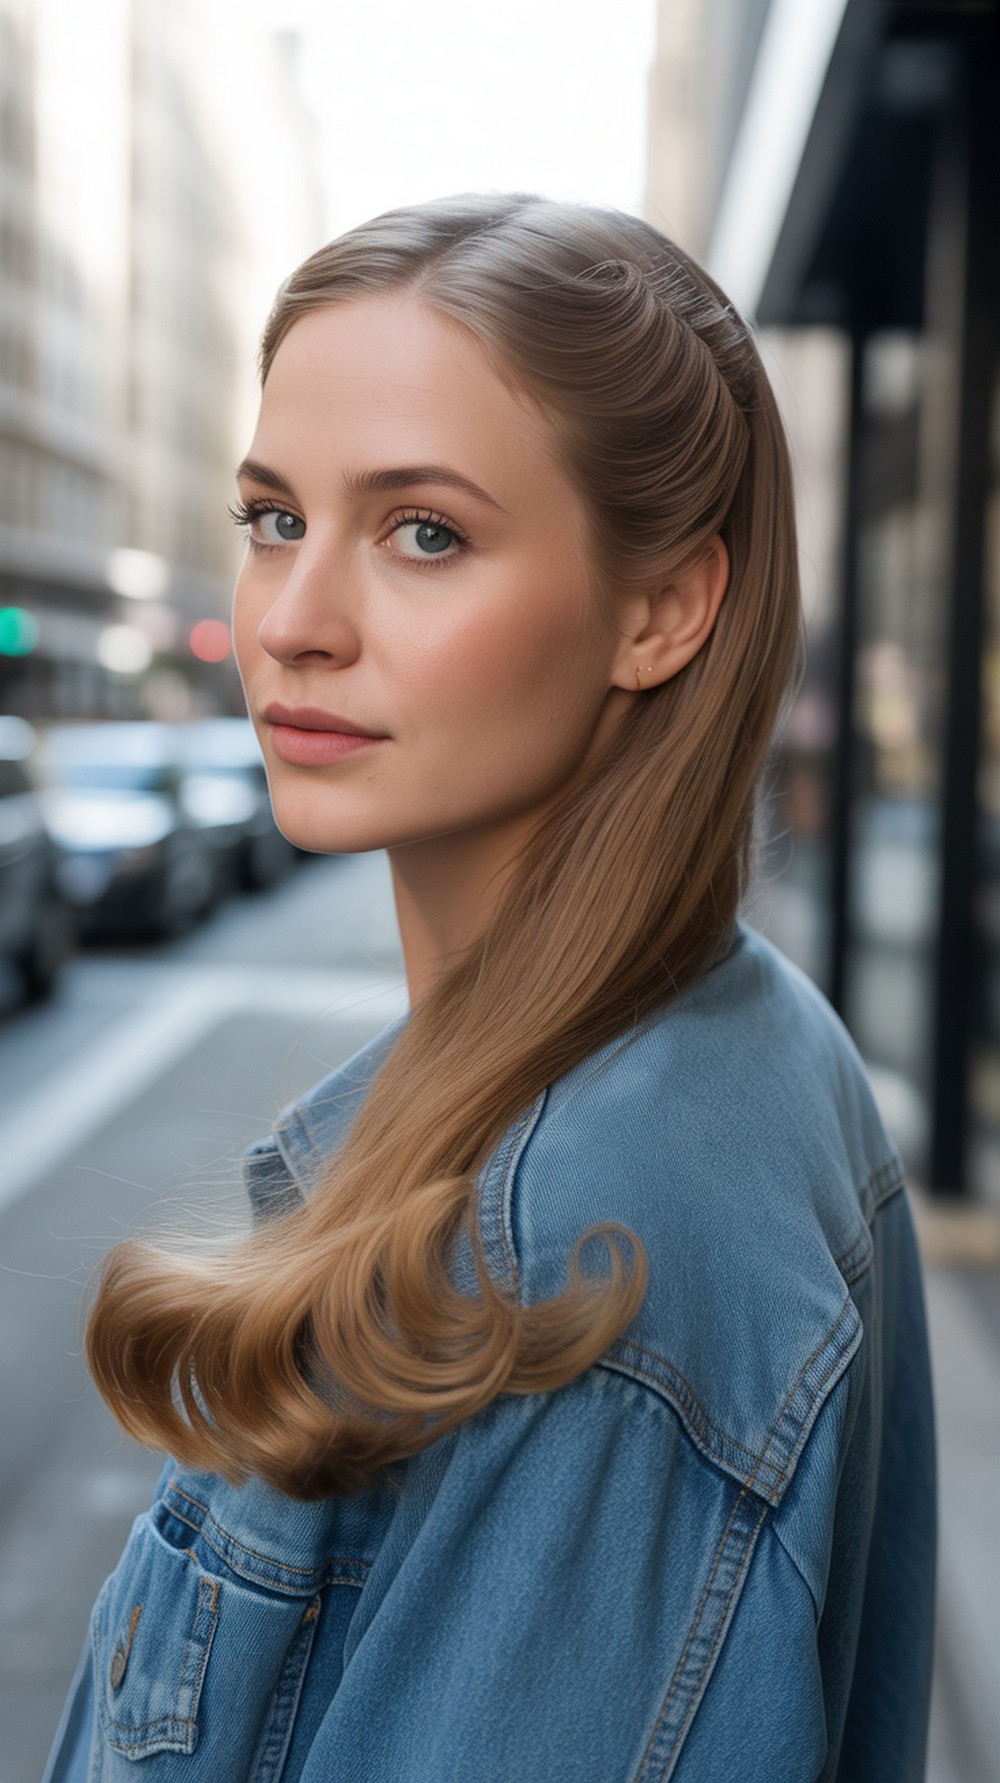
A gentle side part lifts one brow and frames the cheekbones, giving instant softness to round and heart faces. Keep the front section a touch higher, then melt into relaxed bends through the lengths. The result feels romantic but everyday. It pairs well with simple tops and minimal makeup. If your hair slips, add a bit of texture powder at the roots first. Pro tip: set the deep side in place with a clip for five minutes while hair cools.
How To Style: Draw a soft side part; create loose bends mid-length; clip the front to cool; release; tuck the light side behind the ear.
Best For: Round, heart; straight or wavy hair.
Tools & Products: Tail comb, duckbill clip, texture powder, light spray.
Ribbon-Headband Fairy Waves
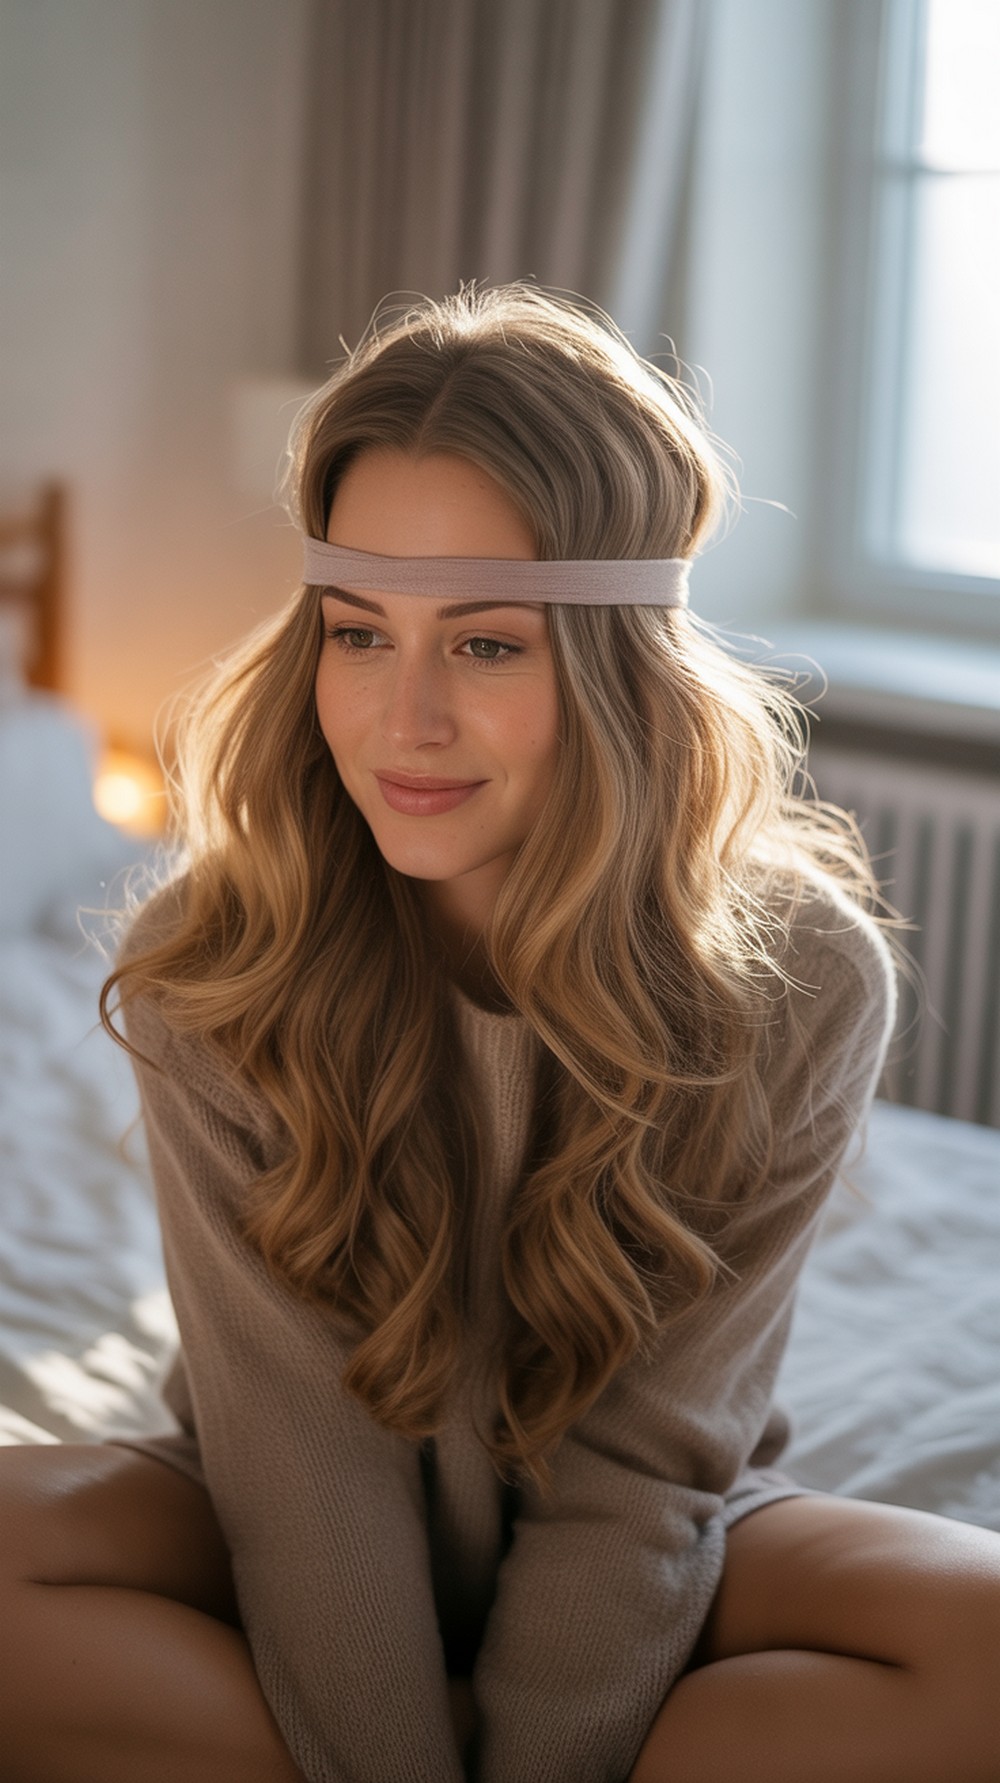
A slim fabric headband adds a gentle accent while you keep all the length open. The band lifts the crown, shows off the wave pattern, and keeps flyaways tidy. Choose a simple ribbon or fabric band in a neutral shade to let the texture lead. This is great for classes or brunch when you want a small detail without pins. Pro tip: place the band 2–3 cm behind the hairline to avoid flattening volume.
How To Style: Form airy waves; slide on a slim headband behind the hairline; lift the crown with your fingers; smooth the sides lightly.
Best For: Heart, oval; straight, wavy, or loose curls.
Tools & Products: Slim headband, wide-tooth comb, flexible spray.
Fairy S-Waves with Straight Ends
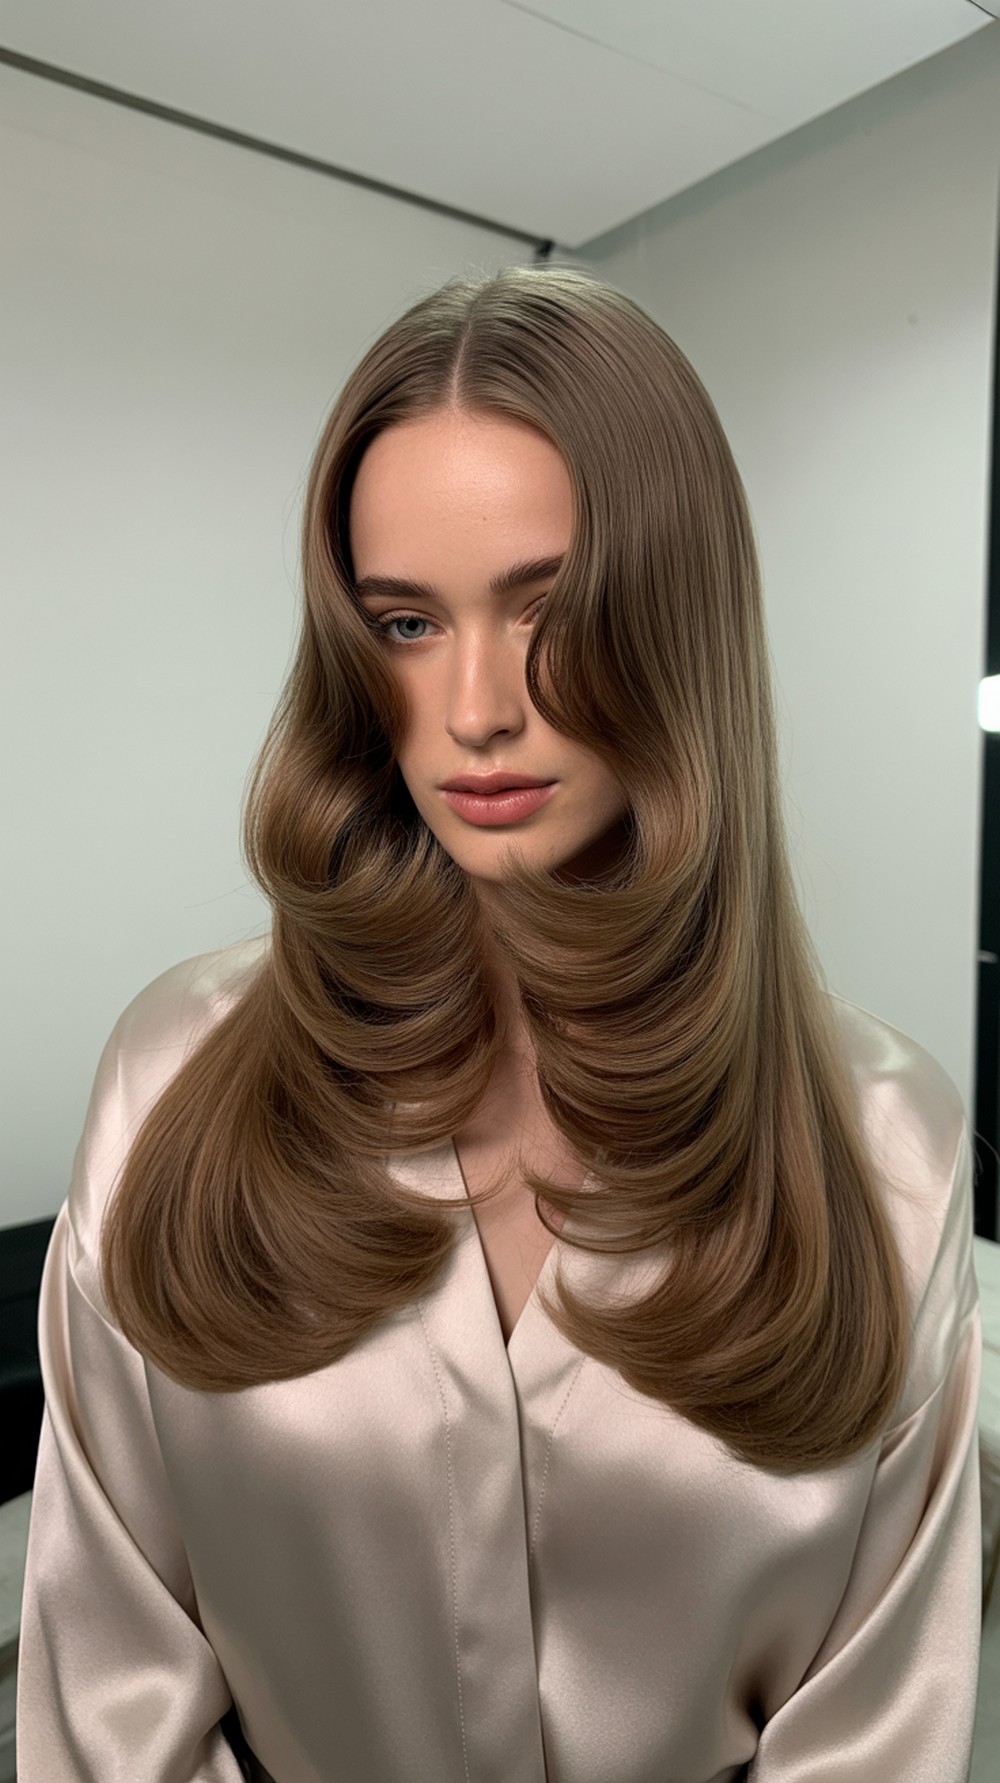
S-waves look modern when the curves sit mid-length and the ends stay straight. The contrast keeps long hair crisp while still floaty. This finish works well for photos and stays neat under coats or scarves. It also elongates the silhouette for round faces. Pro tip: after forming S-bends, clamp each curve briefly with a brush and your palm to set shape without creasing.
How To Style: Create S-bends in wide sections; keep the last few centimeters straight; let cool; rake through with fingers.
Best For: Round, oval; straight or wavy hair.
Tools & Products: Large round brush, clips, flexible hairspray.
Face-Framing Fairy Waves

Keep the main lengths airy and add two soft pieces that skim the cheekbones for balance. These face-framers guide attention to the eyes and soften sharper jawlines. The rest flows in light bends so the overall look stays effortless. Great for date nights or presentations when you want polish without weight. Pro tip: over-direct the front pieces forward while forming bends, then flip back for a gentle curtain effect.
How To Style: Part as preferred; create light bends; style two front sections slightly away from the face; cool; rake and set.
Best For: Heart, long; straight or wavy hair.
Tools & Products: Tail comb, clips, round brush, light finishing spray.
Fairy Waves with Mini Accent Braids

Two tiny braids near the temples add detail while keeping hair down and floaty. The braids act like a built-in headband, opening the face and giving texture contrast against soft waves. They’re quick, easy, and photo-friendly. Keep them slim so the vibe stays delicate. Pro tip: pancake the braids lightly—just feather the edges—for a softer line.
How To Style: Form airy waves; braid two tiny temple sections; secure with micro elastics; blend into the rest of the hair.
Best For: Heart, oval; straight, wavy, or loose curls.
Tools & Products: Small elastics, tail comb, flexible spray.
Root-Lift Fairy Waves
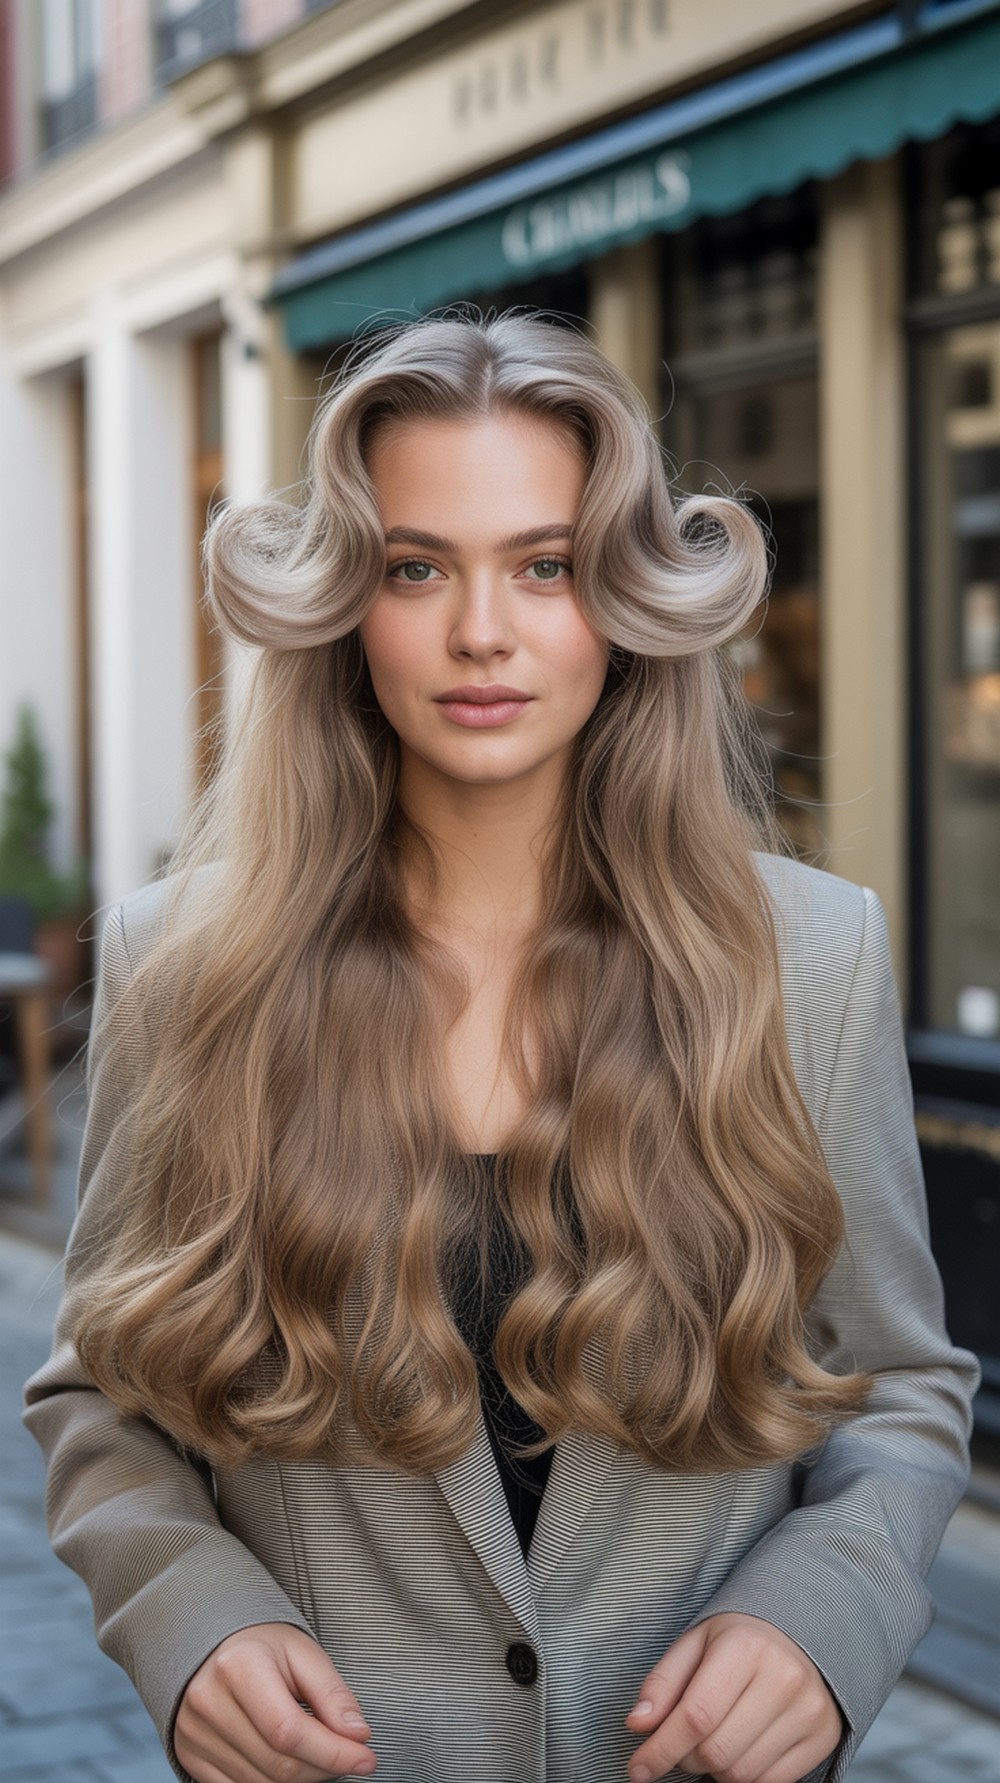
If your hair flattens fast, build volume at the base before you wave. A touch of dry shampoo or texture powder at the roots, plus a quick lift with a brush, creates space so bends can float. The lengths stay soft and the crown looks airy instead of puffy. Pro tip: clip the top in lifted sections while it cools, then release and rake.
How To Style: Prep roots with light grip; lift with a round brush; create loose bends mid-length; cool; rake; mist lightly.
Best For: Round, oval; fine straight or wavy hair.
Tools & Products: Dry shampoo/texture powder, round brush, clips, flexible spray.
Glossy Fairy Waves with Tucked Ear
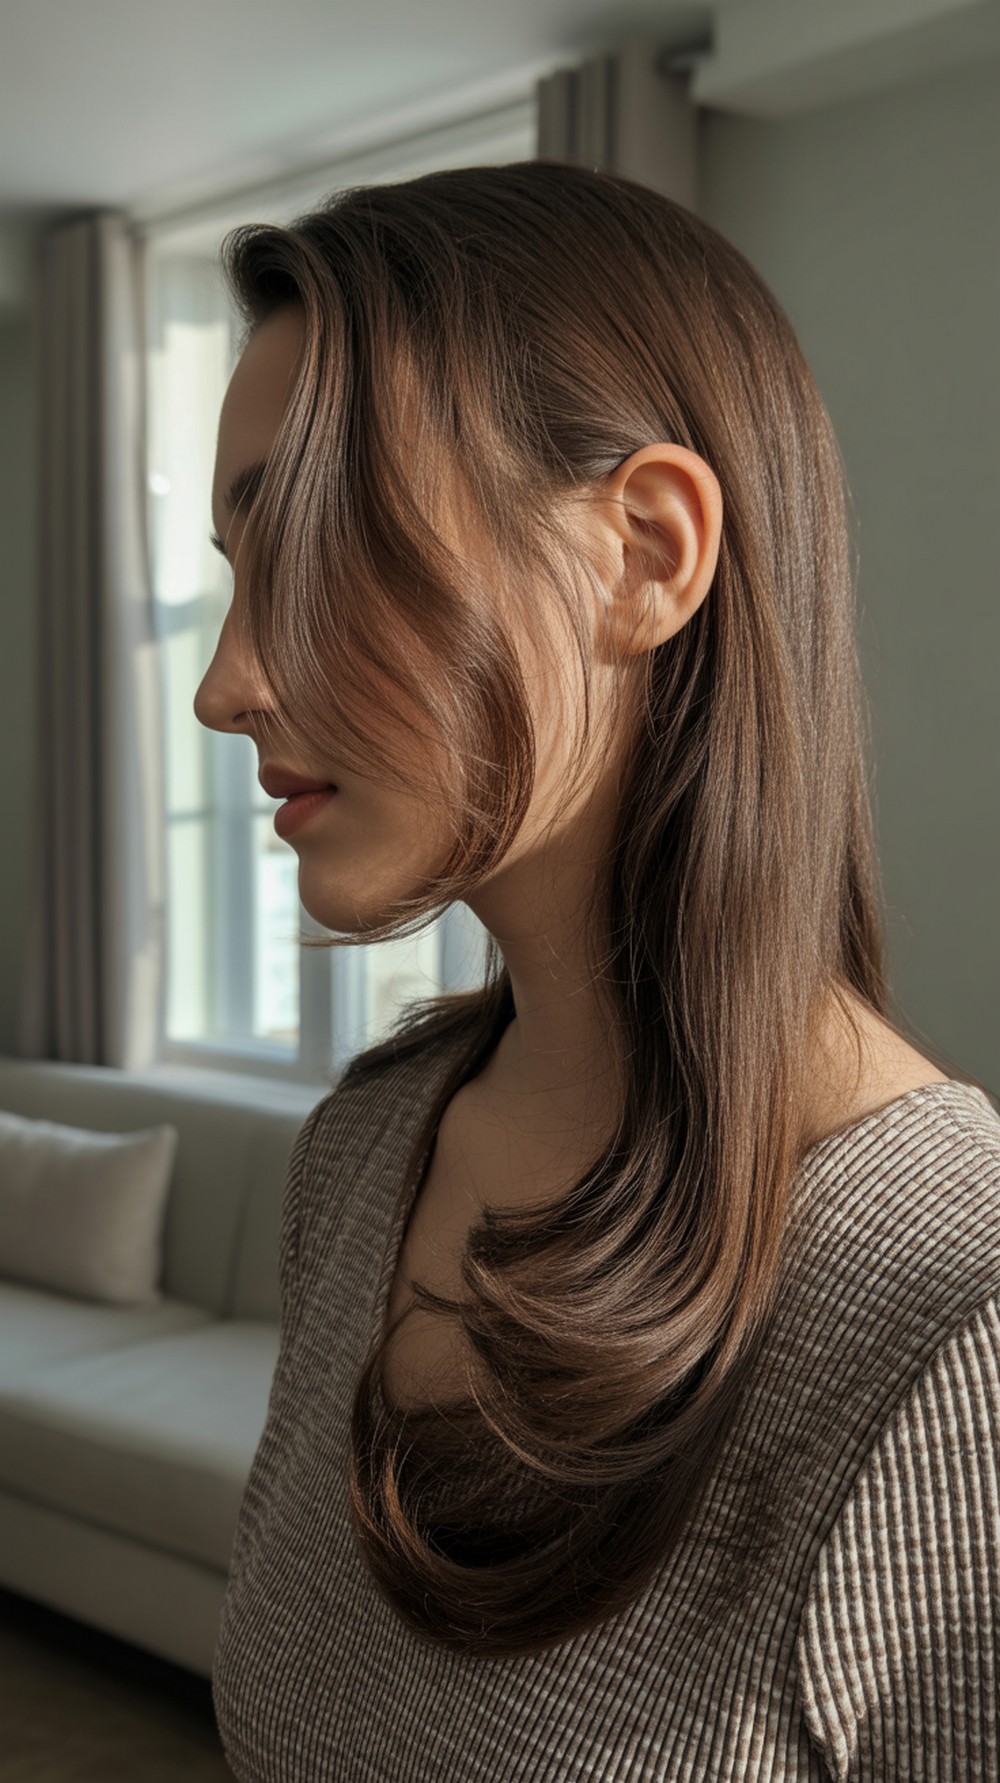
A single ear tuck on the light side shows off shine and keeps the look neat. The asymmetry adds interest without accessories. Keep bends soft and ends calm so the texture reads clean. Perfect for dinners or events where you want a touch of polish. Pro tip: smooth only the top centimeter near the part for a refined line.
How To Style: Create airy bends; define a soft part; tuck one side behind the ear; smooth flyaways; set with a light glossing mist.
Best For: Oval, long; straight or wavy hair.
Tools & Products: Wide-tooth comb, fine-tooth comb, light shine spray, flexible hairspray.
Boho Fairy Waves with Loose Fringe
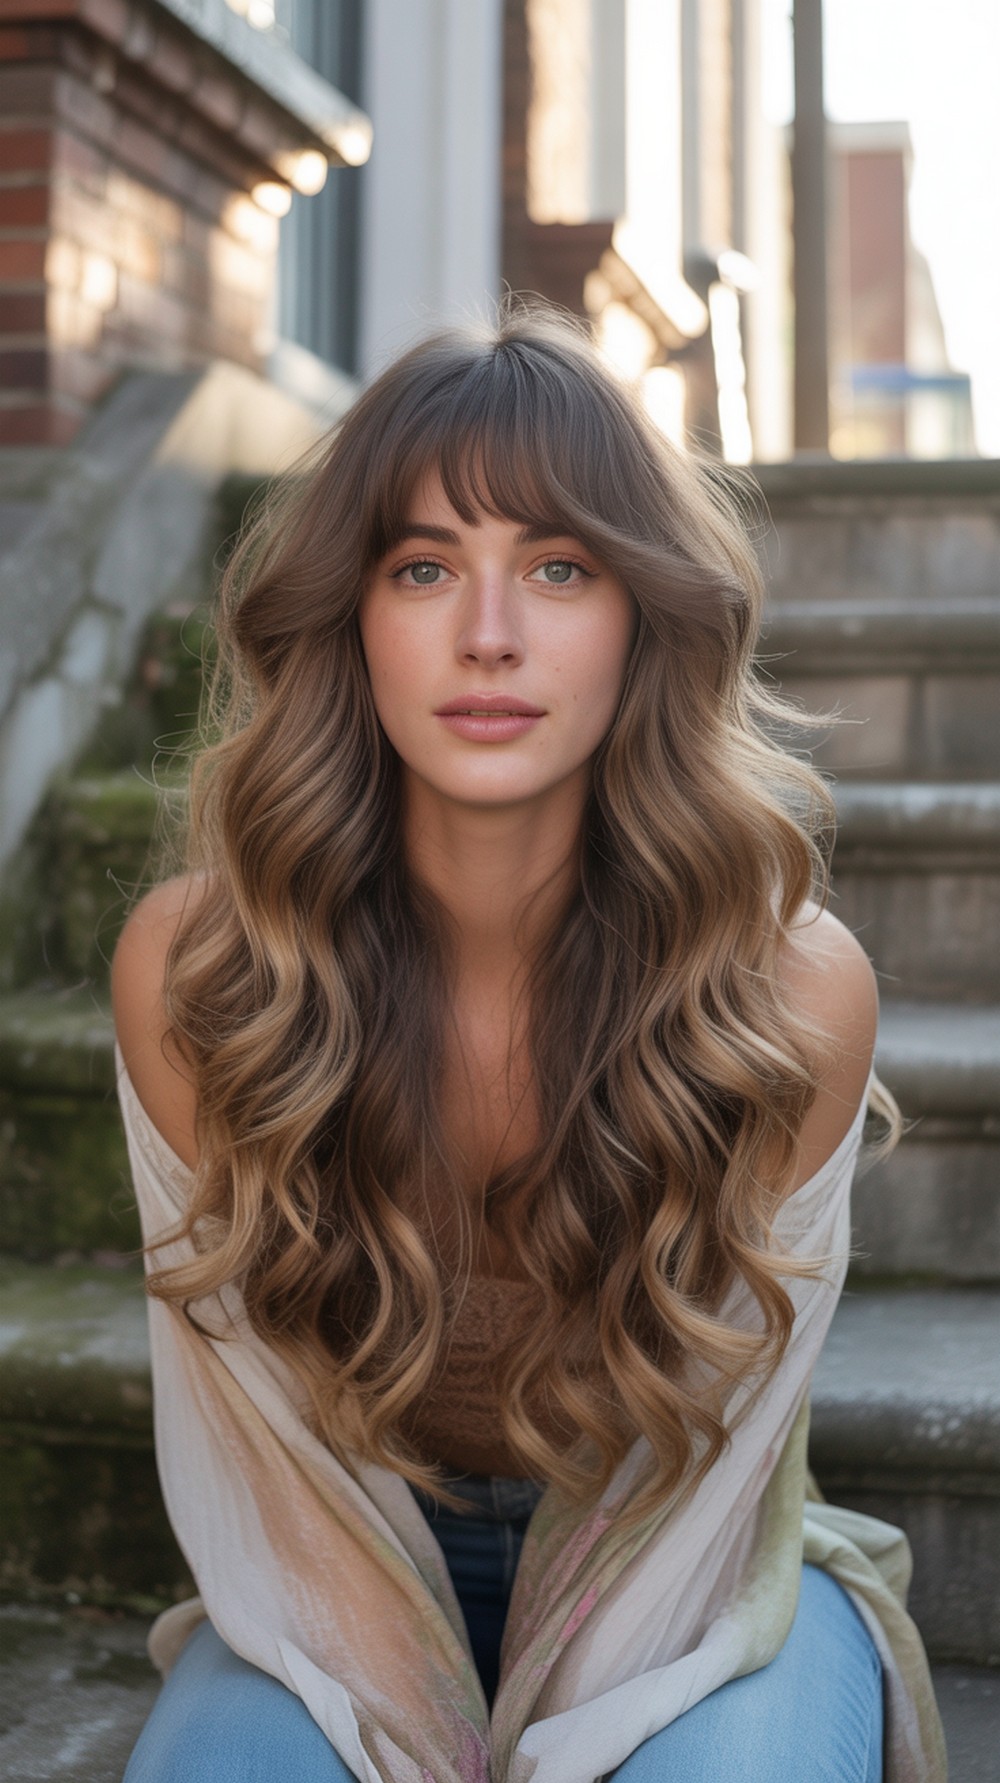
Keep a breezy fringe or longer curtain pieces and let them blend into floaty waves. This feels relaxed and festival-friendly while still tidy for everyday. The fringe softens the forehead and highlights the eyes, especially on heart and round faces. Pro tip: bend the fringe slightly flatter than the lengths so it sits light instead of bouncy.
How To Style: Part; form gentle bends through lengths; give fringe a small, shallow bend; rake; finish with flexible spray.
Best For: Heart, round; straight or wavy hair.
Tools & Products: Small round brush, clips, flexible hairspray, leave-in.
Day-After Fairy Waves Refresh
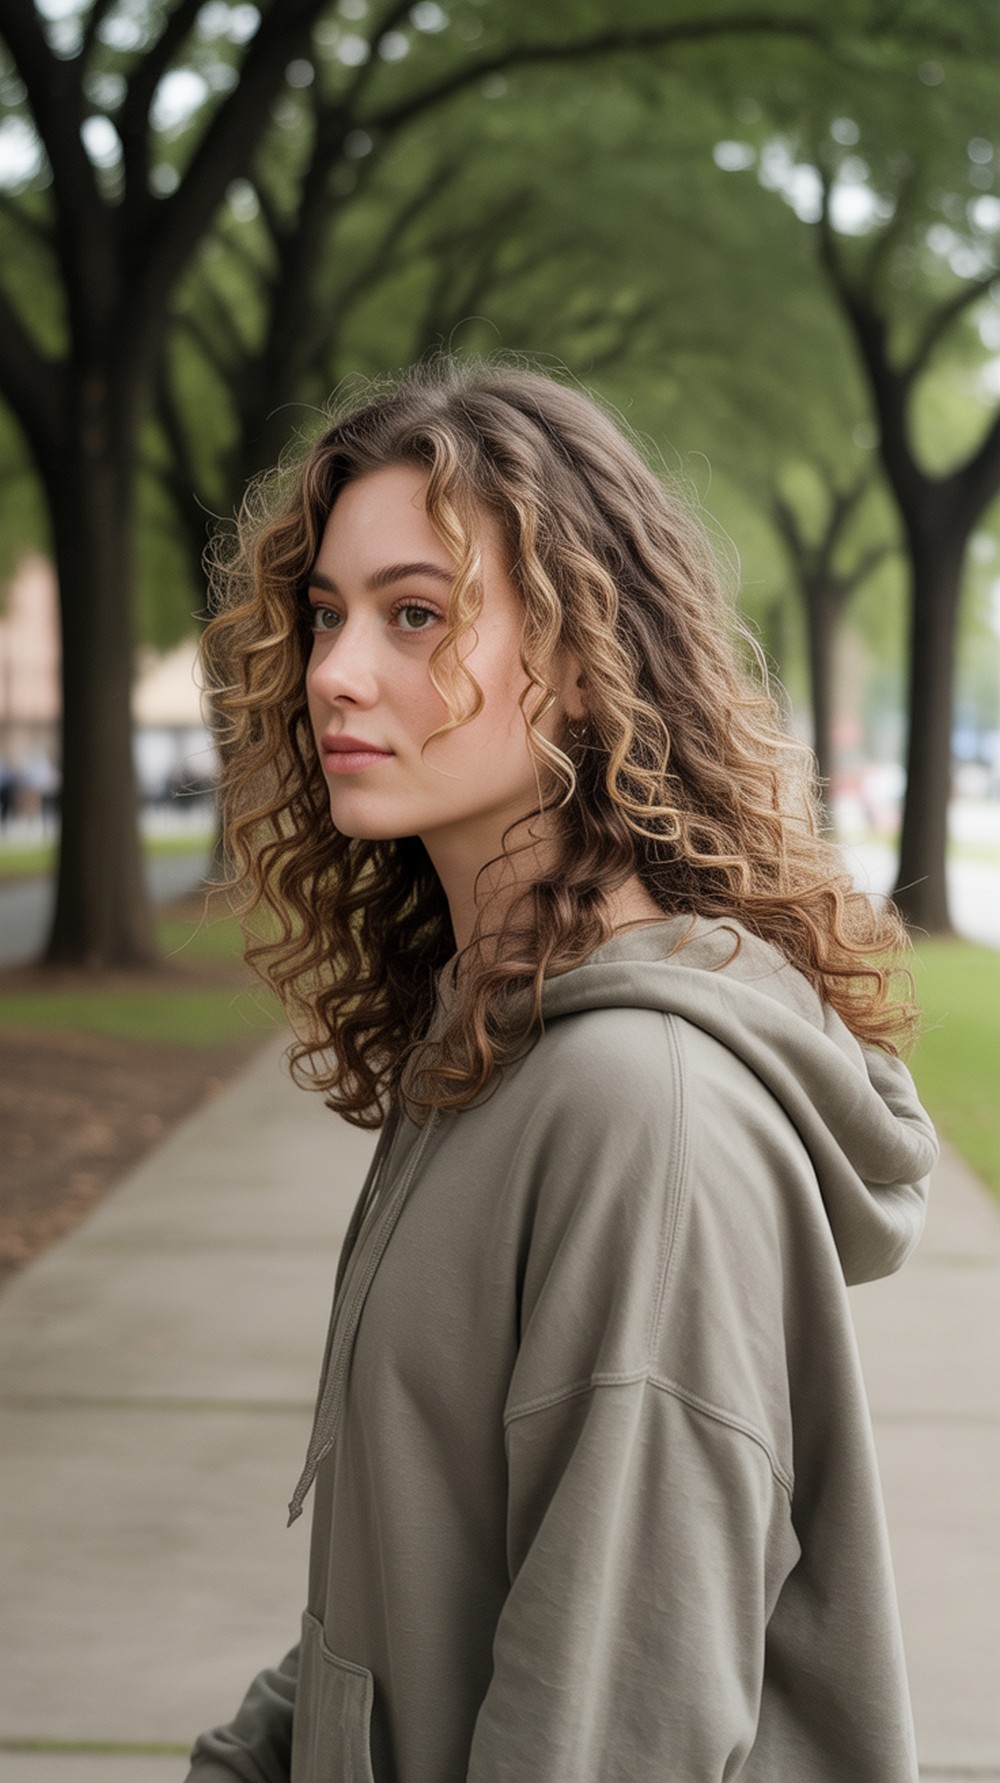
Refresh yesterday’s waves without starting over. Add a little water or leave-in to reactive bends, clip the top in lifted sections, then re-bend a few pieces around the face. The result looks newly styled with minimal effort. Great for busy mornings or travel. Pro tip: focus on the top layer only; leave the underneath soft and natural.
How To Style: Mist lightly; scrunch; redefine a few front pieces; clip the crown to cool; release; smooth ends if needed.
Best For: Oval, long; straight or wavy hair.
Tools & Products: Spray bottle, duckbill clips, wide-tooth comb, light cream or foam.
Conclusion
Fairy waves are all about easy movement. Keep bends focused through the mid-lengths, ends calm, and tension light so your hair stays floaty all day. Pick a parting that suits your face, set the crown while it cools, and carry a mini comb and flexible spray for quick touch-ups.
CTA
Want this tailored to your hair type and routine? Tell me your texture, face shape, and how much time you like to spend, and I’ll build a custom fairy-wave plan just for you.
FAQs
1) What makes fairy waves different from beach waves?
Fairy waves are lighter and softer with less grit. Instead of heavy texture, you’re creating gentle bends mainly through the mid-lengths while keeping the ends relaxed and smooth.
2) Can I get fairy waves without heat?
Yes. Try loose overnight braids, wrapping damp sections around a robe tie, or clipping S-bends while hair air-dries. In the morning, release, rake, and finish with a light spray.
3) Will this work on curly hair?
Absolutely. Define your curls first, then separate larger clumps into lighter ribbons so the finish looks airy. Smooth only the edges; don’t brush through dry curls.
4) How do I keep waves from dropping fast?
Build grip at the roots with dry shampoo or texture powder, let bends cool before touching, and use flexible spray. Avoid heavy oils that can weigh hair down.
5) Which parting flatters my face?
Round and heart faces benefit from a soft side part and cheekbone-skimming pieces. Oval and long faces balance well with a center part and a touch of crown lift.