10 Easy Hairstyles for School
This list rounds up ten school-friendly hairstyles you can do fast, even on a busy morning. You’ll find low-maintenance looks for short, medium, and long hair, with tweaks for straight, wavy, and curly textures. Most styles flatter soft oval, heart, or round faces; where parts or height help balance features, we note it. Before you start, brush gently, smooth flyaways with a tiny dab of cream, and keep a few elastics, bobby pins, and a tail comb within reach. Dry shampoo can refresh roots, while a light hold spray keeps flyaways tame without crunch. Each idea includes a quick how-to, who it suits, and simple tools—no complicated braiding skills required. Pick one you can master in under five minutes, then rotate during the week to keep things fresh.
Quick List
- Low Pony with Middle Part
- Half-Up Claw-Clip Twist
- Bubble Braid Pony
- Braided Headband
- Messy Low Bun
- Sleek High Pony
- Half-Up Space Buns
- Side Dutch Braid
- Curly Pineapple Puff
- Tucked-Behind-Ears Bob
Low Pony with Middle Part

Simple, neat, and quick—this low pony looks put-together without effort. The middle part keeps things balanced, making it great for class photos or presentation days. It works with straight or wavy hair and easily hides second-day roots. Wear it with a crewneck or collared shirt; the low placement won’t snag on backpacks or hoodies. If your hair tends to frizz, a touch of cream at the part and nape keeps it sleek. Pro tip: wrap a small strand around the elastic and pin underneath for a clean finish that looks polished but still school-appropriate.
How To Style — Part down the middle, brush back, secure low at the nape, then smooth flyaways. Optional hair-wrap and pin.
Best For — Round, oval; straight/wavy hair.
Tools & Products — Tail comb, brush, elastics, bobby pins, light hold hairspray.
Half-Up Claw-Clip Twist
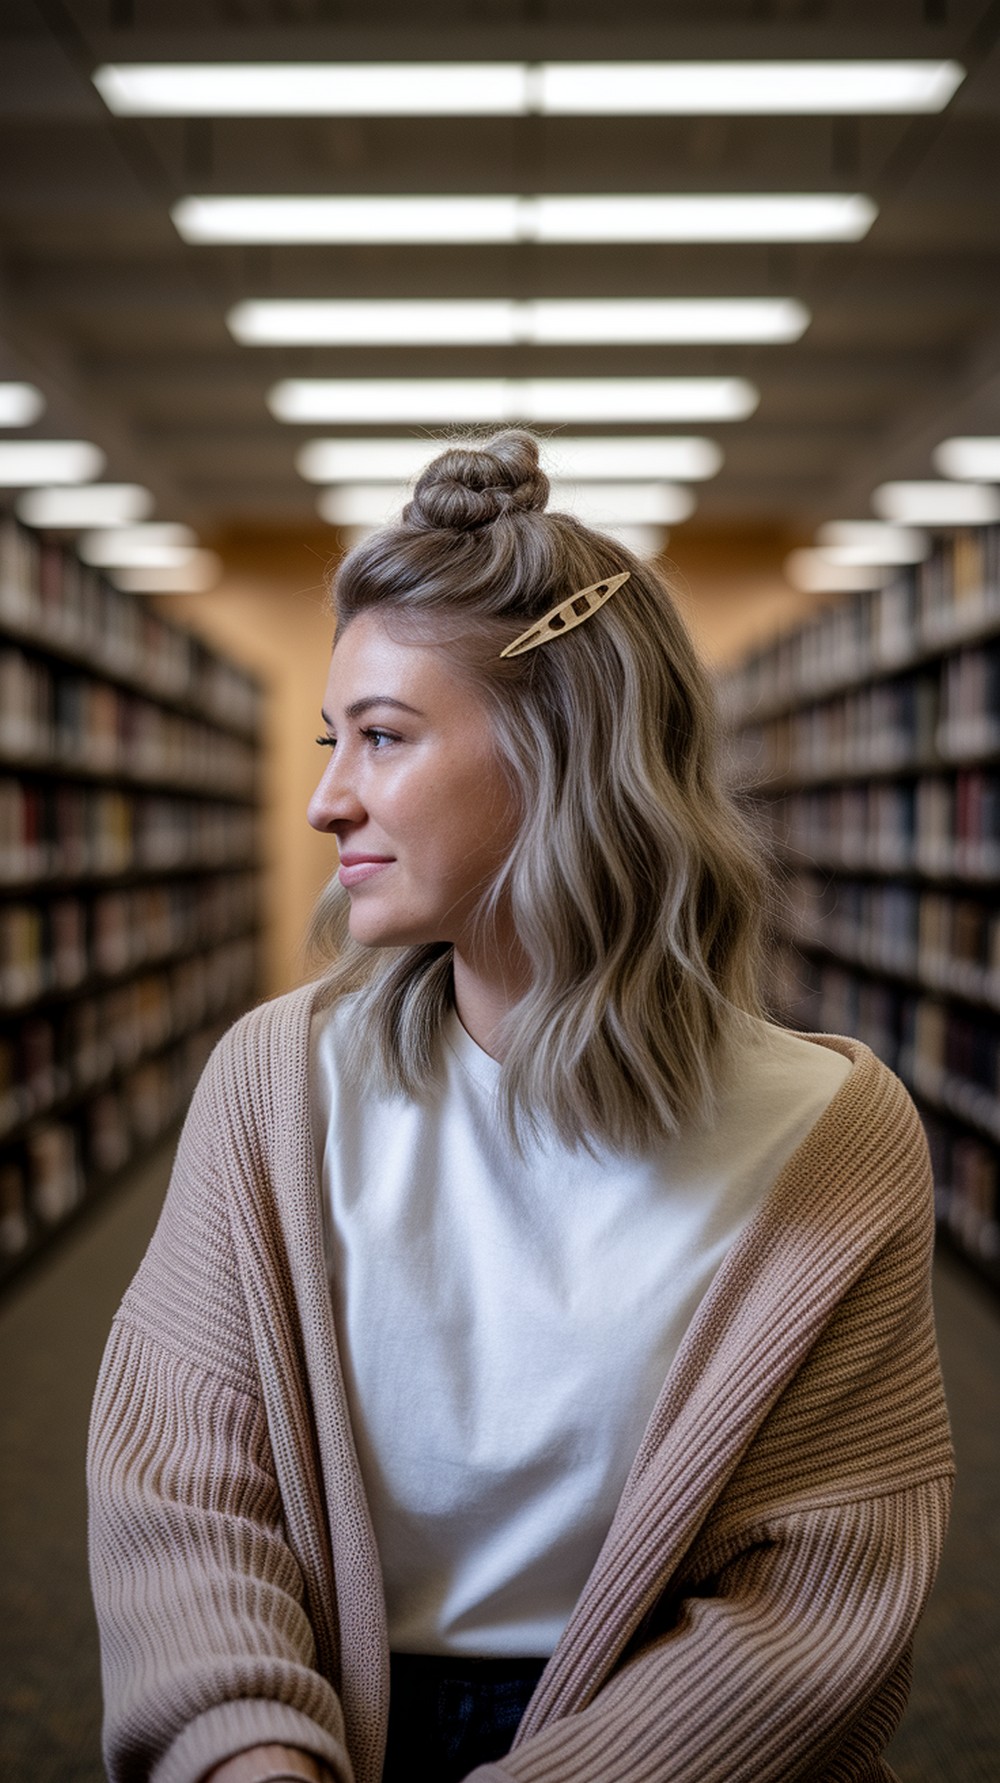
This is your five-second lift when hair feels flat. The half-up twist adds volume at the crown while leaving length loose for movement. It’s great between classes because the clip pops in and out without dents. Works on most textures; waves look extra full, and straight hair gains shape. Choose a clip that grips but isn’t heavy. Wear with tees or knits—no snagging. Pro tip: tease just the top inch at the crown, then smooth the surface before clipping so it looks full but tidy.
How To Style — Gather top half, twist upward, fold ends down, and secure with a medium claw clip.
Best For — Heart, oval; straight/wavy/loose curls.
Tools & Products — Claw clip, brush, light teasing comb, dry shampoo.
Bubble Braid Pony
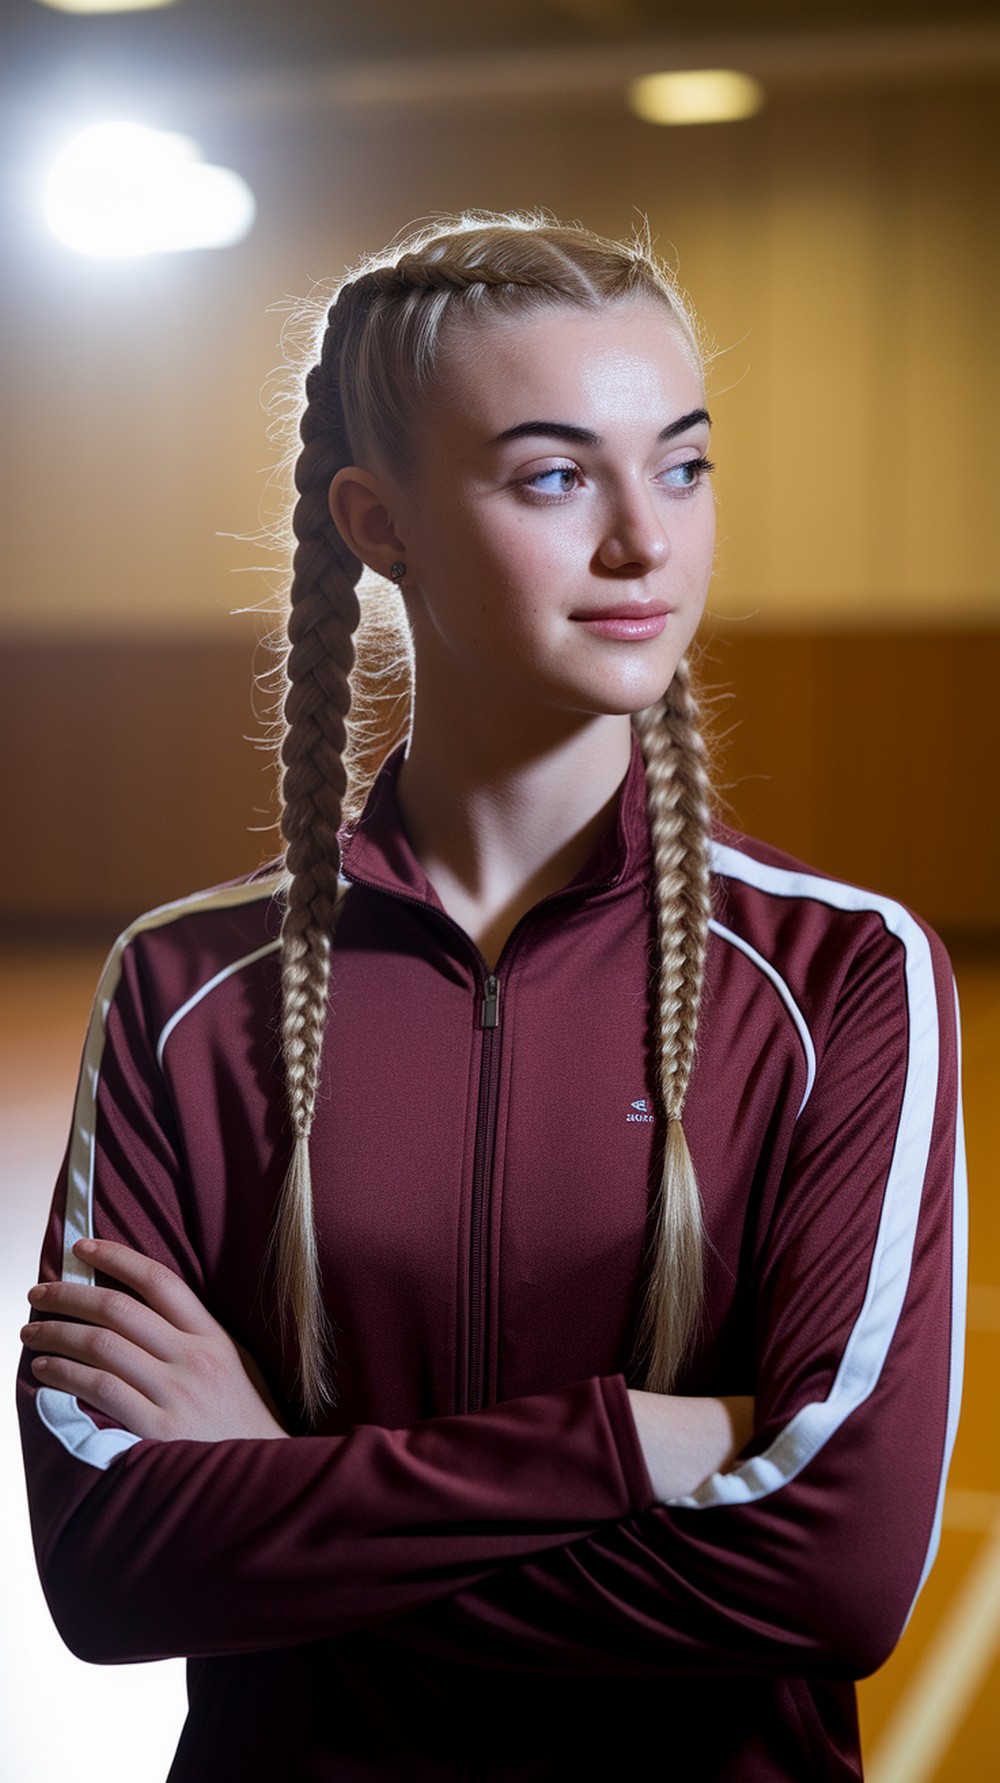
Fun and sporty, the bubble braid pony stays put in PE and looks cute all day. It adds volume without heavy braiding and works best on medium to long lengths. Space elastics every few inches, then gently pull each “bubble” for even shape. It’s a great option for straight or wavy hair; curls can do it too with a little cream to define the bubbles. Pro tip: match elastic colors to your hair for a clean look or mix colors on spirit days.
How To Style — Gather a mid-height pony, secure. Add elastics down the length, then gently tug each section to round it out.
Best For — Oval, long; straight/wavy/curly.
Tools & Products — Elastics, brush, smoothing cream, light hairspray.
Braided Headband
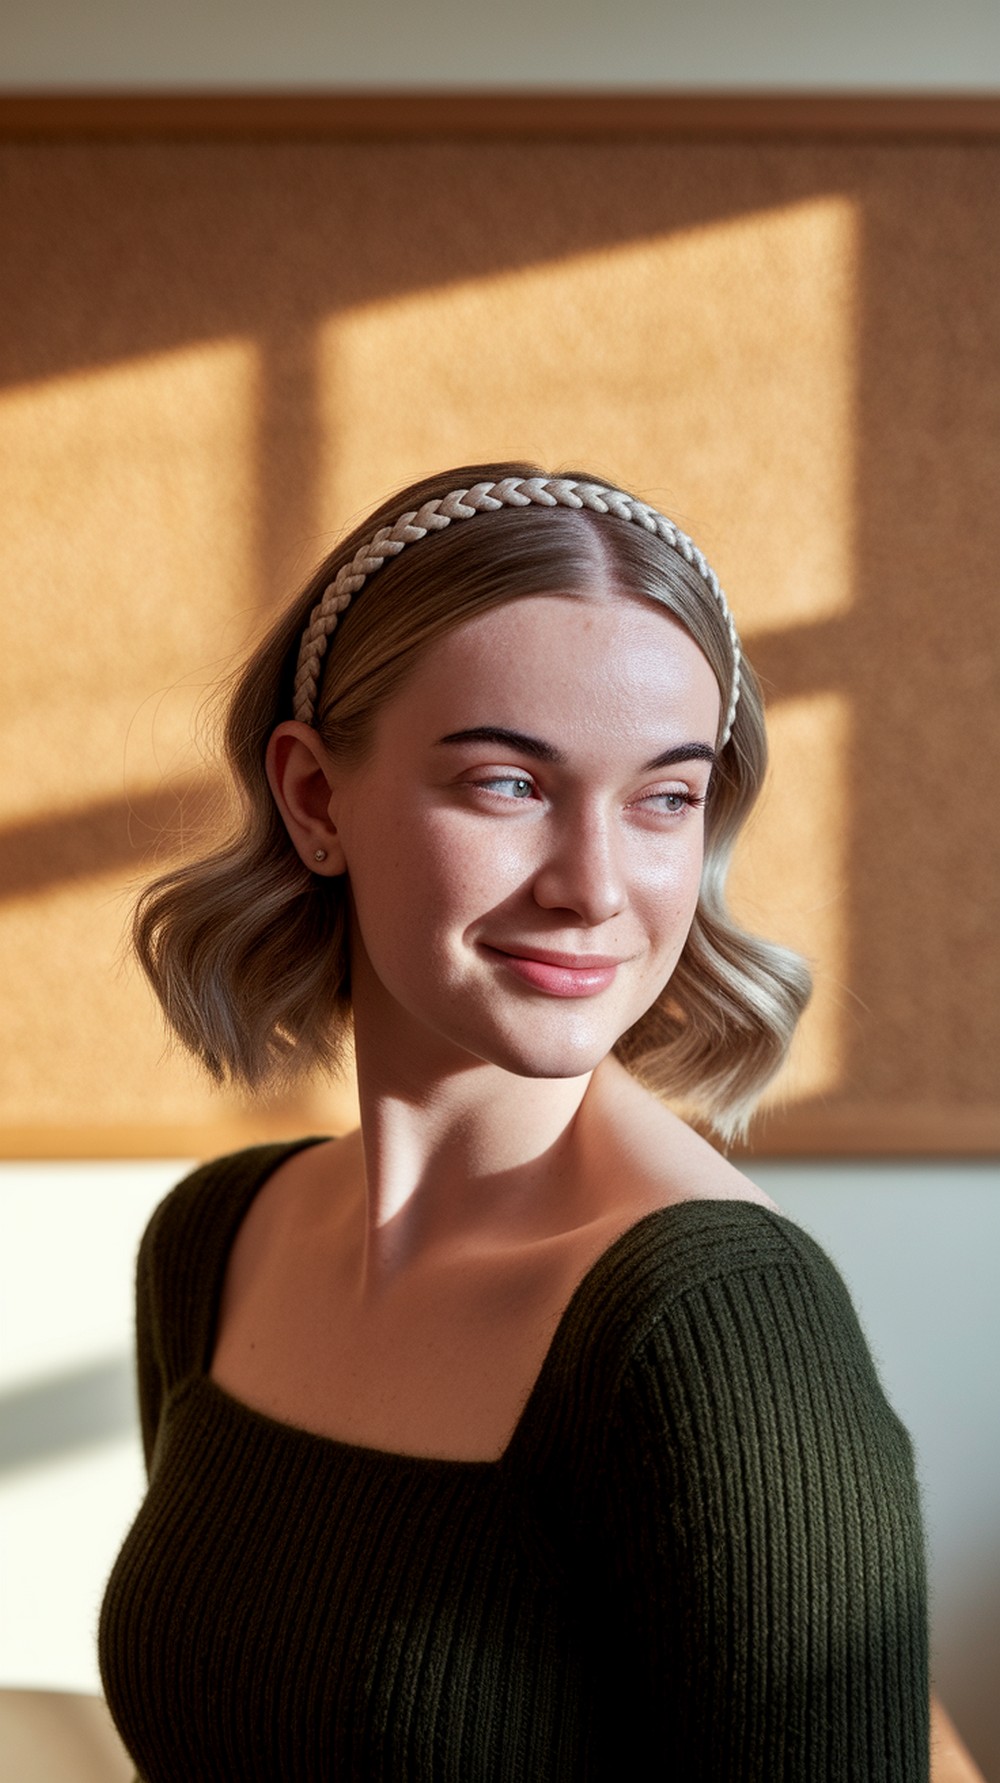
This braid acts like a soft headband to keep fringe off your face. It works on shoulder-length or longer hair and looks great with waves. You’ll braid a small front section from one temple across the hairline and pin it behind the opposite ear. It’s neat for labs, art class, or anytime you need hair out of the way. Pro tip: pull the braid slightly at the edges for a fuller, softer look that won’t feel tight.
How To Style — Take a front section near one temple, three-strand braid across the hairline, pin behind the opposite ear.
Best For — Heart, round; straight/wavy.
Tools & Products — Tail comb, bobby pins, small elastic, light hairspray.
Messy Low Bun
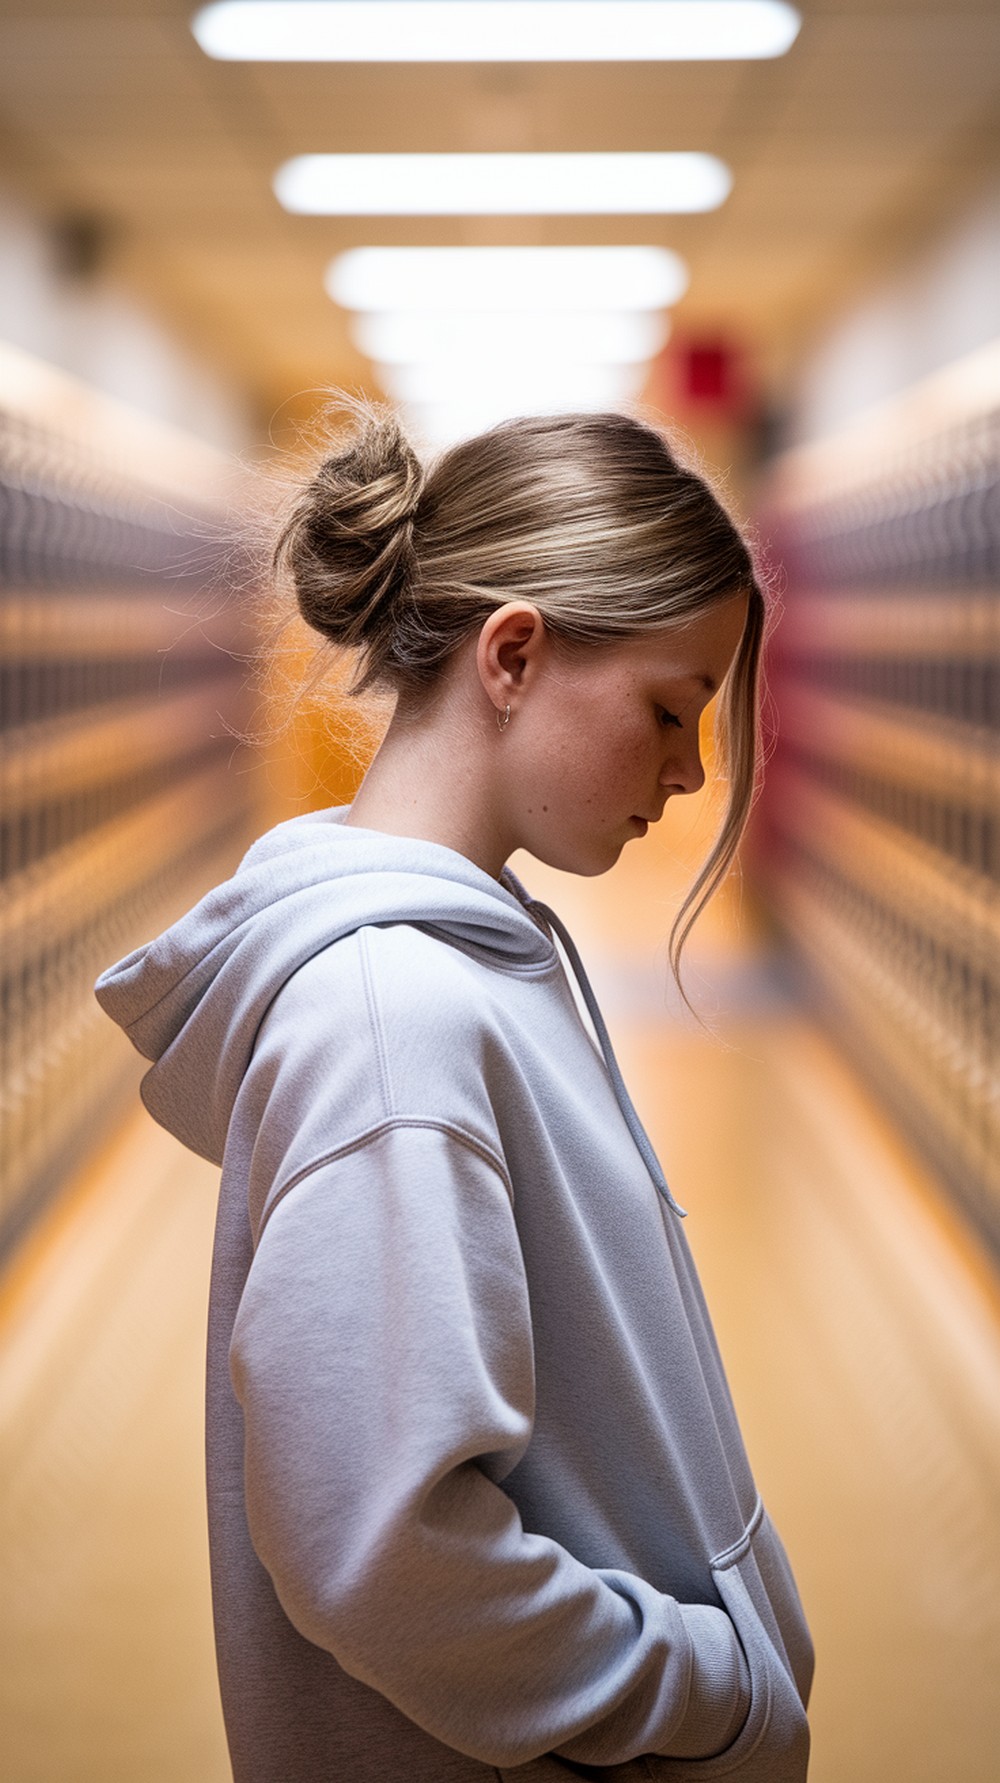
Fast and forgiving, this low bun saves second-day hair and still looks intentional. Leave a few soft pieces around the face to keep it relaxed. It won’t bump under hats or hoodies and sits comfortably for long classes. Works with most textures; add cream on curls to keep tendrils defined. Pro tip: anchor a small pony first, then twist into a bun and pin into the base—this gives it staying power without feeling tight.
How To Style — Low pony; twist length into a coil; wrap around base; pin. Pull out a few soft pieces if you like.
Best For — Round, oval; wavy/curly/straight.
Tools & Products — Elastics, bobby pins, brush, light hairspray.
Sleek High Pony
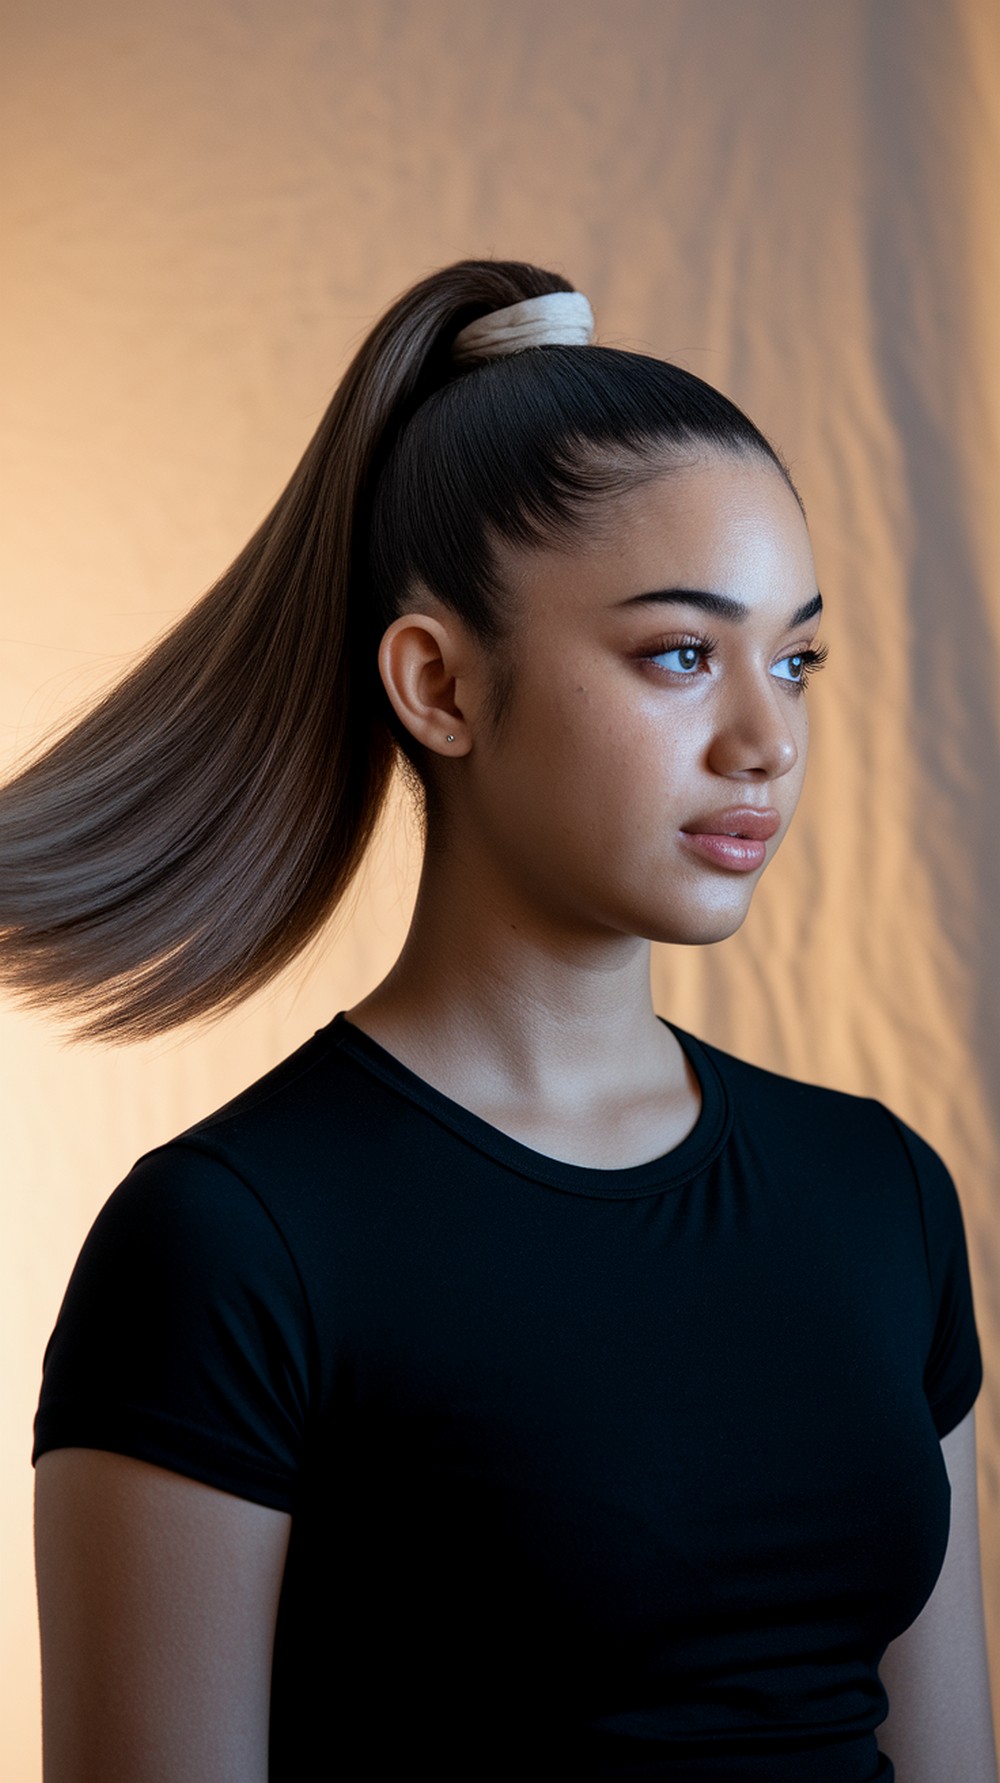
Clean and athletic, a high pony lifts the face and keeps hair fully off the neck. It’s perfect for busy days and team practice. The key is smooth sides and a tight base; a small amount of gel or cream keeps the line crisp. Straight and wavy hair look sharp; curls can be gathered smoothly with a soft brush. Pro tip: flip your head upside down to gather the pony—this makes it higher and smoother in one go.
How To Style — Brush upward, gather at crown, secure firmly, smooth sides, and wrap a small strand around the tie if desired.
Best For — Oval, heart; straight/wavy/curly.
Tools & Products — Brush, elastics, smoothing cream/gel, hairspray.
Half-Up Space Buns
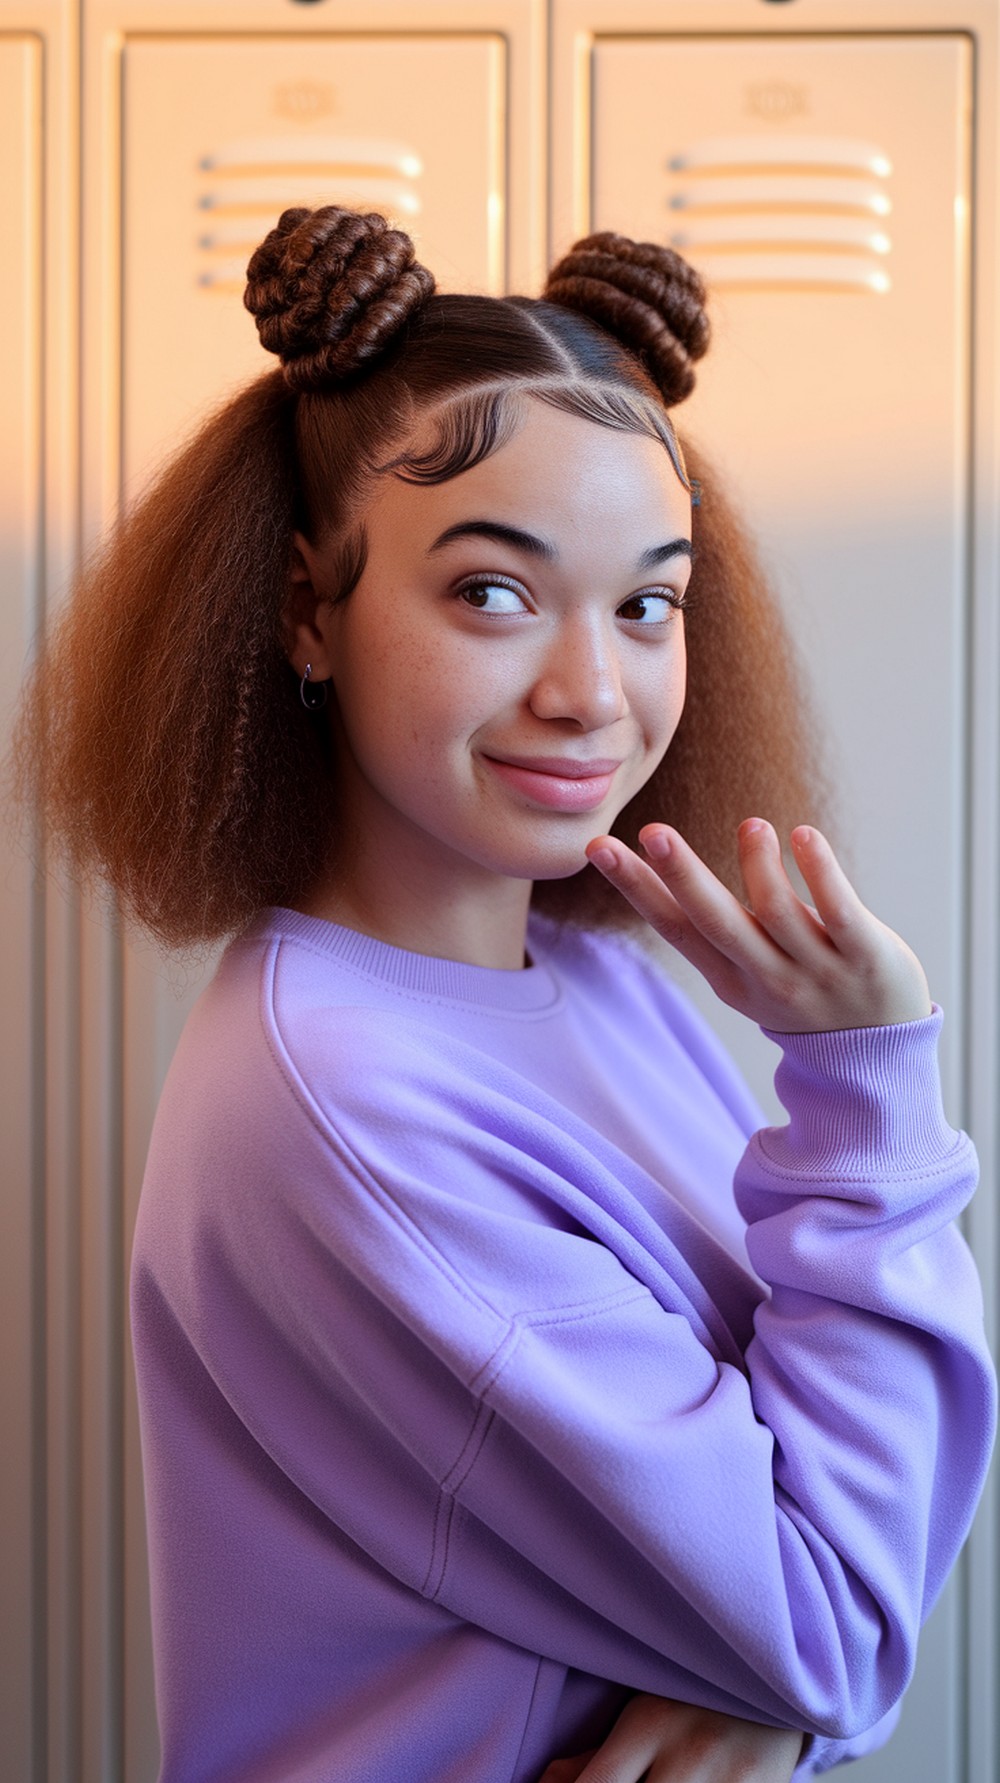
Playful but practical, half-up space buns keep the top section neat while leaving the rest loose. They look great on wavy and curly textures because volume balances the two buns. Place them level with your temples for symmetry, or slightly higher for extra energy. They stay comfy under headphones and don’t pull too tight. Pro tip: twist loosely before coiling into mini buns—looser twists look fuller and stay round.
How To Style — Split top half into two sections; create two small ponytails; twist each and coil into buns; pin or elastic to secure.
Best For — Round, heart; wavy/curly/straight.
Tools & Products — Elastics, bobby pins, tail comb, light hairspray.
Side Dutch Braid
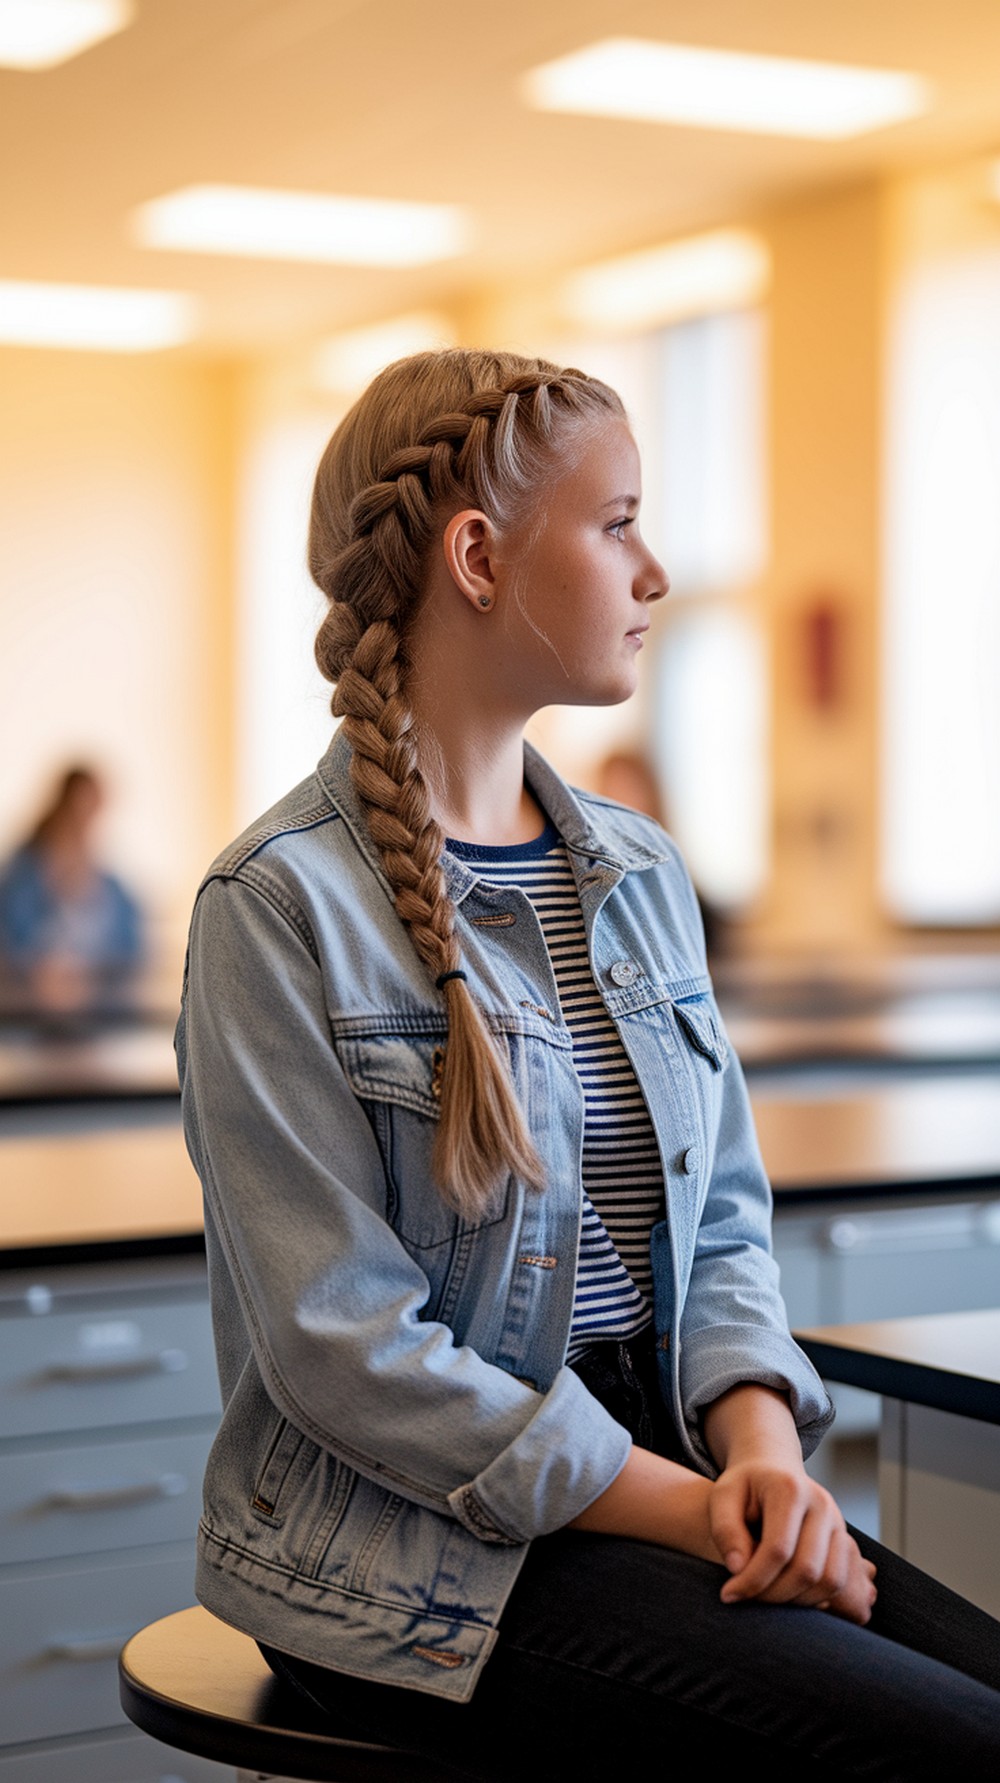
A single side Dutch braid is tidy and stylish, keeping hair off your face during labs or sports. It adds dimension to straight hair and controls waves or curls. Start near the part and work diagonally to the opposite shoulder. Finish with a regular braid and a small elastic. Pull the edges gently to make it look fuller without loosening the base. Pro tip: mist a little water first—slightly damp hair is easier to braid and less frizzy.
How To Style — Create a deep side part; begin a Dutch braid near the part; braid along the hairline to the side; secure.
Best For — Heart, oval; straight/wavy/curly.
Tools & Products — Tail comb, elastics, brush, light hairspray.
Curly Pineapple Puff

Great for curls and coils, the pineapple puff lifts volume high and keeps curls intact. It’s fast, protective, and shows off texture. Gather hair at the top center and secure with a soft tie or scarf. Let curls fall forward for a halo effect and keep edges soft. This look is comfy for long days and won’t crush under a hoodie. Pro tip: smooth a tiny bit of curl cream on the perimeter and mist water to refresh before gathering.
How To Style — Tilt head forward, gather hair at crown, secure gently so curls keep their shape; fluff lightly.
Best For — Round, oval; curly/coily.
Tools & Products — Soft scrunchie/scarf tie, curl cream, spray bottle, edge brush (optional).
Tucked-Behind-Ears Bob

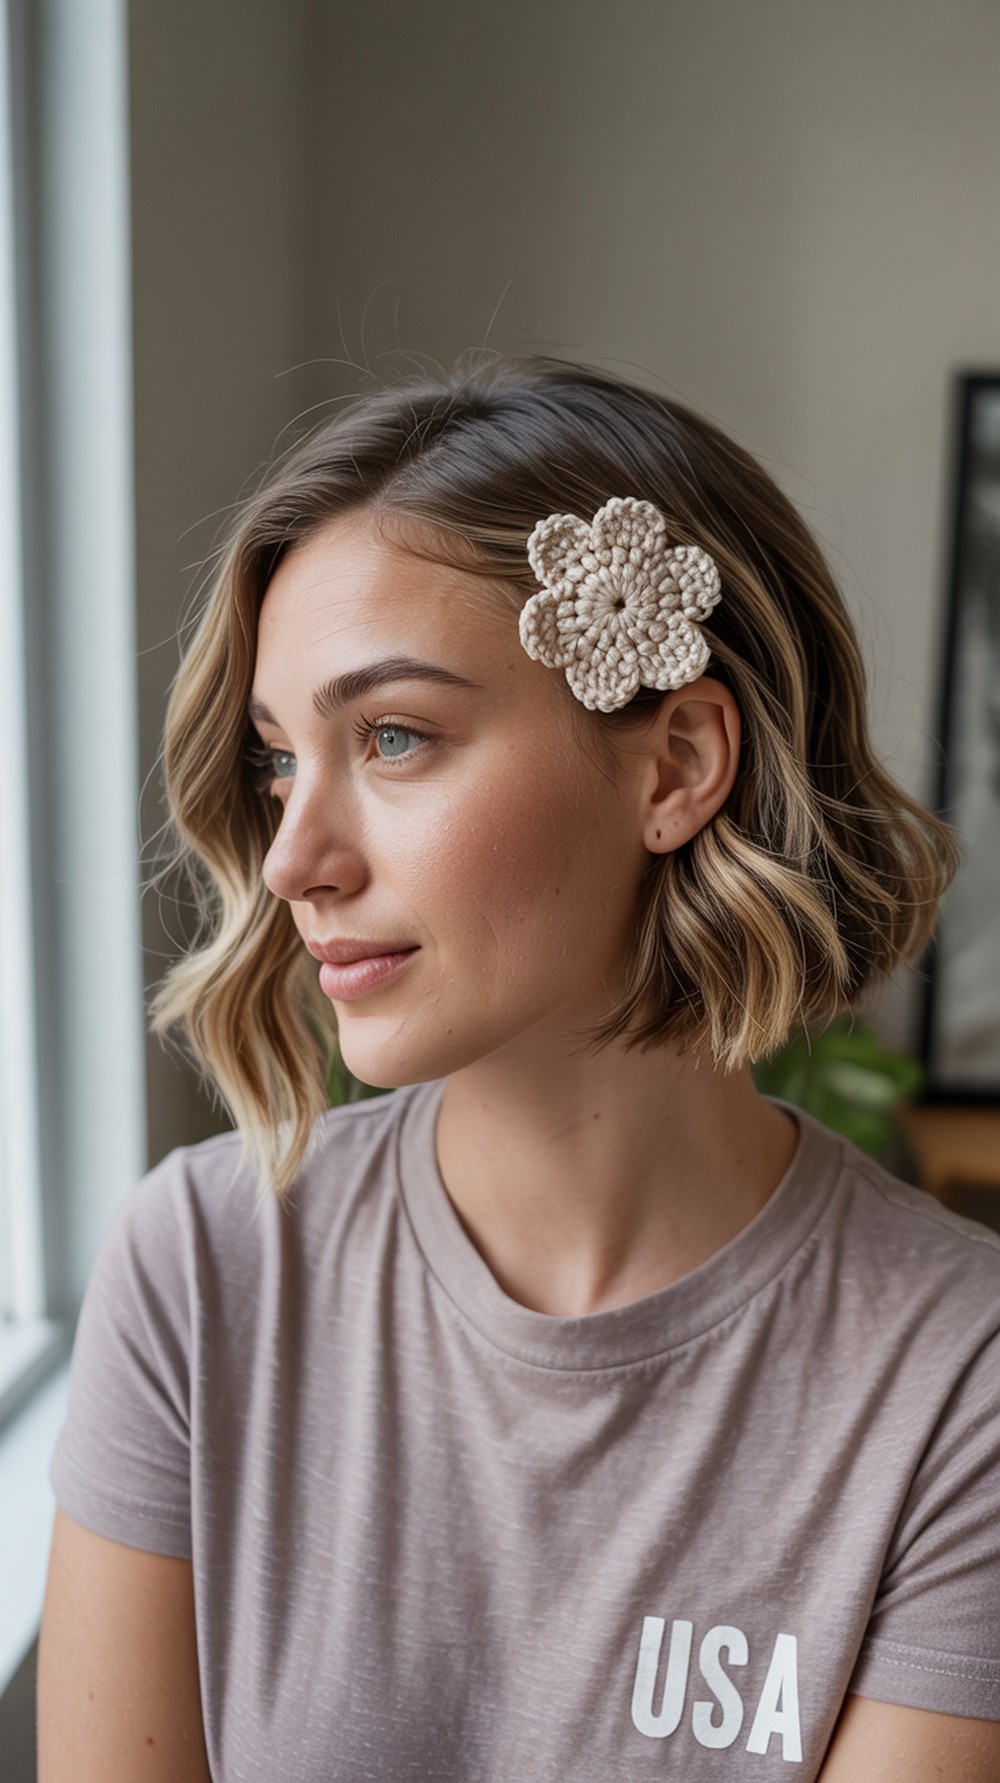
Short hair can look instantly polished by tucking the front behind both ears. A clean middle or soft side part keeps it balanced. This trick opens up your face and stays neat through classes and lunch. It works on straight and wavy bobs; add a light bend to ends if you have time, but it’s optional. Pro tip: place one discreet bobby pin behind each ear under the top layer so the tuck holds without showing.
How To Style — Create your part, smooth sides, tuck behind ears, and secure with hidden pins if needed.
Best For — Round, heart; straight/wavy short hair.
Tools & Products — Tail comb, bobby pins, light cream, mini hairspray.
Conclusion
School hair doesn’t need to be complicated to look great. Pick two or three of these styles and practice once so your hands remember the steps. Keep a tiny kit—elastic, pins, mini spray—in your bag for quick touch-ups. Rotate looks through the week to match your schedule: sleek for test days, playful for clubs or games, protective on busy mornings. With a little prep, you’ll look neat, comfortable, and ready to focus.
CTA — Want a personalized weekly hair plan for your length and texture? Tell me your hair type and mornings budget, and I’ll map it out.
FAQs
1) How do I make school hairstyles last all day?
Prep matters. Start with dry shampoo at the roots for grip, then finish with a light mist of hairspray. Tuck a spare elastic and a few pins in your bag for quick fixes.
2) What if I have very thick hair and elastics break?
Use thicker, snag-free ties and secure in two steps: a small base pony first, then gather the rest into it. This reduces tension and makes the style hold better.
3) Can I do these styles without heat?
Yes. All looks are heat-free. If you want extra polish, smooth ends with a little cream or water and a brush—no hot tools needed.
4) How do I pick a flattering part for my face shape?
Center parts elongate round faces; deep side parts soften square or heart shapes. If unsure, start centered, then shift slightly until the balance looks right.
5) What products should I keep in my locker?
Dry shampoo, a small brush, mini hairspray, elastics, and bobby pins. Add a tiny tube of curl cream or smoothing cream if your texture needs it.