8 Long Hairstyles For Pinterest Trends
If your feed is filled with soft layers, glossy lengths, and dreamy waves, this list is for you. Below are eight long-hairstyle ideas that photograph beautifully, suit everyday life, and flatter common face shapes. You’ll see airy layers for movement, sleek options for shine, and a few romantic braids that hold up on busy days. Most styles work on straight, wavy, or lightly curly hair; note the tweaks where needed. Before you start, brush out knots, apply heat protectant, and dry hair 80–90%. Keep a round brush or large curling iron nearby for shape, a light mousse for lift, and a flexible hairspray to set. Each idea includes a quick pro tip to make it pop on camera—perfect for pin-worthy results.
Quick List
- Butterfly Layers
- Long Waves with Curtain Bangs
- Glass-Sleek Middle Part
- Boho Crown Braid with Loose Length
- Soft U-Cut with Face Framing
- Mermaid Ripple Waves
- Half-Up Bubble Braid
- Low Pony with Wrapped Strand & S-Curls
Butterfly Layers
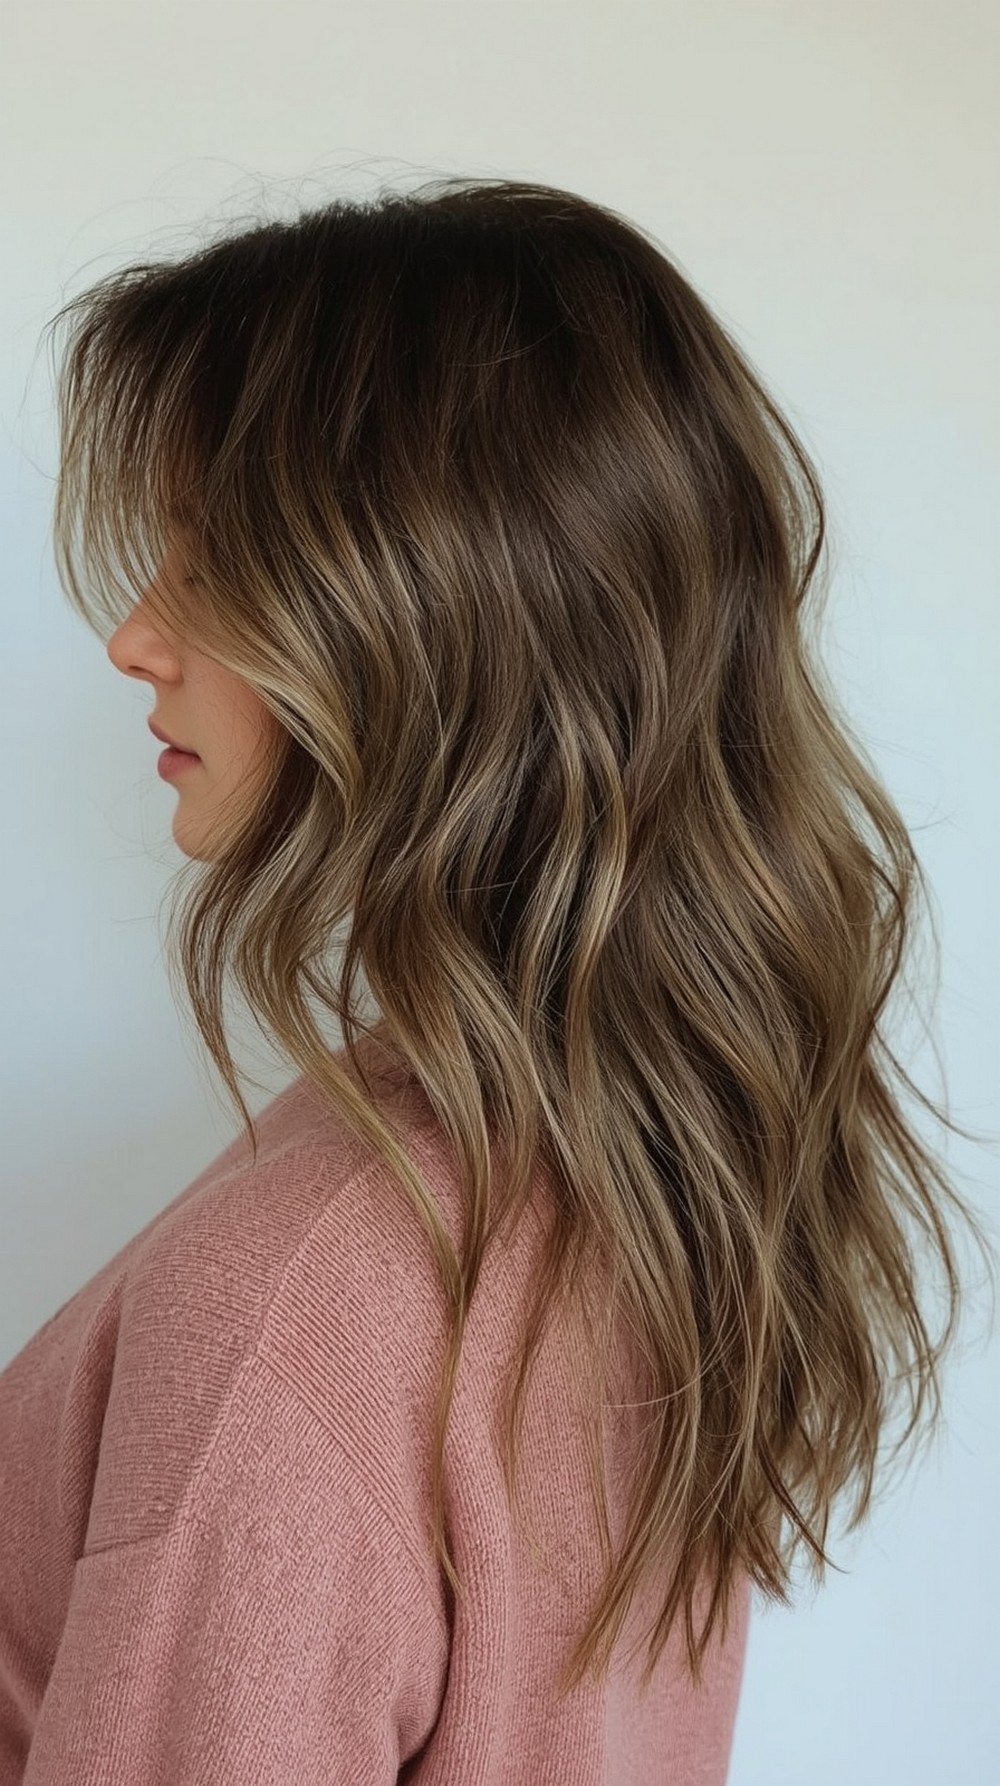
Butterfly layers give long hair that breezy, Pinterest-ready movement without losing length. The short face-framing pieces lift the cheekbones while the longer layers float over the shoulders, creating soft volume in photos. This shape works on straight to wavy textures and light curls with a gentle blowout. It’s easy to dress up or down—weekdays with a tee, date night with a deep part and gloss. Pro tip: flip the ends slightly outward at the bottom layer while keeping the crown smooth; this contrast makes the layers read clearly on camera and keeps your outline airy instead of heavy.
How To Style:
Blow-dry with a round brush, lifting at roots. Curl ends outward in big sections. Rake through with fingers and mist flexible spray.
Best For:
Oval, round, heart; straight, wavy, light-curly.
Tools & Products:
Heat protectant; round brush; 1.5″ curling iron; lightweight serum; flexible hairspray.
Long Waves with Curtain Bangs
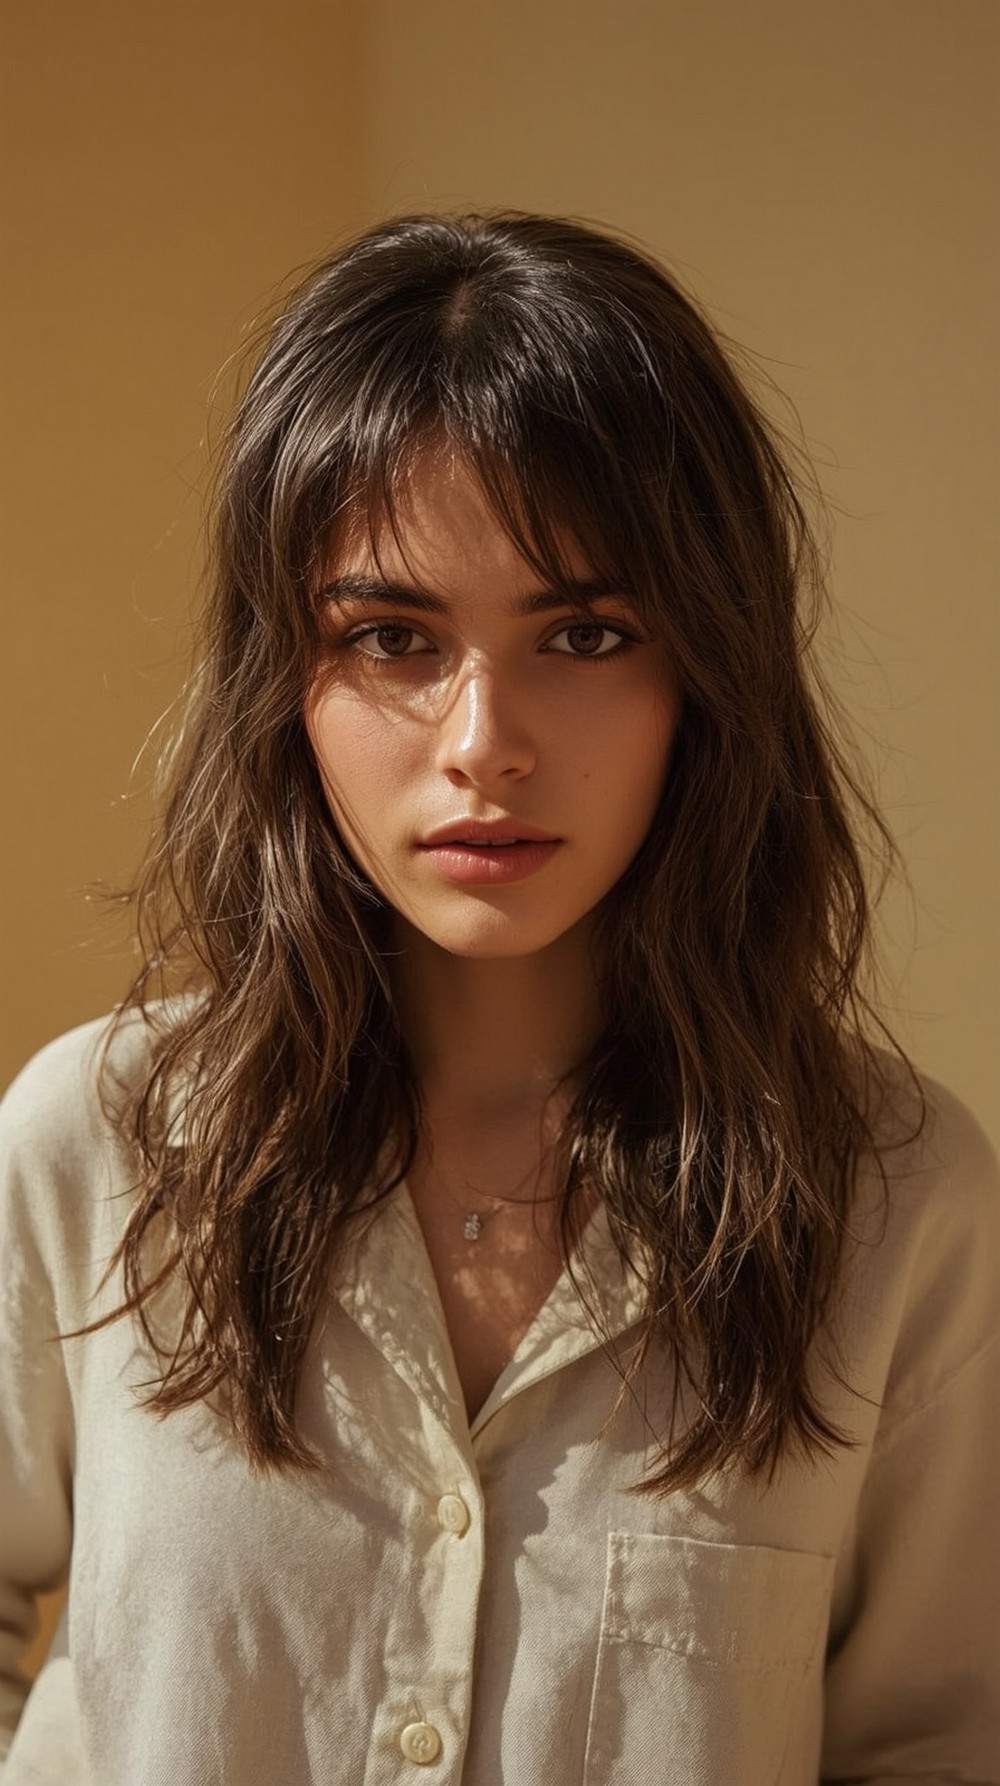
Curtain bangs soften features and frame the eyes while long waves add that relaxed, saved-to-board vibe. This combo narrows wide foreheads and balances round or heart shapes. Waves photograph best when mid-lengths are loose and the ends are lightly polished—not crunchy. Dress it casual with a center part or flip to a deep side for drama. Pro tip: blow-dry the bangs forward and then sweep them back over a round brush; the subtle “curtain” opens the face and makes every selfie look intentional.
How To Style:
Mousse at roots, blow-dry with a round brush. Wrap mid-lengths on a 1.25″ wand, leaving ends slightly straighter. Break waves with a wide-tooth comb.
Best For:
Round, heart, oval; straight, wavy.
Tools & Products:
Mousse; round brush; curling wand; wide-tooth comb; light hairspray.
Glass-Sleek Middle Part
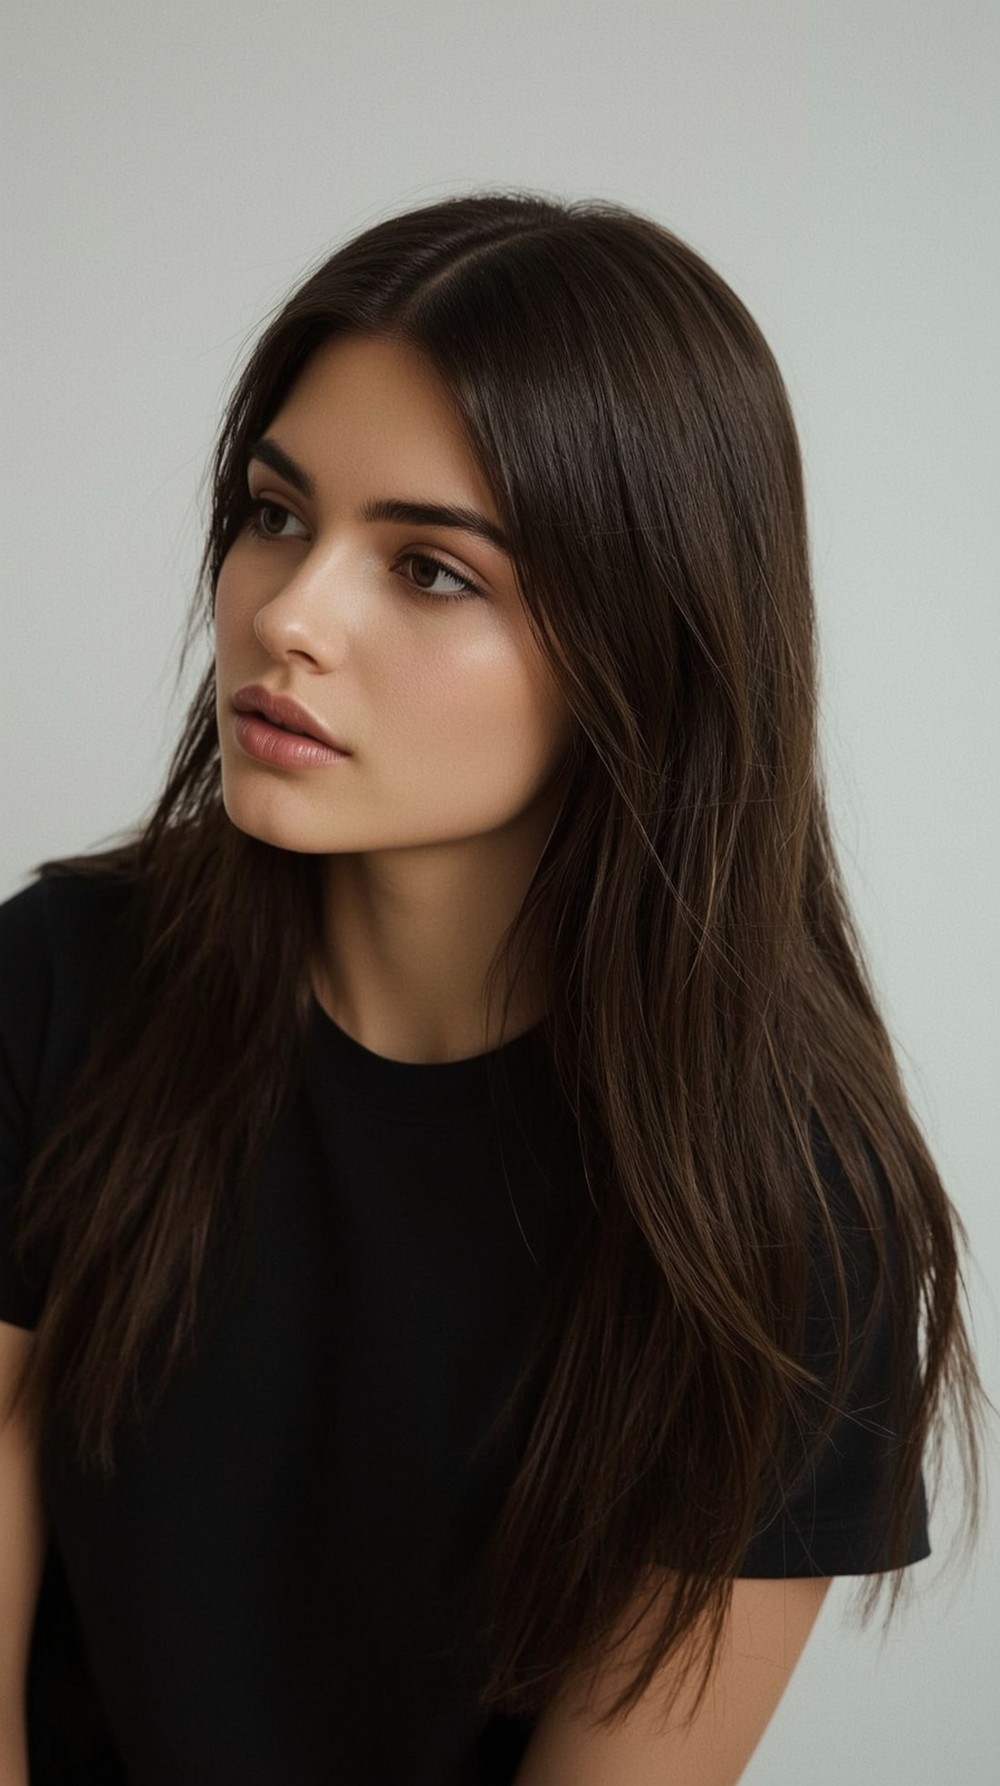
High-shine, pin-straight lengths are a Pinterest staple when you want minimal and modern. A clean middle part elongates the face and looks sharp in close-ups. The key is smooth cuticles and even ends, not flat roots. Keep the crown lightly lifted, then press the mid-lengths sleek for that glassy finish. Pro tip: after straightening, mist a tiny amount of shine serum into your palms, rub well, and lightly skim the outer layer only—this keeps the polish visible without weighing hair down.
How To Style:
Apply heat protectant, blow-dry downward with nozzle. Flat iron in small passes. Tuck hair behind ears for 10 minutes while cooling, then release.
Best For:
Oval, long, heart; straight, wavy.
Tools & Products:
Heat protectant; paddle brush; flat iron; shine serum; anti-frizz spray.
Boho Crown Braid with Loose Length

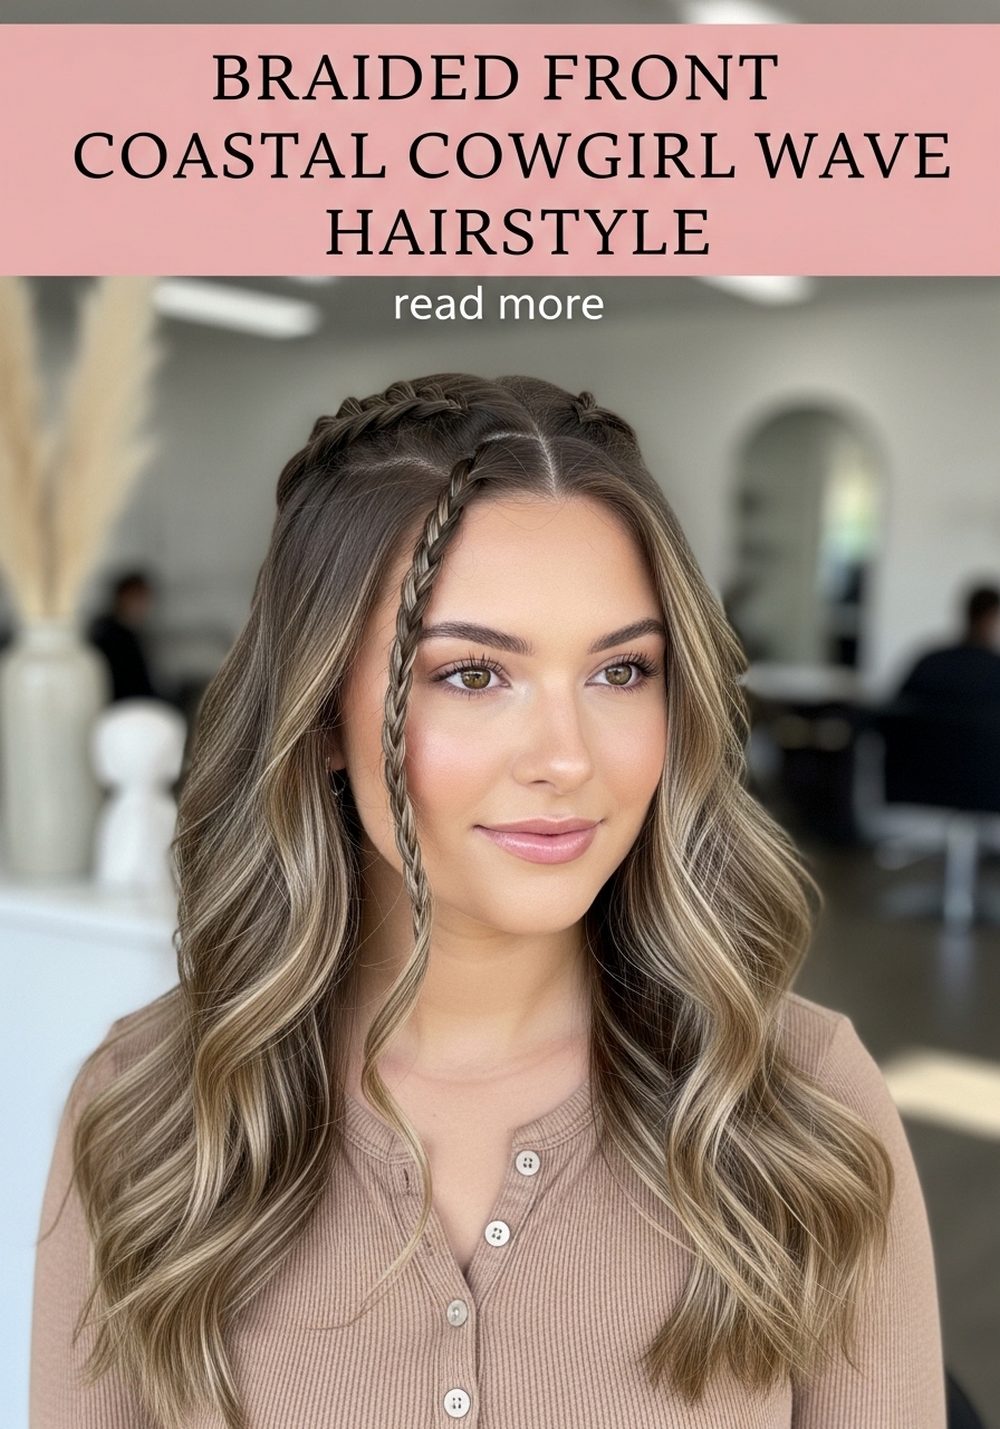
A soft crown braid frames the face while the rest of your hair stays long and free—great for outdoor photos and events. It’s romantic without feeling overdone, and it helps control flyaways at the hairline. Keep the braid slightly pulled out for texture, then let the lengths fall in loose waves. Pro tip: pinch and pancake just the outer edges of the braid; it photographs fuller instantly and balances wider cheeks.
How To Style:
Create two small side braids from temples, bring them around and pin at the back of the head. Curl the remaining lengths in large sections and shake out.
Best For:
Round, heart; wavy, light-curly, straight.
Tools & Products:
Elastic minis; bobby pins; curling iron; texture spray.
Soft U-Cut with Face Framing
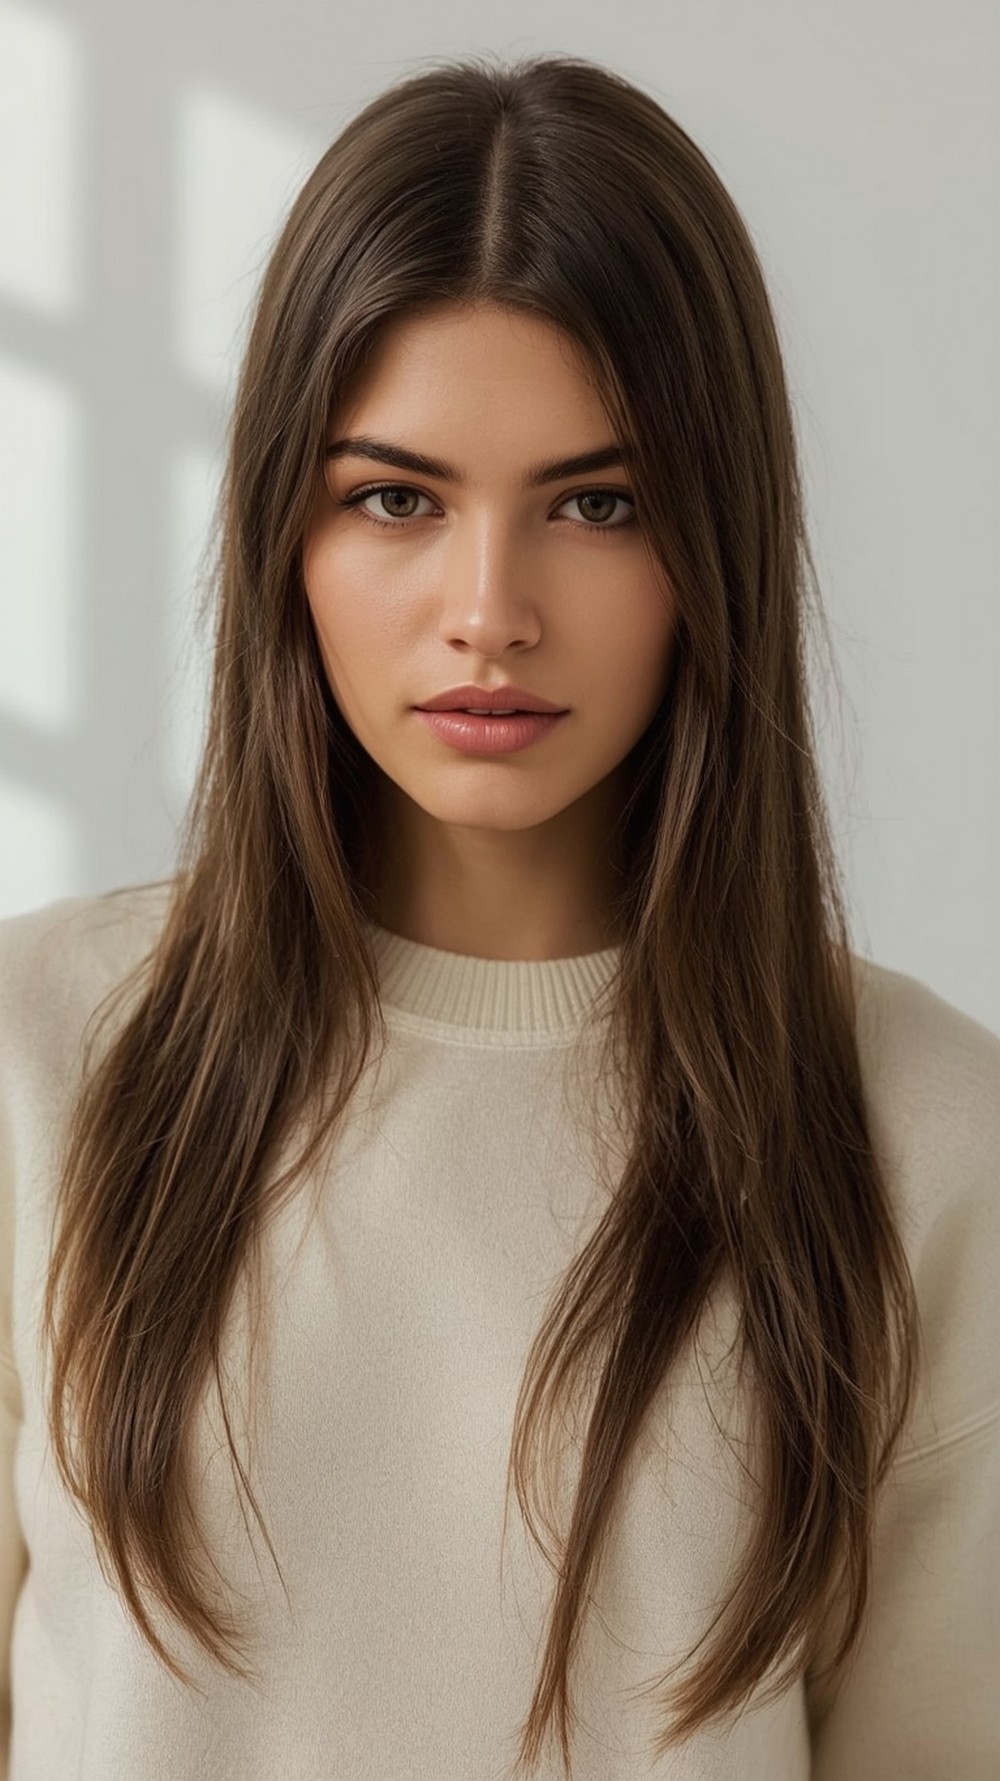
A U-shaped hemline keeps the length while removing heaviness at the corners, so hair naturally curves toward the center. Add gentle face-framing pieces to highlight cheekbones and soften the jaw. The result is flowy and timeless—ideal for everyday photos and special moments. Pro tip: blow-dry the front pieces away from the face first, then switch to downward strokes; this locks in a smooth bend that opens your features.
How To Style:
Rough-dry to 80%, then round-brush the front away from the face. Roll ends under slightly. Finish with a light serum on mid-lengths.
Best For:
Oval, round; straight, wavy.
Tools & Products:
Blow dryer with nozzle; round brush; light serum; flexible hairspray.
Mermaid Ripple Waves
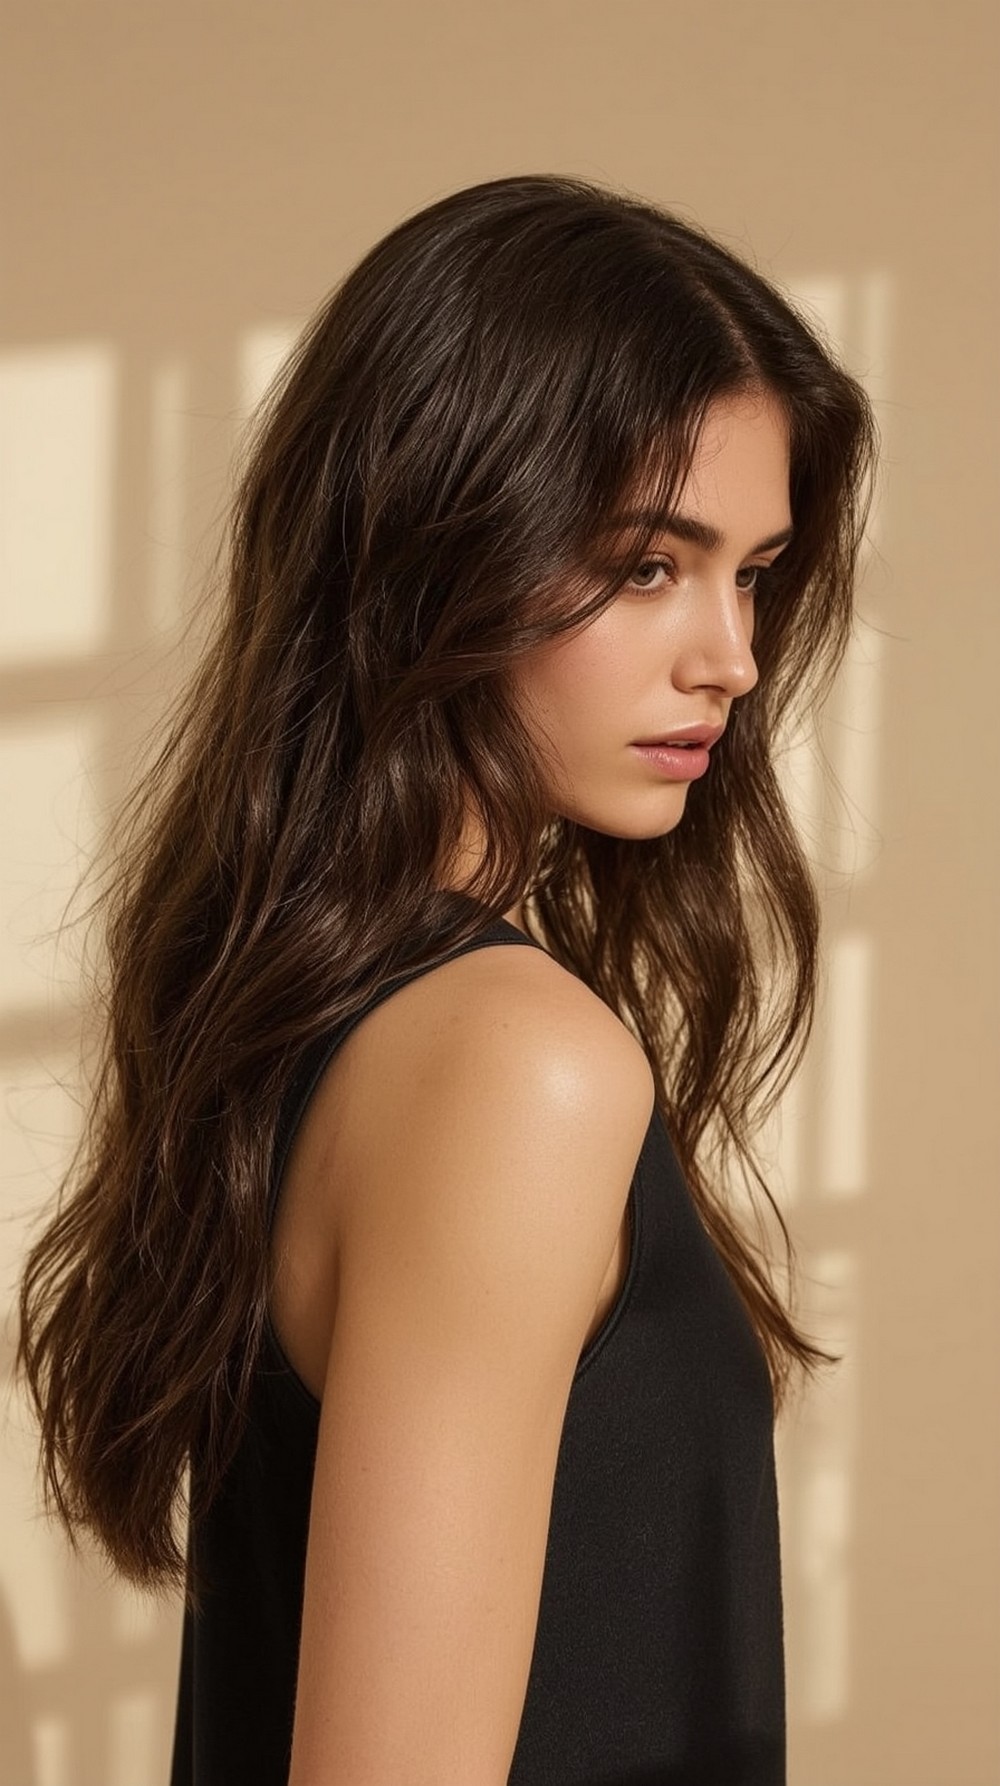
Soft, uniform ripples read “mermaid” without heavy curls. They add width through the mid-lengths—perfect if your hair looks flat on camera. Keep the crown smooth, then create S-waves through the lengths for a glossy cascade. This style shines in natural light and works on most textures. Pro tip: alternate the direction of every other section and leave the last inch out; the pattern looks natural and keeps ends healthy-looking.
How To Style:
Use a wave iron or clamp-and-slide technique with a curling iron. Tap sections lightly, let cool, then brush through for one continuous ripple.
Best For:
Oval, long; straight, wavy.
Tools & Products:
Heat protectant; wave iron or curling iron; paddle brush; shine spray.
Half-Up Bubble Braid

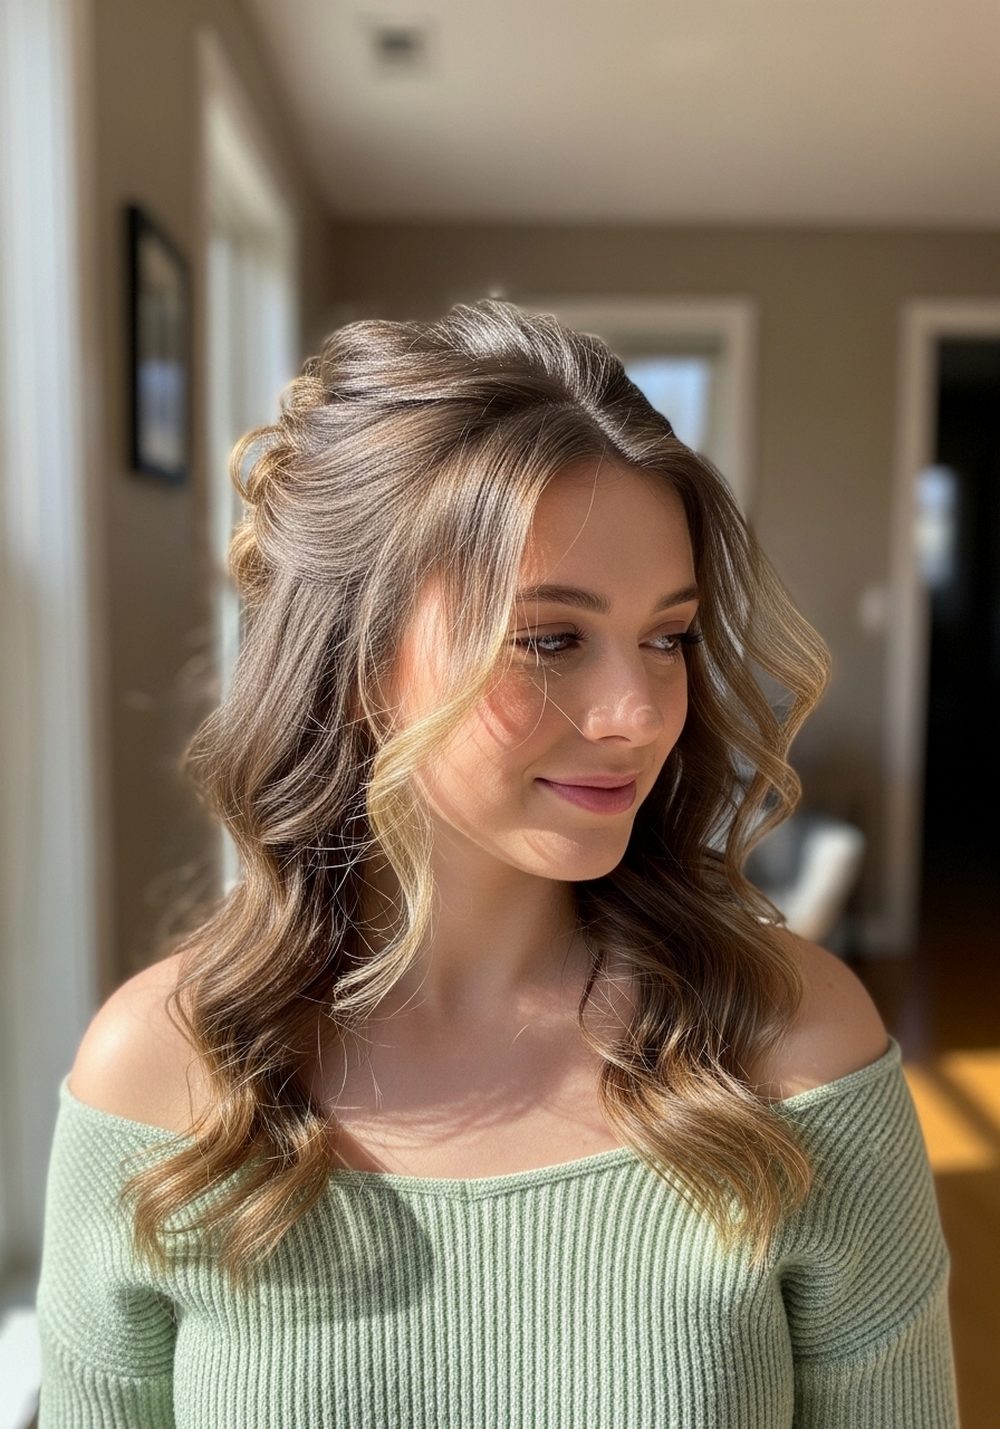
Half-up keeps your face open while showing off length. The bubble braid detail brings playful texture that photographs well from every angle. It’s quick, secure, and works even on second-day hair. Leave some soft pieces at the temples for balance. Pro tip: after each mini elastic, gently pull the bubble outward to match the size of the one above—consistent bubbles create that polished, scroll-stopping look.
How To Style:
Gather the top section, secure with an elastic. Add elastics every 2–3 inches, tugging each bubble outward. Curl the loose bottom lightly.
Best For:
Round, heart; straight, wavy, light-curly.
Tools & Products:
Small elastics; bobby pins; texture powder or spray; curling wand.
Low Pony with Wrapped Strand & S-Curls

A sleek low pony is simple, but the wrapped strand and soft S-curls turn it into a chic, pin-worthy style. Position the pony at the nape, keep the crown smooth, and let the ends flow with gentle movement. It’s ideal for busy days, travel, or occasions when you need neat hair that still looks styled. Pro tip: take a small section from under the pony, wrap it around the elastic, and secure with a hidden pin—instant polish.
How To Style:
Smooth hair into a low pony. Curl ends in large S-waves. Wrap a thin section around the elastic and pin underneath. Mist with shine spray.
Best For:
Oval, heart, long; straight, wavy.
Tools & Products:
Elastic; tail comb; flat or curling iron; shine spray; bobby pin.
Conclusion
Long hair shines on Pinterest when the shape, finish, and movement are clear in photos. Start with a good prep: protect, smooth, and add light volume where you need it. Pick a parting that flatters your face shape, then refine the ends so they read clean on camera. Try one look this week and save a second as your “fast day” backup. With a few tools and these steps, you’ll have repeatable, pin-worthy hair.
CTA
Want this tailored to your hair type and face shape? Tell me your texture, routine, and tools you already own—I’ll customize two everyday picks and one special-occasion look.
FAQs
1) How do I make long hair look fuller on camera?
Use a light mousse at the roots, then blow-dry with a round brush for lift. Finish with soft waves or layers to create shape around the face.
2) Can I get these looks without heavy heat styling?
Yes—try heatless rollers or overnight braids for waves. In the morning, smooth the crown and set with a light mist of hairspray.
3) What face shapes do these styles suit?
Most include face-framing layers or a parting tweak to balance round, oval, or heart shapes. Pick deeper parts for round faces and soft curtain pieces for heart or oval.
4) How do I keep frizz down in photos?
Work a tiny amount of lightweight serum through mid-lengths and ends. Avoid the roots to keep volume, then mist a humidity spray if needed.
5) Which tools are truly essential?
A blow dryer with nozzle, round brush, 1.25–1.5″ curling iron or wand, heat protectant, and flexible hairspray cover most styles. Add pins or elastics for half-up looks.