14 Traditional Hairstyles That Always Work
Traditional hairstyles are those tried-and-true looks you’ve seen across decades—elegant buns, neat braids, sculpted waves, and polished half-up shapes. This guide covers 14 classics you can do at home, with options for straight, wavy, and curly hair in short to long lengths.
You’ll find picks that complement round, oval, heart, and long face shapes, plus quick tweaks like part lines, ear tucks, and volume shifts to balance features. Keep prep simple: detangle, add heat protectant if using tools, and work with lightweight mousse, gel, or cream to build control. Have a tail comb, elastics, bobby pins, hairpins, and a brush ready. Finish softly—use flexible hairspray or a touch of oil so the style lasts but still moves.
1. Classic French Twist
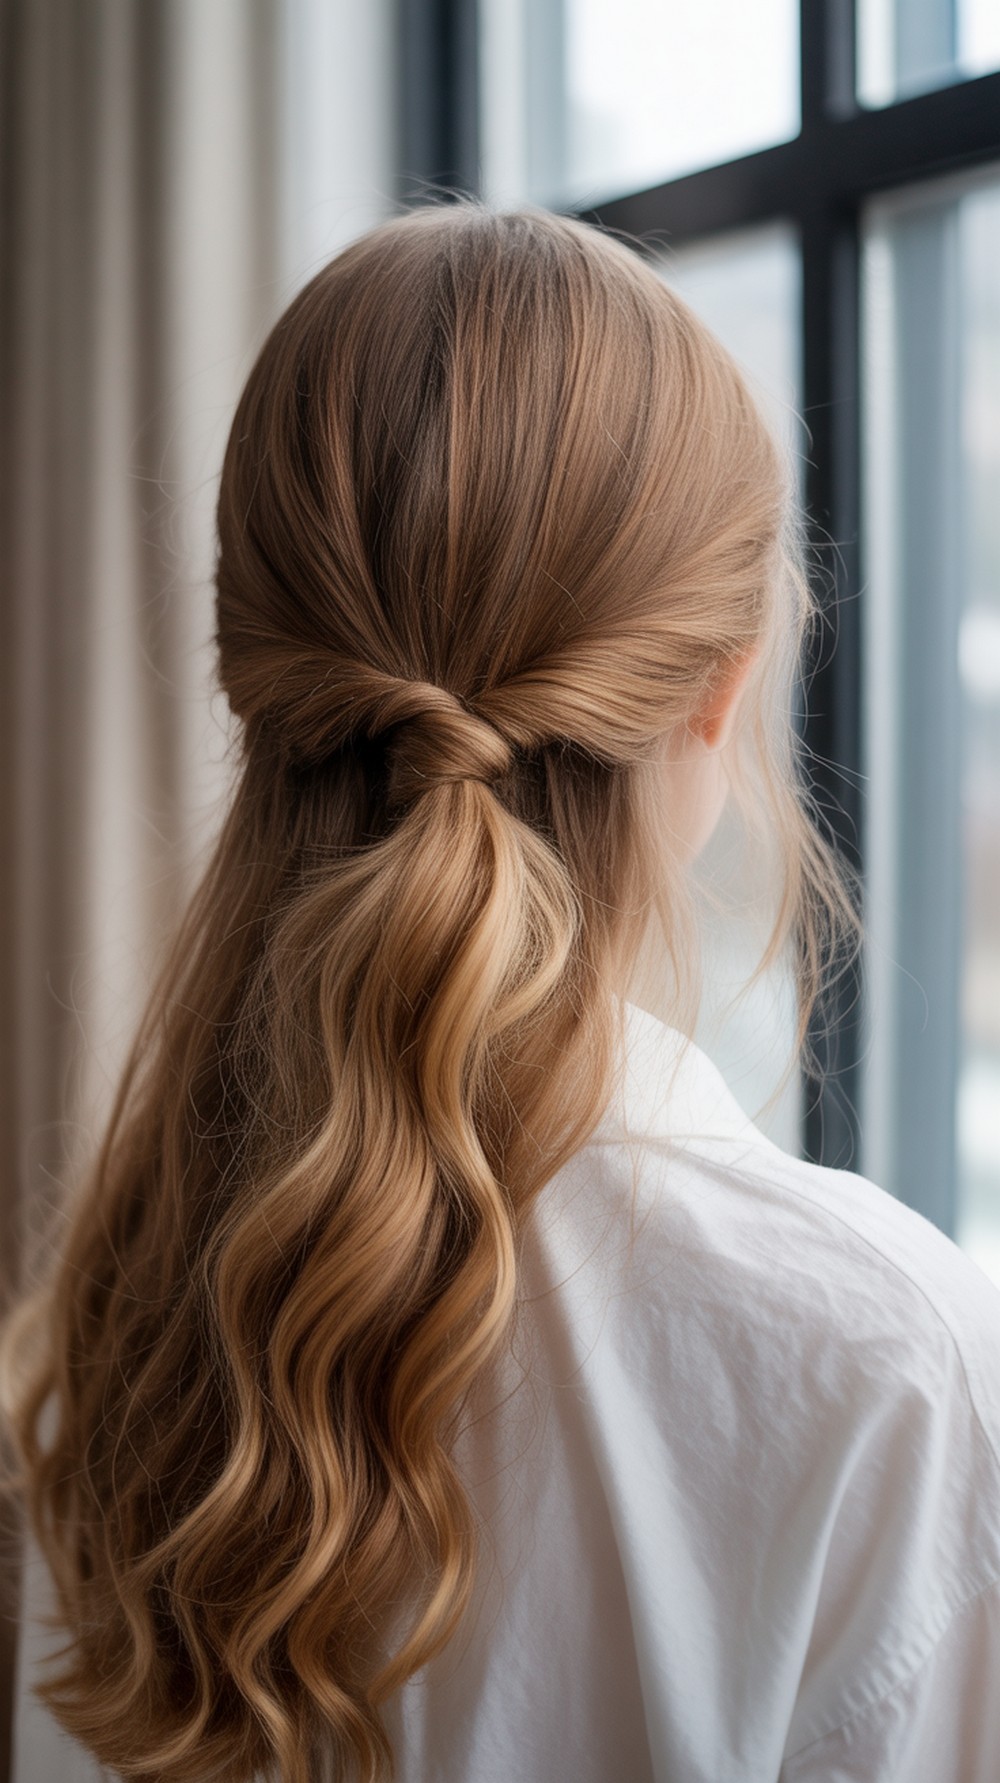
A French twist is the definition of timeless—sleek sides, a vertical roll, and a graceful neckline. It reads formal without feeling fussy, perfect for weddings, interviews, and evenings out. The clean silhouette lengthens the neck and adds height at the crown, flattering most face shapes. Keep the sides smooth and the roll snug for all-day hold. Wear it with minimal accessories or a single hairpin for polish. It also transitions well from day to night by loosening a strand near the temple for softness. Pro tip: spray a light veil of hairspray on your brush and smooth as you gather; pre-texturize fine hair with a puff of dry shampoo for grip.
How To Style
- Brush hair back; mist light hairspray for control.
- Gather low, twist upward tightly, and fold ends into the roll.
- Pin vertically along the seam; smooth flyaways with a comb.
- Optional: add a subtle side part before gathering.
Best For: Oval, heart, long; straight or wavy, medium to long.
Tools & Products: Brush, bobby pins, hairpins, flexible hairspray, dry shampoo.
2. Low Center Part Chignon

A low chignon with a clean middle part feels calm, elegant, and endlessly wearable. It frames the face symmetrically while keeping the nape neat—ideal for offices, ceremonies, or travel days. The knot can be tight for formality or slightly relaxed for softness. It works beautifully under veils, scarves, and hats. Pro tip: leave two whispery tendrils near the temples if you want a softer, face-framing finish; smooth them with a touch of cream.
How To Style:
- Create a straight center part; brush hair low.
- Tie a low pony; twist into a coil and wrap into a bun.
- Pin around the base; smooth the part with a tail comb.
- Mist flexible spray.
Best For: Round, oval; straight or wavy, medium to long.
Tools & Products: Tail comb, elastics, bobby pins, light styling cream, hairspray.
3. Ballerina Bun

The ballerina bun is neat, lifted, and strong—a studio-to-dinner classic. By placing the bun at the crown, you open the face and create instant posture. It pairs well with collars and statement earrings and stays intact through long days. Keep the surface sleek and the coil even for a clean circle. Pro tip: wrap a second elastic over the finished bun for hidden reinforcement on active days.
How To Style:
- Brush hair into a high pony at the crown.
- Twist the pony and wrap into a tight bun.
- Pin evenly; smooth flyaways with gel or cream.
- Finish with a light mist of hairspray.
Best For: Heart, oval; straight or wavy, medium to long.
Tools & Products: Brush, elastics, bobby pins, gel or cream, hairspray.
4. Classic French Braid

The French braid sits close to the head, keeping hair tidy while showing off length. It’s practical for work, workouts, and travel yet still looks polished for dinner. You can center it for symmetry or start slightly off-center to soften features. It handles second-day hair well and tucks neatly under hats. Pro tip: keep your elbows lifted and sections small; consistent tension makes the braid look even from crown to nape.
How To Style:
- Take a top section, split into three, and begin a braid.
- Add hair from both sides as you move down.
- Secure at the ends; tug the edges slightly for fullness.
- Smooth the hairline with a touch of cream.
Best For: Oval, long; straight, wavy, or curly, medium to long.
Tools & Products: Tail comb, elastics, light cream, hairspray.
5. Dutch Braid
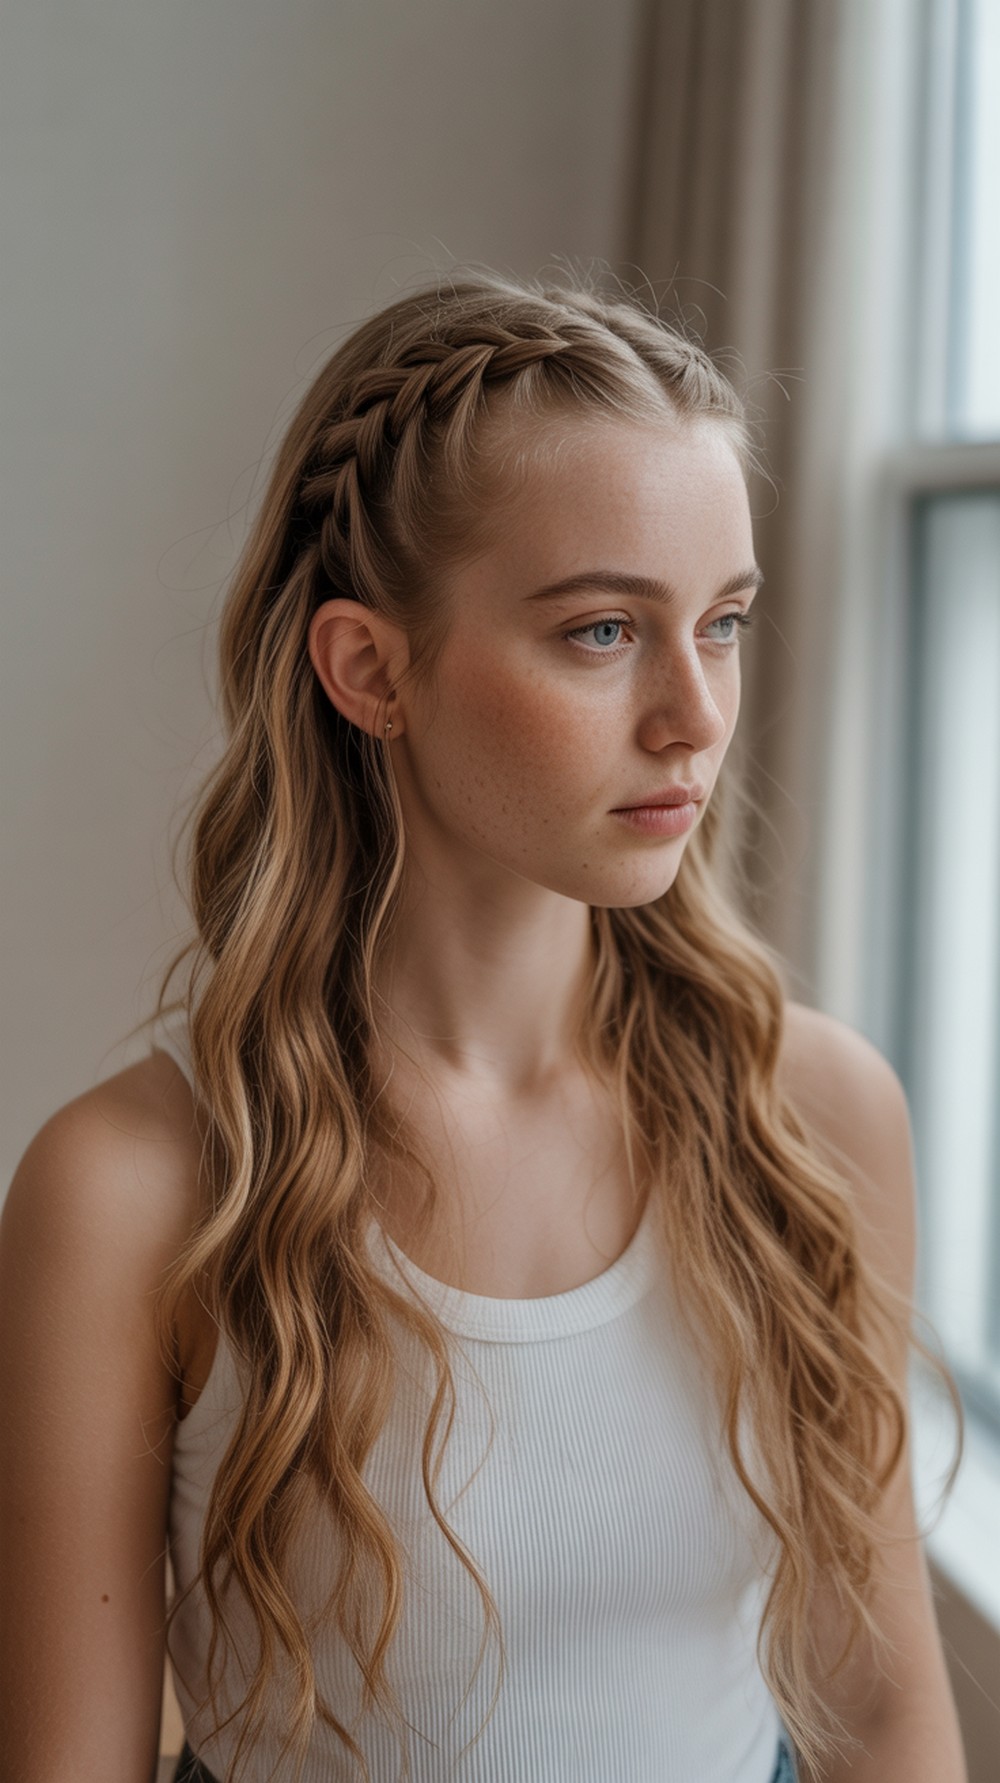
A Dutch braid pops outward for bold texture and face-framing definition. It’s a sister to the French braid but braided underhand, creating a raised rope that photographs beautifully. Great for festivals, busy shifts, or days you need zero flyaways. Pro tip: pancake the outer edges lightly once tied to widen the braid without loosening the core.
How To Style:
- Start with three strands at the crown; cross the sides under the center.
- Add hair to each side as you go, keeping tension even.
- Tie the tail; gently pull the braid’s edges for volume.
- Set with flexible spray.
Best For: Round, heart; straight, wavy, or curly, medium to long.
Tools & Products: Tail comb, elastics, hairspray, light oil for ends.
6. Fishtail Braid

The fishtail’s fine, herringbone pattern looks intricate but comes from two sections, not three. It suits boho outfits, beach days, and casual weddings, especially when a bit undone. It’s stunning over one shoulder and hides layers nicely. Pro tip: hold sections near the ends for speed; if hair is slippery, mist a little texturizing spray before you start.
How To Style:
- Split hair into two sections.
- Take a thin piece from the outside of one side and cross to the other; repeat.
- Continue to the ends; secure and gently expand the braid.
- Soften face-framing pieces.
Best For: Heart, oval; straight or wavy, medium to long.
Tools & Products: Elastics, tail comb, texturizing spray, flexible hairspray.
7. Crown (Halo) Braid
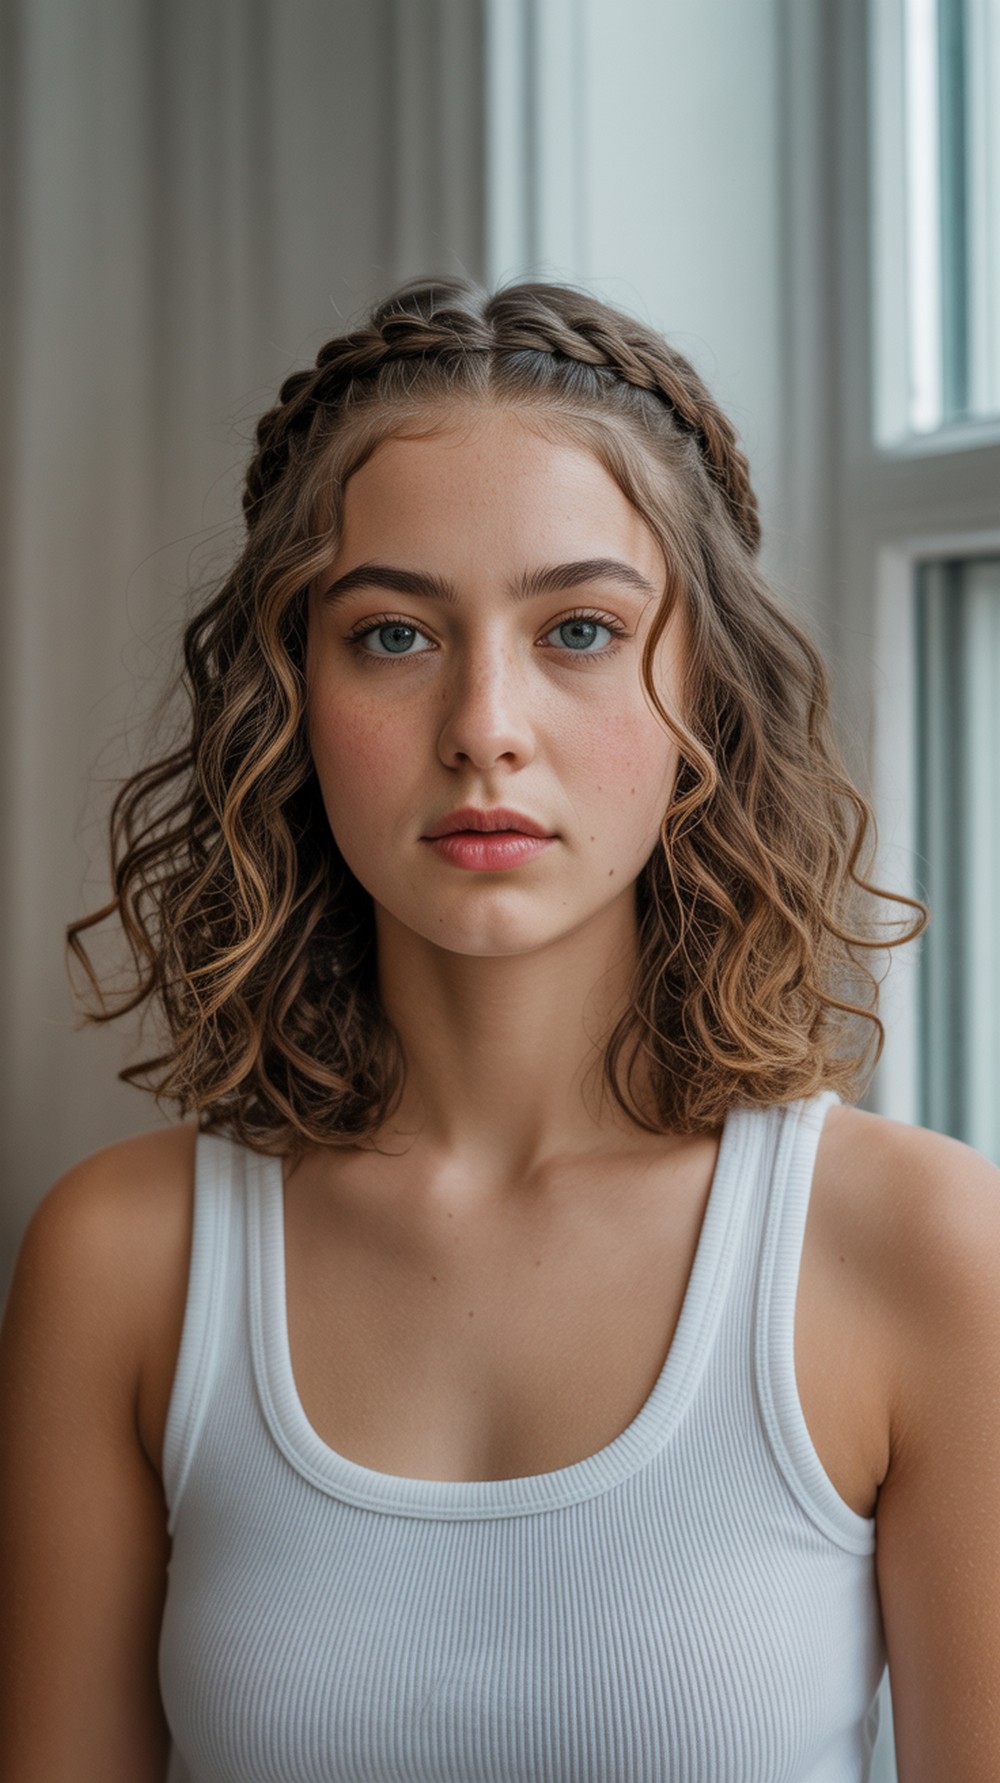
The crown braid wraps around the head like a soft halo, highlighting cheekbones and keeping the neck cool. It’s photo-ready for outdoor events and works with both casual and dressy looks. The shape balances round faces and softens long faces. Pro tip: start above one ear and braid around; hide the tail under the beginning and pin with small hairpins for an invisible finish.
How To Style:
- Part slightly off-center; begin a Dutch or French braid near one ear.
- Travel around the hairline, adding small sections.
- Tuck and pin the tail under the start point.
- Pancake lightly for fullness.
Best For: Round, long; wavy or curly, medium to long.
Tools & Products: Tail comb, bobby pins, hairpins, flexible hairspray.
8. Milkmaid Braids

Two braids crossed over the crown create the milkmaid look—sweet, sturdy, and practical. It keeps hair away from the neck while leaving a soft frame at the temples. You can make it sleek for formality or loosened for a rustic vibe. Pro tip: braid slightly forward over the ears, then lift and pin so the crossing point sits just behind the hairline; hide elastic ends under the opposite braid.
How To Style:
- Part down the middle; braid two classic or Dutch braids.
- Lift each braid over the crown and cross.
- Pin securely; tuck and hide the ends.
- Smooth flyaways with cream.
Best For: Oval, heart; straight, wavy, or curly, medium to long.
Tools & Products: Elastics, bobby pins, styling cream, hairspray.
9. Rope Braid Ponytail

The rope braid pony gives a neat, traditional twist with less time than a three-strand braid. Its smooth spiral looks sharp for offices and holds up during commutes or workouts. A mid or high placement changes the mood. Pro tip: twist both sections in the same direction, then wrap them in the opposite direction to lock the rope.
How To Style:
- Brush into a mid or high pony; secure.
- Split the pony into two; twist each section.
- Wrap the twists around each other; tie the end.
- Wrap a small strand around the elastic; pin.
Best For: Square, oval; straight or wavy, medium to long.
Tools & Products: Brush, elastics, bobby pins, light serum, hairspray.
10. Gibson Tuck
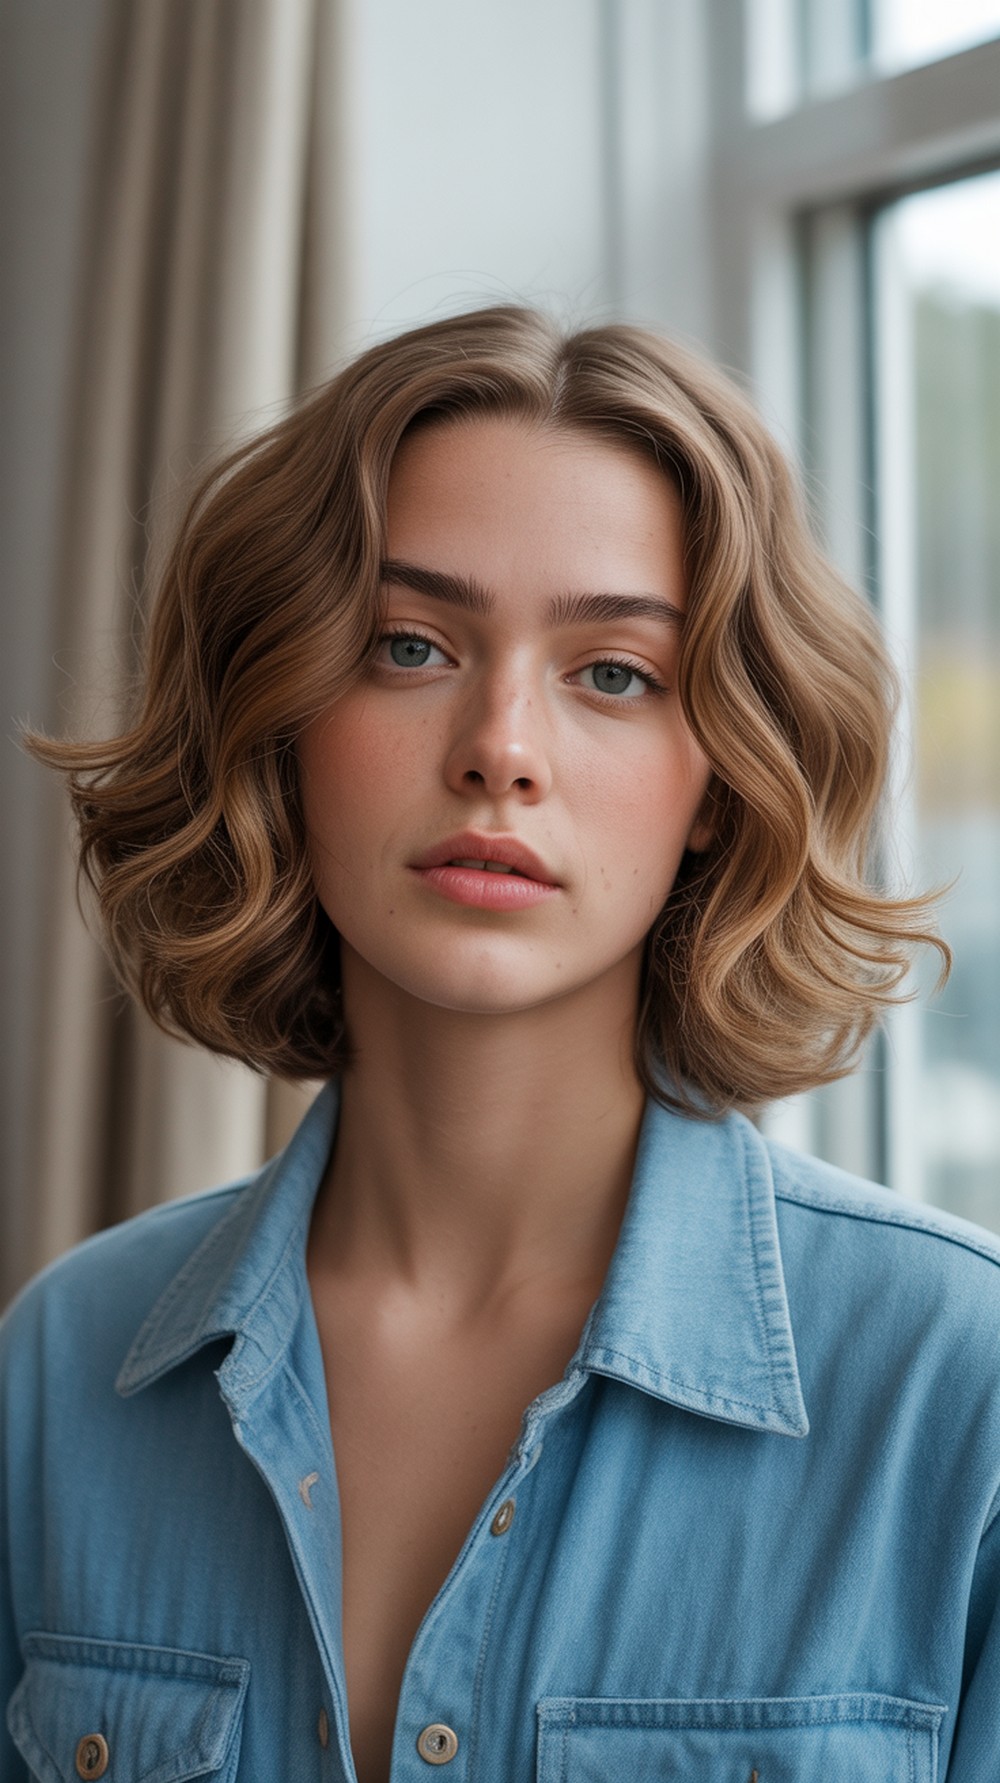
The Gibson tuck is an Edwardian classic—soft, tucked volume at the nape with a calm, romantic vibe. It pairs well with high necklines and delicate earrings and feels comfortable for long wear. Slight face-framing pieces keep it modern. Pro tip: place the pony tail slightly above the nape, create a small gap above the elastic, flip the tail through, then roll and pin the ends into the pocket.
How To Style:
- Create a low pony; loosen slightly.
- Split above the elastic; flip the pony through.
- Roll the tail up into the pocket; pin securely.
- Smooth and set.
Best For: Heart, round; straight or wavy, medium to long.
Tools & Products: Elastics, bobby pins, hairpins, light cream, hairspray.
11. Vintage Finger Waves
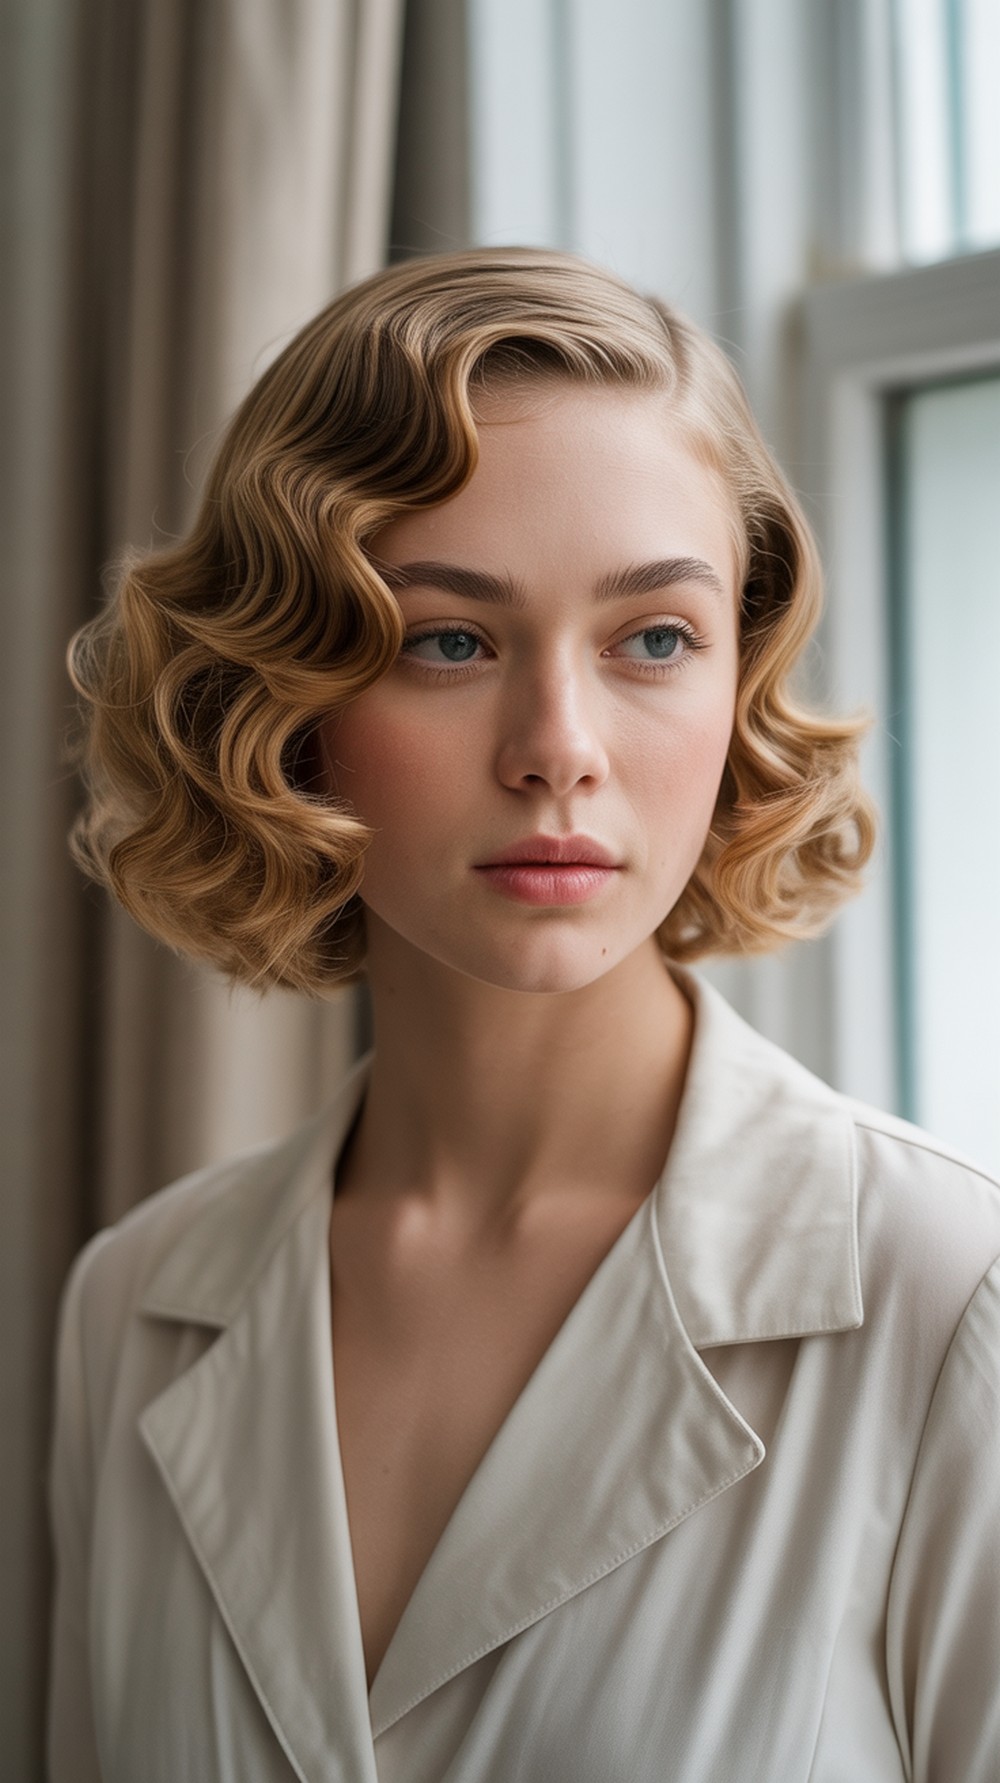
Finger waves deliver sculpted “S” curves and mirror shine—iconic for retro nights and formal photos. They’re precise and reward patience, but the effect is unmatched. Keep the hair moist with setting lotion, and use clips to hold each ridge as it dries. Pro tip: work in small, parallel rows at the front and temple; once fully dry, remove clips and mist lightly—don’t brush or you’ll blur the ridges.
How To Style:
- On damp hair, apply setting lotion; create a deep side part.
- Comb and press into “S” shapes, placing clips at each ridge.
- Air-dry or diffuse on low until fully set.
- Remove clips; smooth lightly with the comb.
Best For: Oval, long; straight or wavy, short to medium.
Tools & Products: Fine-tooth comb, setting clips, setting lotion, hairspray.
12. Old Hollywood Side Waves
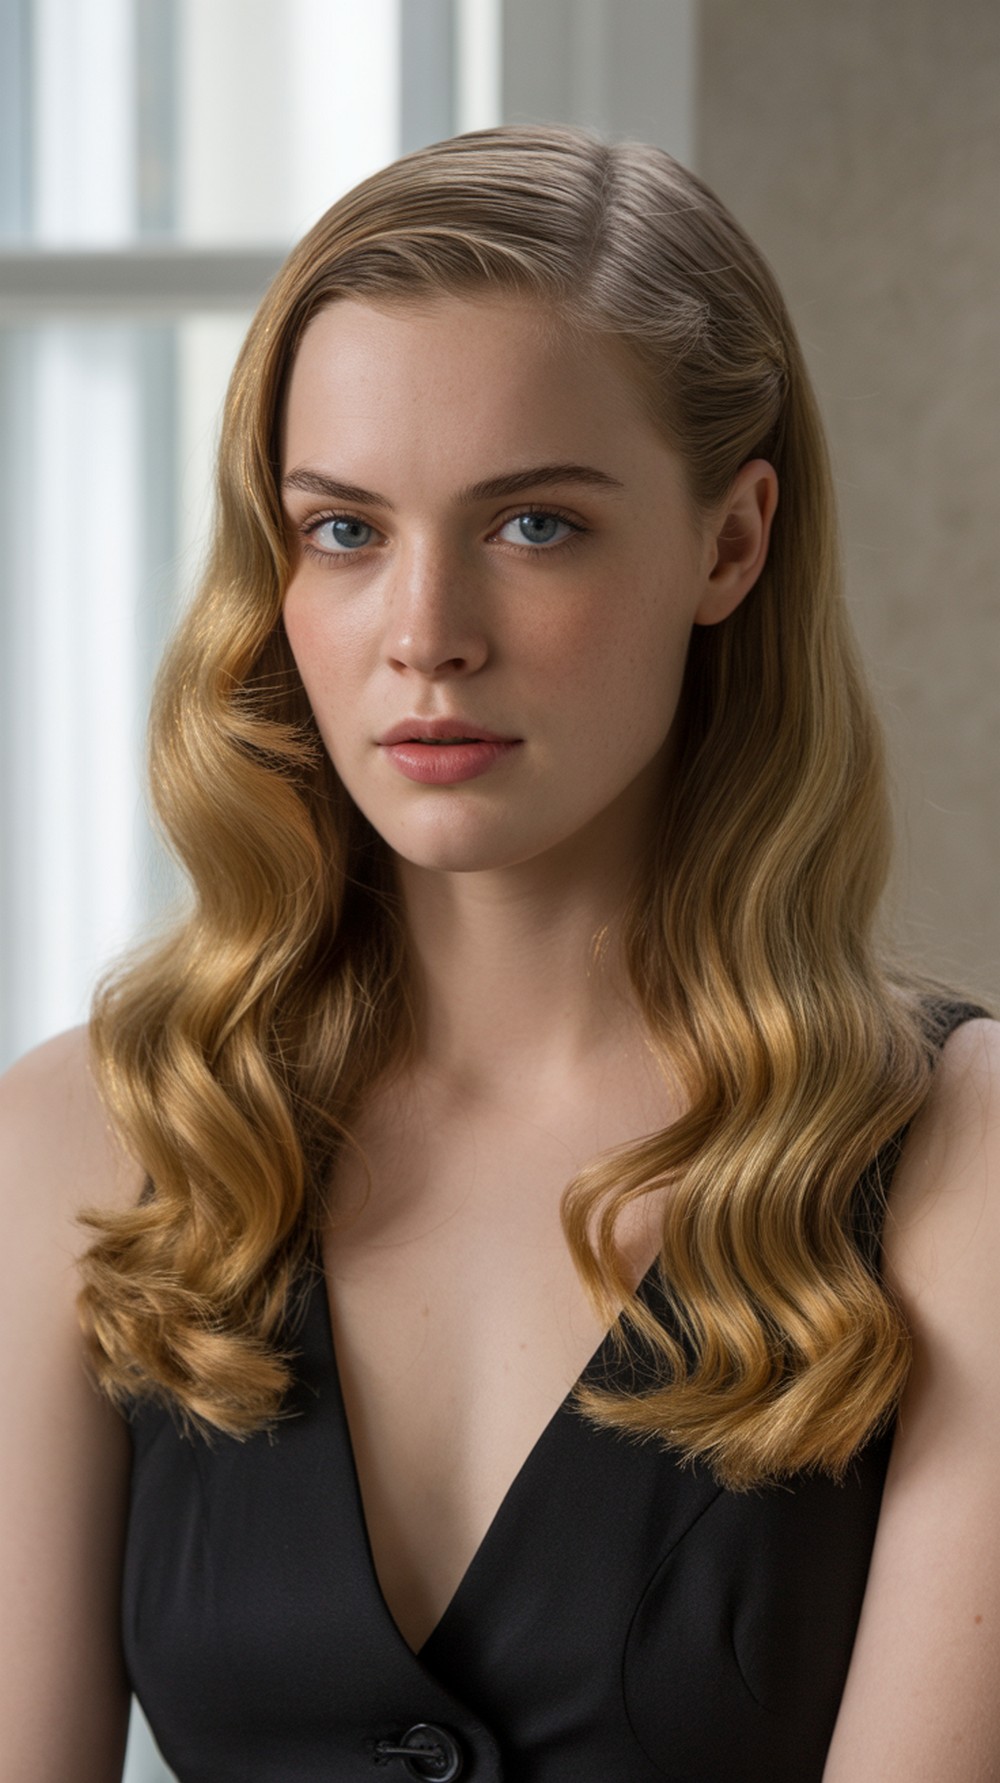
Brushed, uniform waves with a deep side part feel glamorous yet soft. They flatter cheekbones and look beautiful under evening lighting. The look works on medium to long lengths and transitions from events to fancy dinners with ease. Pro tip: curl all sections in the same direction, let them cool, then brush with a soft brush until the waves link together.
How To Style:
- Create a deep side part; prep with heat protectant.
- Curl in same direction using a large iron.
- Cool completely; brush through to form waves.
- Tuck one side; set with flexible spray.
Best For: Heart, oval; straight or wavy, medium to long.
Tools & Products: Curling iron, clips, heat protectant, soft brush, hairspray.
13. Half Up Bouffant
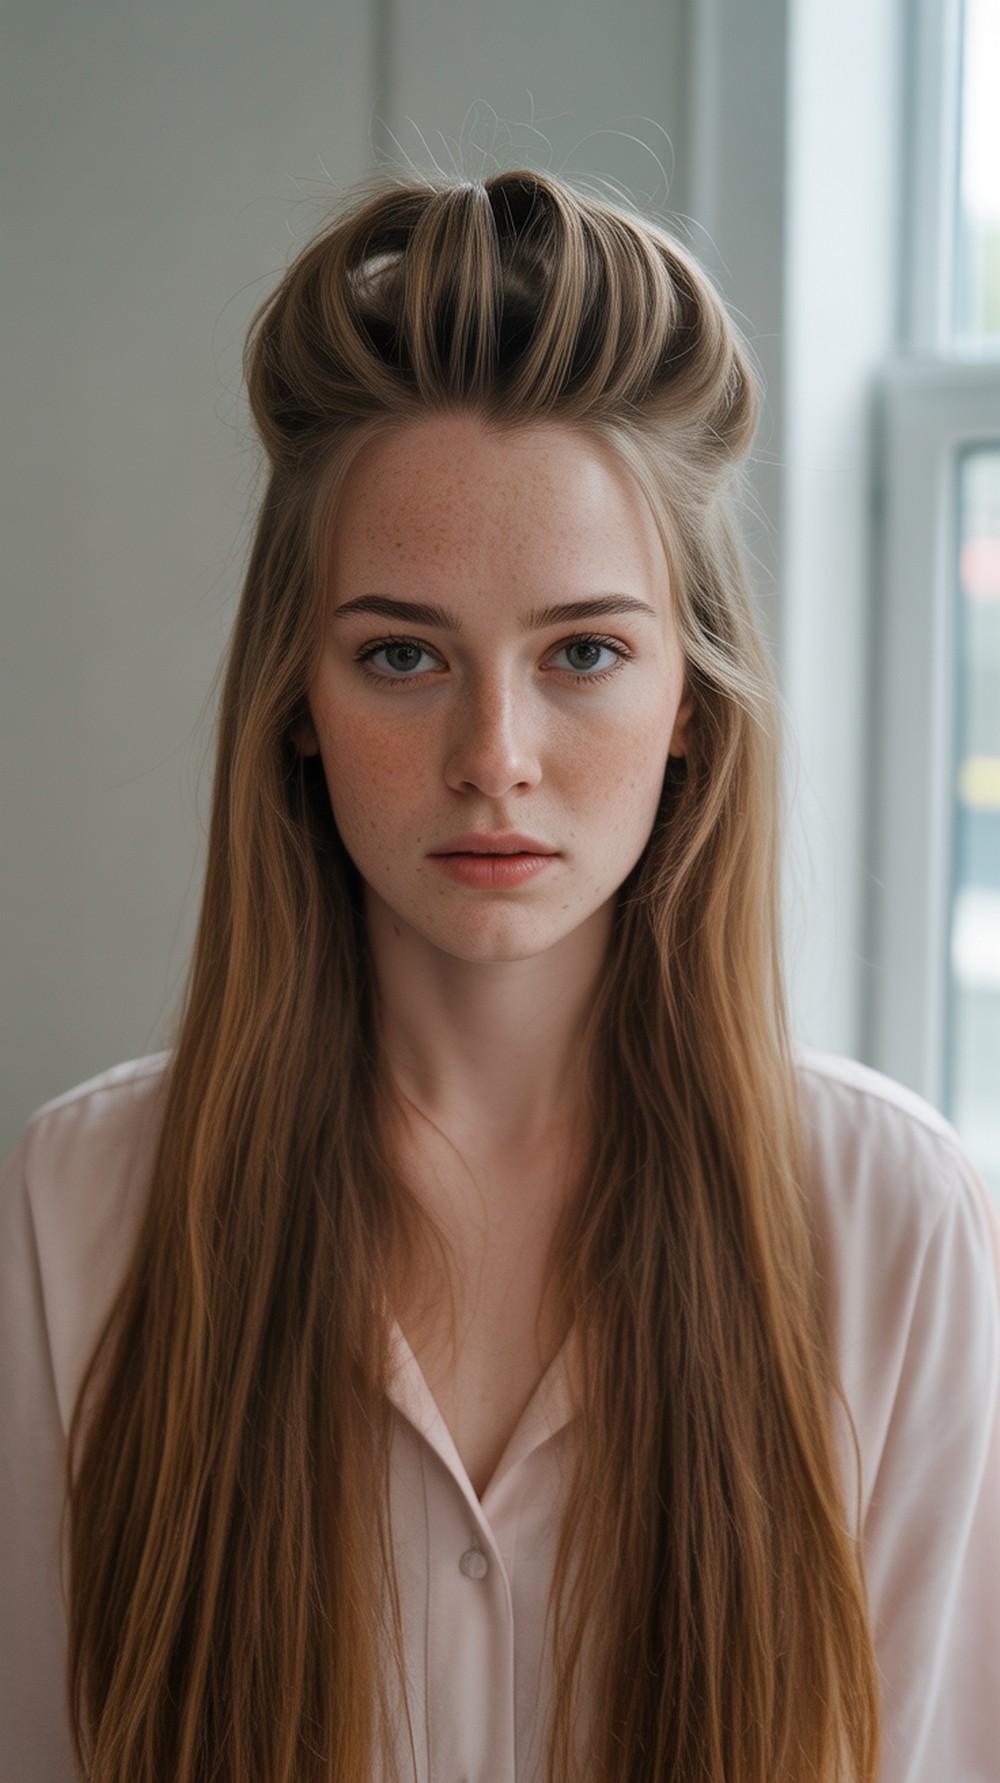
A half-up bouffant gives vintage lift at the crown while keeping length visible—great for parties and photos. The height balances heart faces and adds structure to round faces. Keep the sides smooth and the top softly raised, not stiff. Pro tip: backcomb only the inner layers at the crown, then smooth the outer layer over the volume for a clean finish.
How To Style:
- Section the top; lightly backcomb the roots underneath.
- Smooth the surface; secure the section at the back with pins.
- Curl or wave the remaining length if desired.
- Mist lightly to hold.
Best For: Heart, round; straight, wavy, or curly, medium to long.
Tools & Products: Tail comb, bobby pins, flexible hairspray, light oil.
14. Low Ribbon Ponytail

A low pony tied with a simple ribbon is understated, classic, and fast. The ribbon softens the look and can echo outfit colors without feeling flashy. A center part reads refined; a side part adds softness. It’s perfect for workdays, brunches, or travel. Pro tip: wrap a small strand around the elastic first for a polished base, then tie the ribbon so the tails sit just past the shoulders.
How To Style:
- Create your preferred part; brush hair low.
- Tie a low pony; wrap a small strand around the elastic and pin.
- Add ribbon; tighten gently.
- Smooth ends with a drop of serum.
Best For: Oval, long; straight or wavy, medium to long.
Tools & Products: Brush, elastics, bobby pins, ribbon, light serum.
Final Thoughts
Classic hairstyles earn their status because they work—at the office, on busy days, and at special events. Start with an easier option (low chignon or French braid), then try one structured look (French twist or finger waves). Note which parting and height balance your features, and keep hold soft so hair still moves.
CTA — Want this list tailored to your length, texture, and face shape? Tell me your details and I’ll customize the 14 looks with exact steps for you.
FAQs
1) What makes a hairstyle “traditional”?
It’s a time-tested look seen across eras—think chignons, French twists, braids, and finger waves. These shapes are classic, polished, and adaptable for work, events, or everyday wear.
2) Are traditional styles hard to do alone?
Many are simple once you learn the motions. Start with easier options (low chignon, French braid) and save advanced choices (finger waves, French twist) for days you have extra time.
3) Which face shapes do these suit?
Most can be tailored. Center parts elongate round faces; side parts soften long or square shapes; gentle height at the crown balances heart faces.
4) Do I need special tools or products?
No brands needed. A brush, tail comb, elastics, bobby pins, and hairspray cover most styles. Add a curling iron, flat iron, or rollers if you like waves or sleekness.
5) How do I make them last without crunch?
Build hold in layers: prep on slightly damp hair with mousse or cream, dry thoroughly, then lock the finish with a light mist of flexible hairspray or a drop of oil on ends.