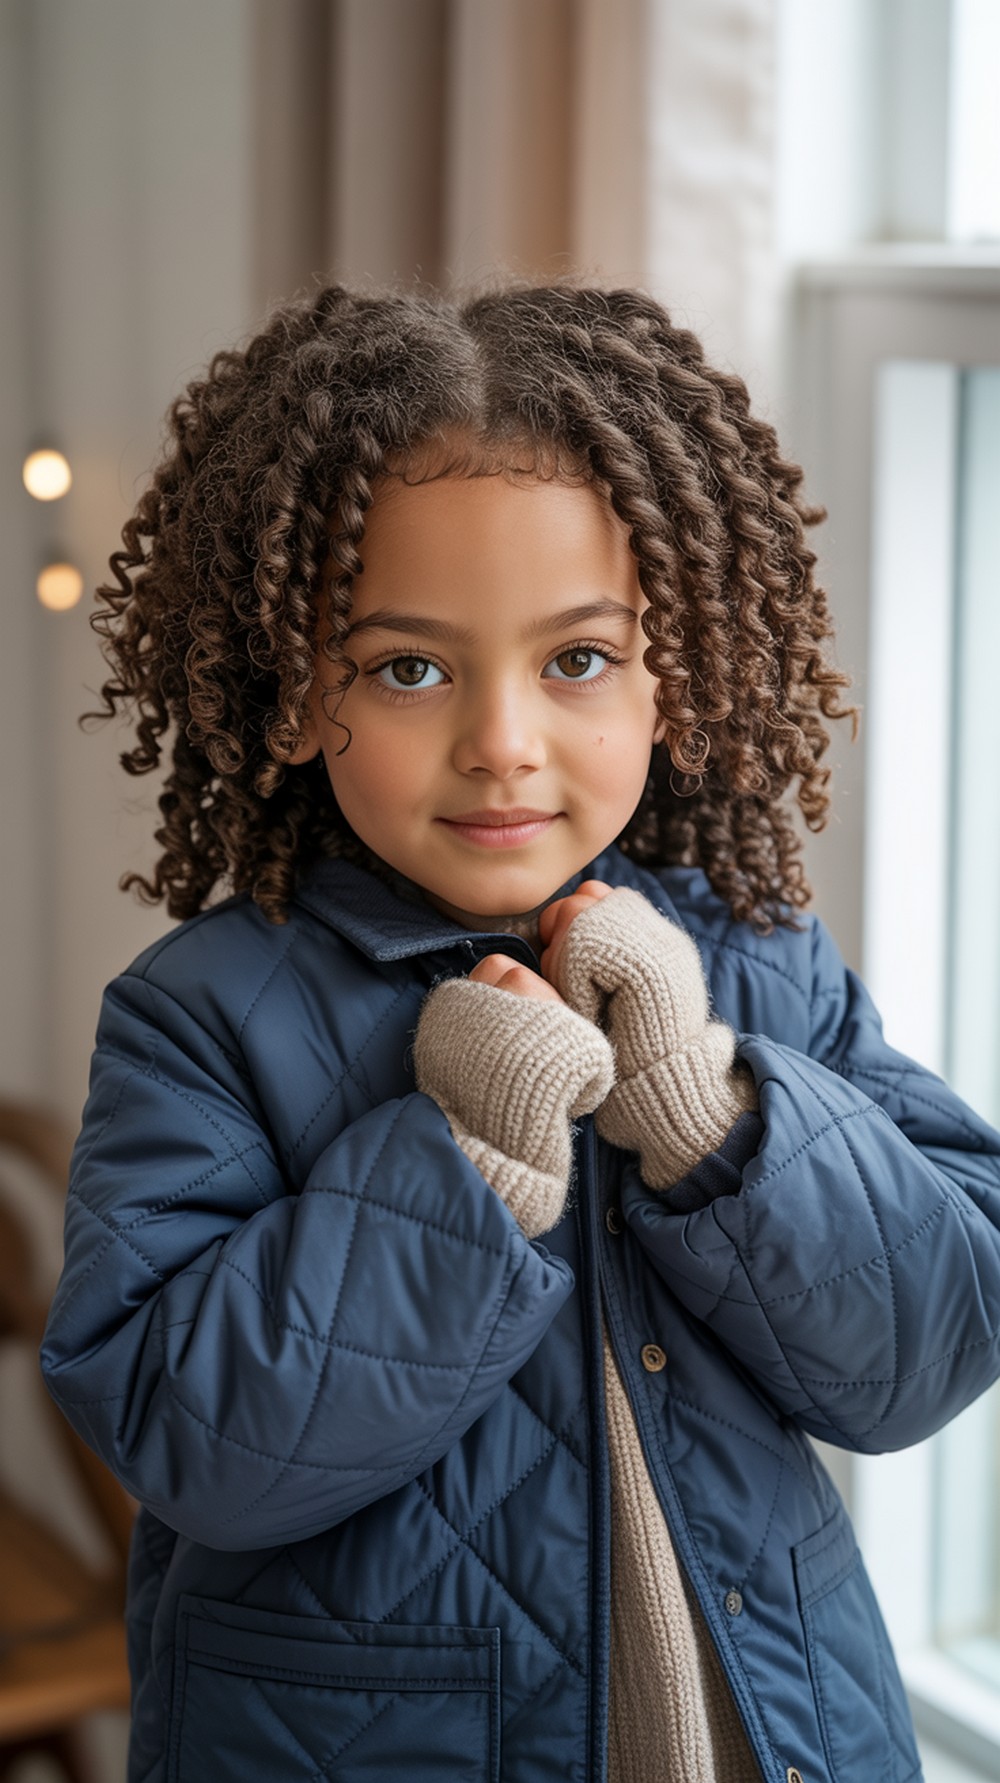
10 Easy Hairstyles for School
School mornings are busy, so this list focuses on quick, tidy hairstyles you can do in five minutes or less. You’ll find simple half-ups, secure buns, and ponytail twists that suit straight, wavy, or curly hair. Most ideas work best on shoulder-length to long hair, but several adapt to bobs too. If you have a round or heart face, try soft side parts; oval and long faces do well with center parts and a bit of height. Before you start, brush through, add a touch of light leave-in or water to calm frizz, and keep elastics, bobby pins, and a small clip within reach. A quick spritz of flexible hold at the end helps everything stay neat through classes and sports.
Quick List
- Half-Up Mini Claw Clip
- Low Braided Pony
- Wrapped High Ponytail
- Messy Top Knot
- Smooth Low Middle-Part Bun
- Side-Part Loose Waves
- Headband Tuck Bob
- Bubble Braid Pigtails
- Dutch Crown Half-Up
- Sleek Tuck-Behind-Ears
Half-Up Mini Claw Clip
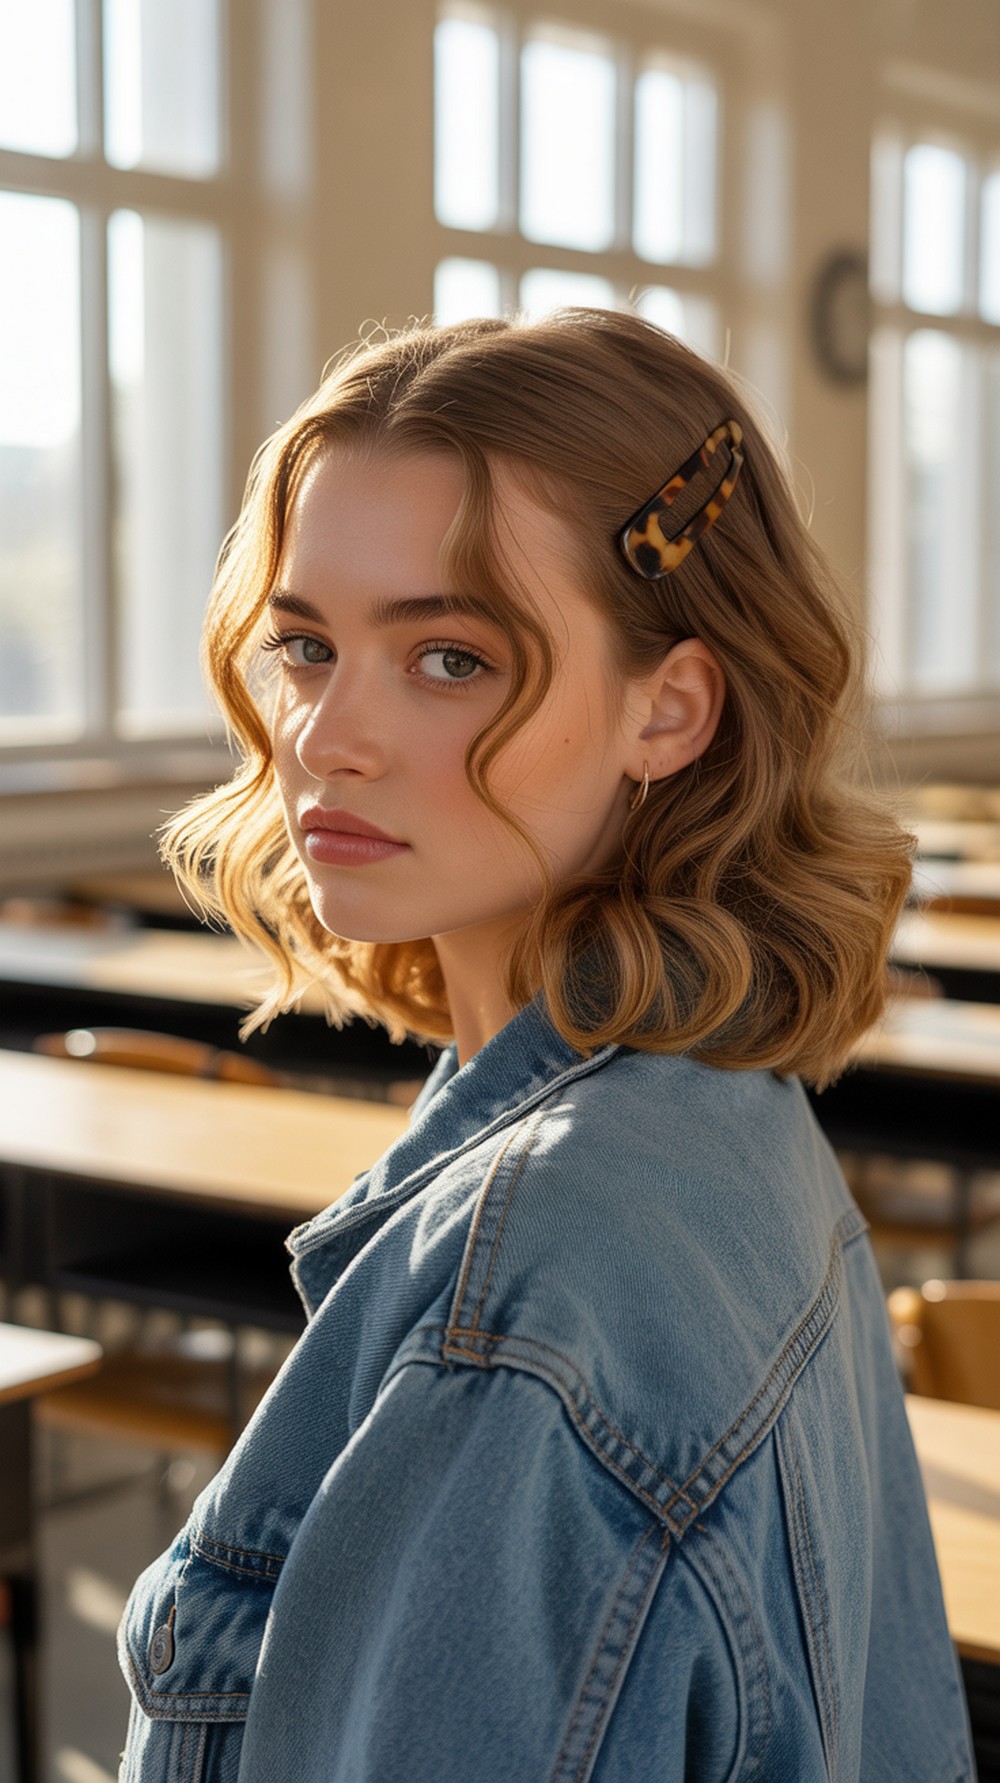
This half-up is fast, cute, and keeps hair off your face without flattening volume. Twist the top section and secure with a small claw clip so it sits like a little bow. It looks put-together for classes and still relaxed for after-school clubs. Works on straight or wavy textures and lets curls show through. It also fits under headphones easily. Pro tip: pull two tiny face-framing pieces loose, then lightly pinch the crown to lift for balance.
How To Style: Gather top third; twist back; clip at the crown; pinch for lift; smooth flyaways.
Best For: Oval, heart; straight or wavy hair.
Tools & Products: Small claw clip, brush or comb, bobby pins, light hold spray.
Low Braided Pony
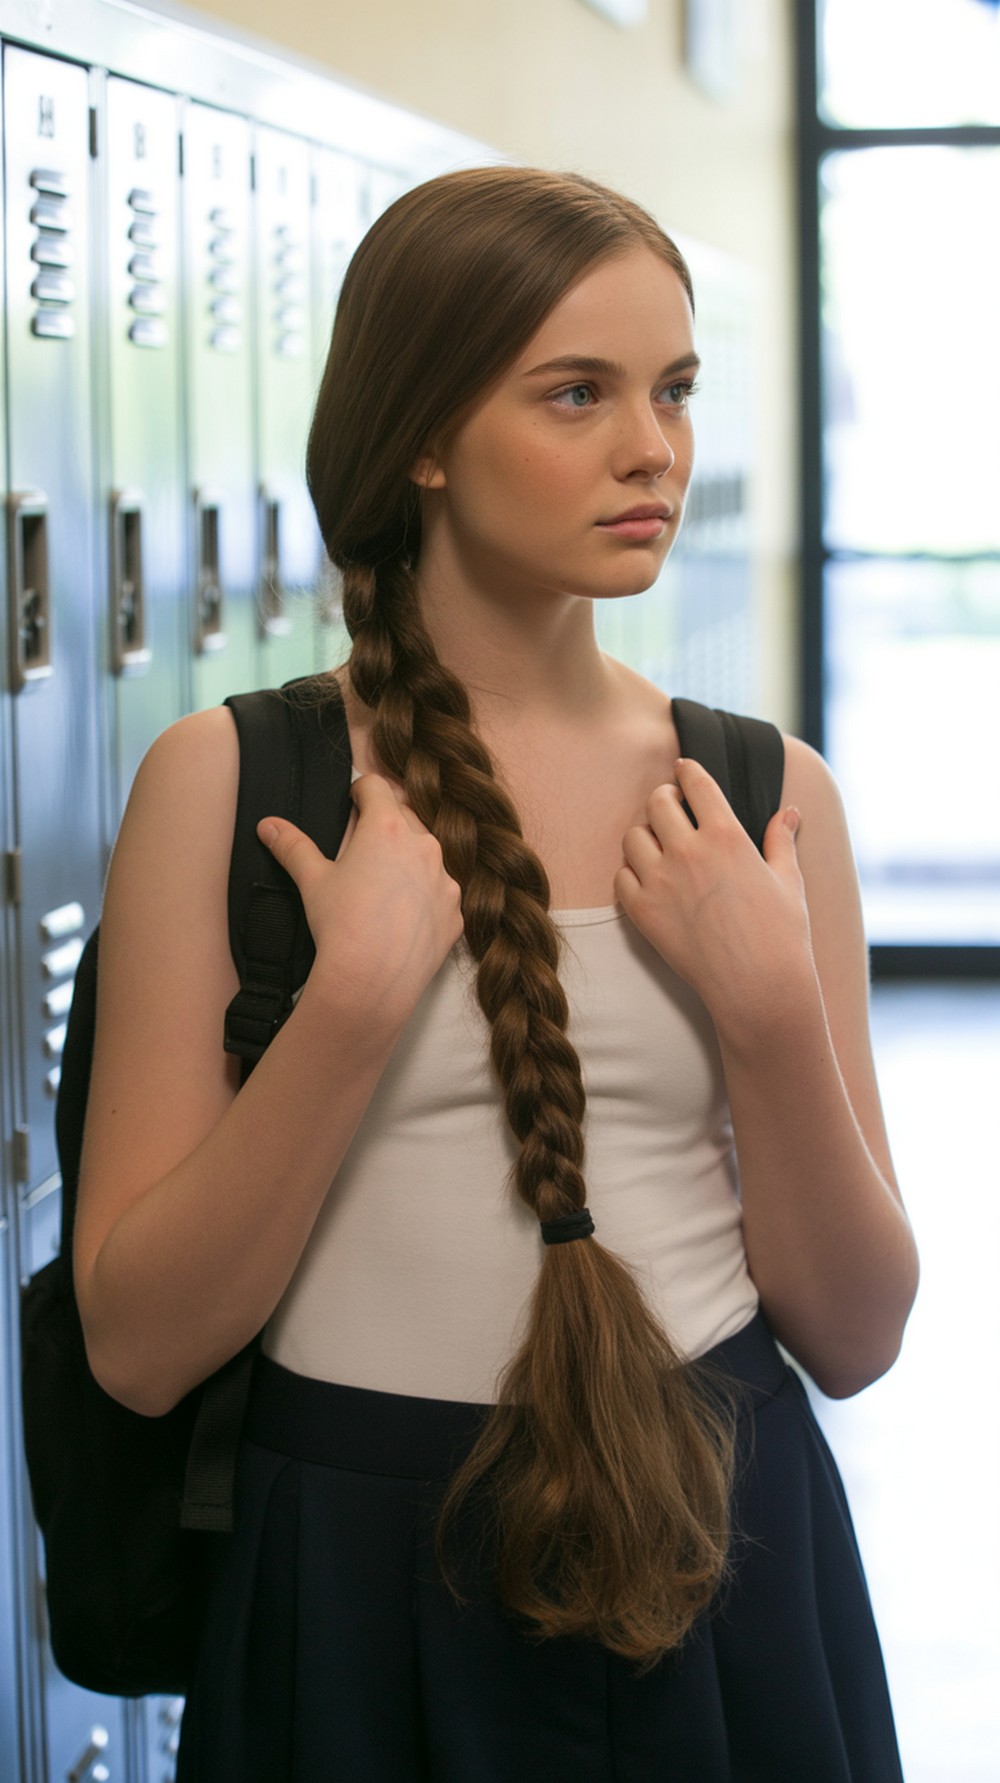
A low pony with a simple three-strand braid looks tidy and stays put through PE. Keeping it low at the nape reduces tugging and sits well under caps or hoodies. The braid adds texture so fine hair looks fuller, and it won’t unravel during a busy day. You can finish the tail with a tiny elastic and wrap a strand around the base for a cleaner finish. Pro tip: add a touch of dry shampoo at the roots first to prevent slipping.
How To Style: Make a low pony; secure; braid the tail; tie the end; wrap a small strand around the base and pin.
Best For: Round, oval; straight, wavy, or curly hair.
Tools & Products: Small elastics, brush, bobby pins, dry shampoo or texture spray.
Wrapped High Ponytail
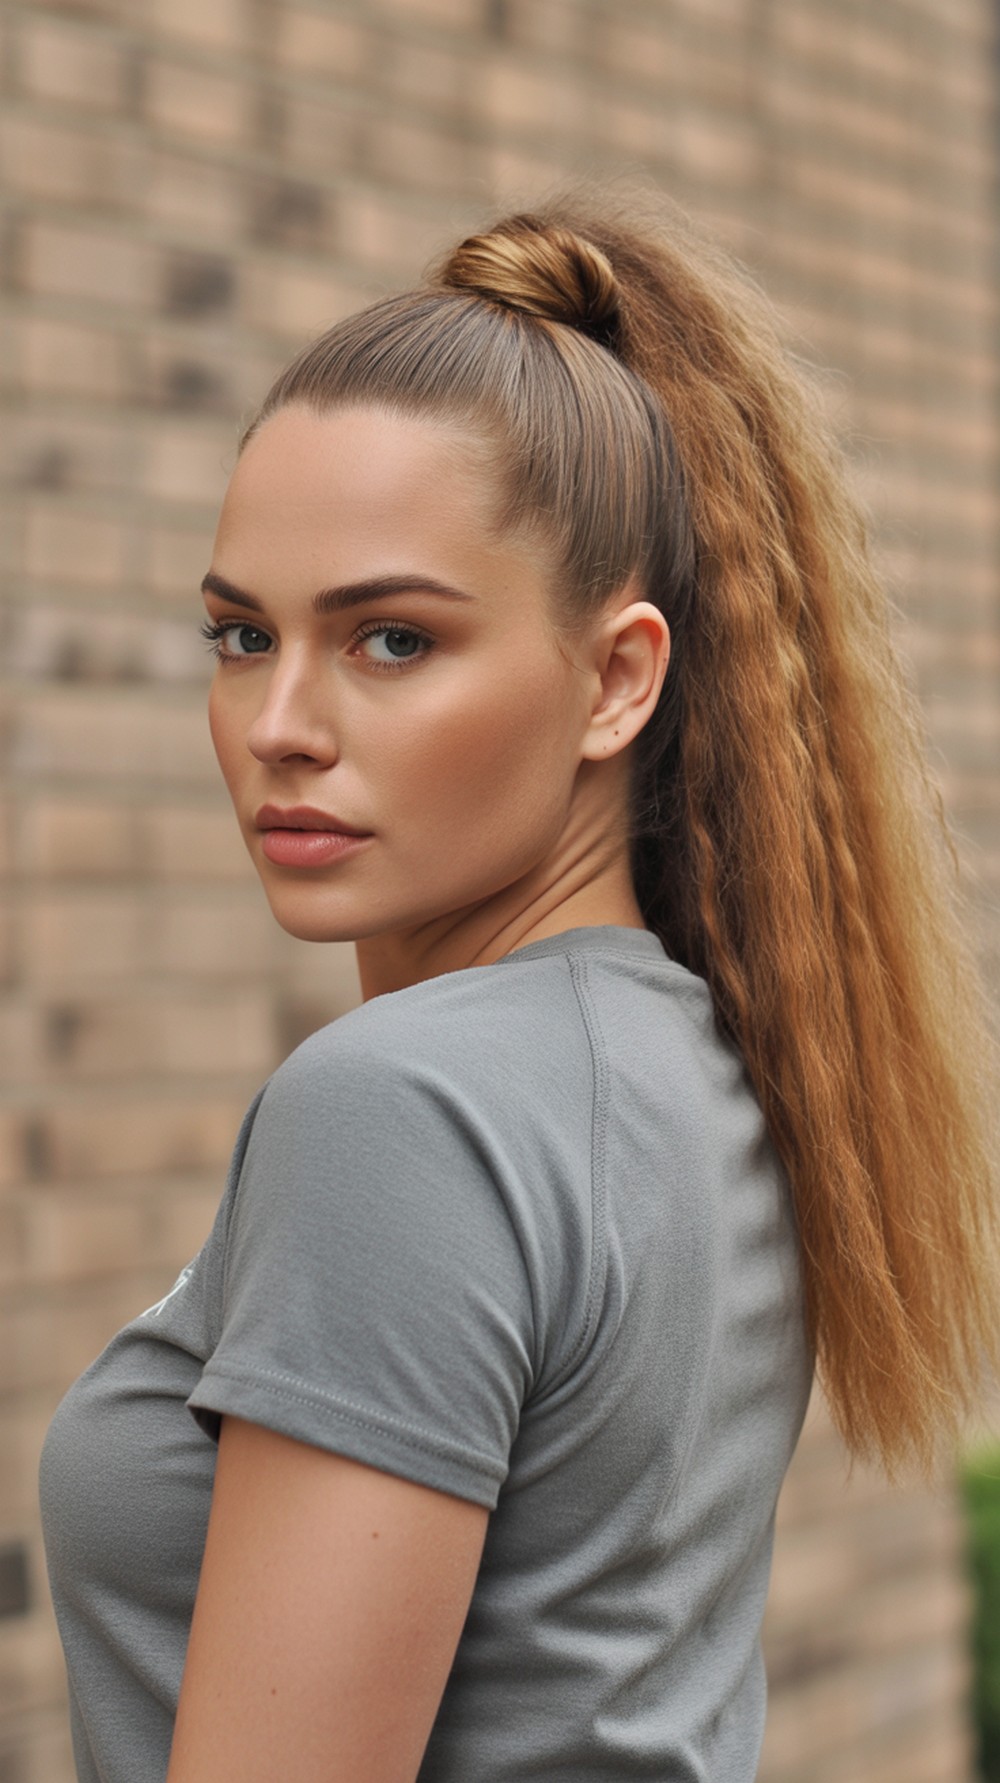
This high pony feels sporty and sharp. Lifting the pony opens the face and adds instant energy to your look. Wrapping a thin strand around the elastic makes it look polished without extra effort. It’s great for thick hair because weight sits high and away from your neck. For fine hair, tease the base slightly for grip. Pro tip: flip your head upside down to gather the pony for a smoother finish at the crown.
How To Style: Brush up; secure high; take a small strand; wrap the elastic; pin the end under.
Best For: Oval, long; straight or wavy hair.
Tools & Products: Elastic, brush, bobby pins, light hairspray.
Messy Top Knot

The top knot is the ultimate fast fix for busy mornings. A soft, slightly undone finish keeps it casual while still clean. Placing the bun at or just behind the crown flatters most face shapes by adding height. Leave a few wisps near the ears for softness. It’s perfect for third-day hair or after practice. Pro tip: twist loosely, then tug the bun edges to widen the shape instead of winding it too tight.
How To Style: Gather high; twist into a coil; secure with an elastic and a few pins; tug edges to fluff; smooth flyaways.
Best For: Round, heart; wavy or curly hair (works on straight with texture spray).
Tools & Products: Elastic, bobby pins, brush, texture spray.
Smooth Low Middle-Part Bun

Sleek, simple, and uniform-friendly, this low bun keeps everything neat through long days. A center part balances oval and long faces and looks great with glasses. The bun sits at the nape, so backpacks and hoodies won’t disturb it. Add a little water or gel to tame frizz without stiffness. Pro tip: split the pony into two, twist each, then wrap them in opposite directions for a compact knot.
How To Style: Create a center part; make a low pony; twist into a bun; pin; smooth the part line.
Best For: Oval, long; straight or wavy hair.
Tools & Products: Elastic, bobby pins, fine-tooth comb, lightweight gel or cream.
Side-Part Loose Waves

A soft side part adds instant lift and frames the cheeks, which is especially nice on round or heart faces. You don’t need heat—just braid damp hair the night before or scrunch with water in the morning. Keep the front tucked behind one ear for a classroom-ready finish. It’s easy, low-effort, and still looks styled. Pro tip: clip the deep side for five minutes while you get ready to set the part.
How To Style: Create a deep side part; tuck one side; scrunch or shake out natural waves; set with a light spray.
Best For: Round, heart; wavy or curly hair (works on straight with overnight braids).
Tools & Products: Duckbill clip, light hairspray, wide-tooth comb.
Headband Tuck Bob
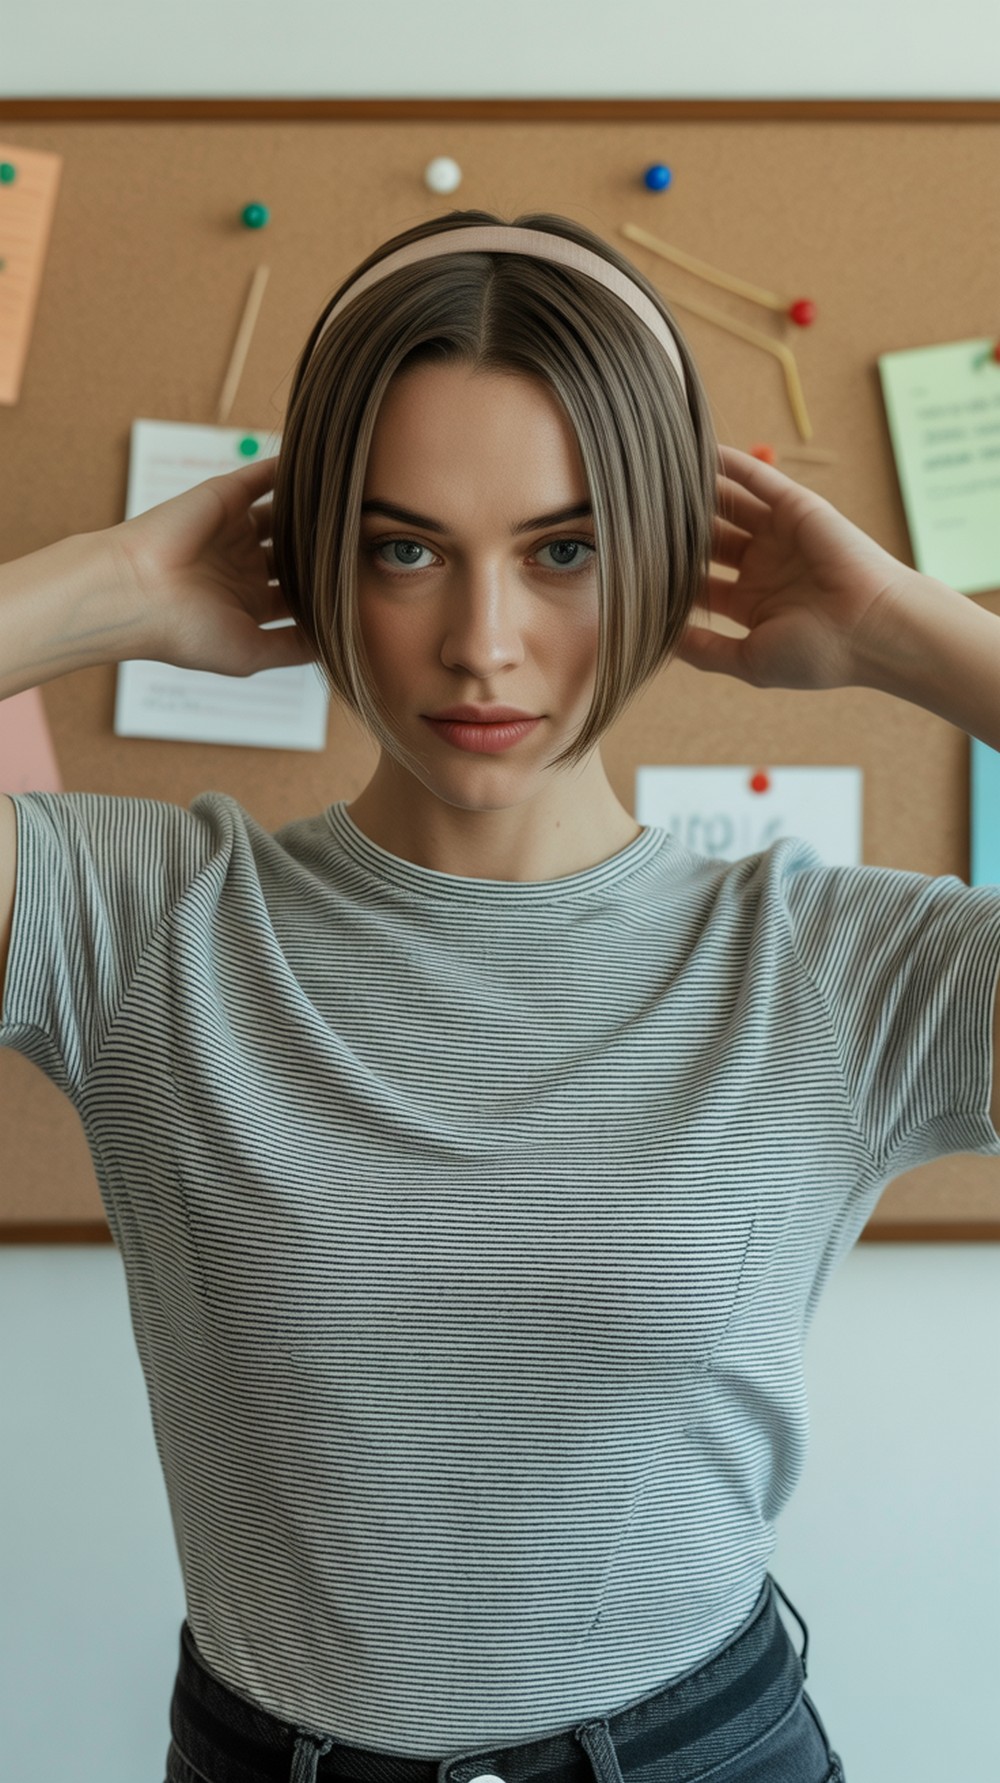
Short hair can be just as easy. Slide on a soft headband and tuck the back lengths up and under for a faux rolled look. It keeps edges tidy and adds a little vintage vibe without being fussy. Great for growing-out bobs and busy mornings. If pieces slip, pin them under the band. Pro tip: use a slightly textured headband so it grips and doesn’t slide.
How To Style: Place headband behind the hairline; roll and tuck ends under the band; pin where needed; smooth the crown.
Best For: Heart, oval; straight or wavy short hair.
Tools & Products: Fabric headband, bobby pins, light hairspray.
Bubble Braid Pigtails
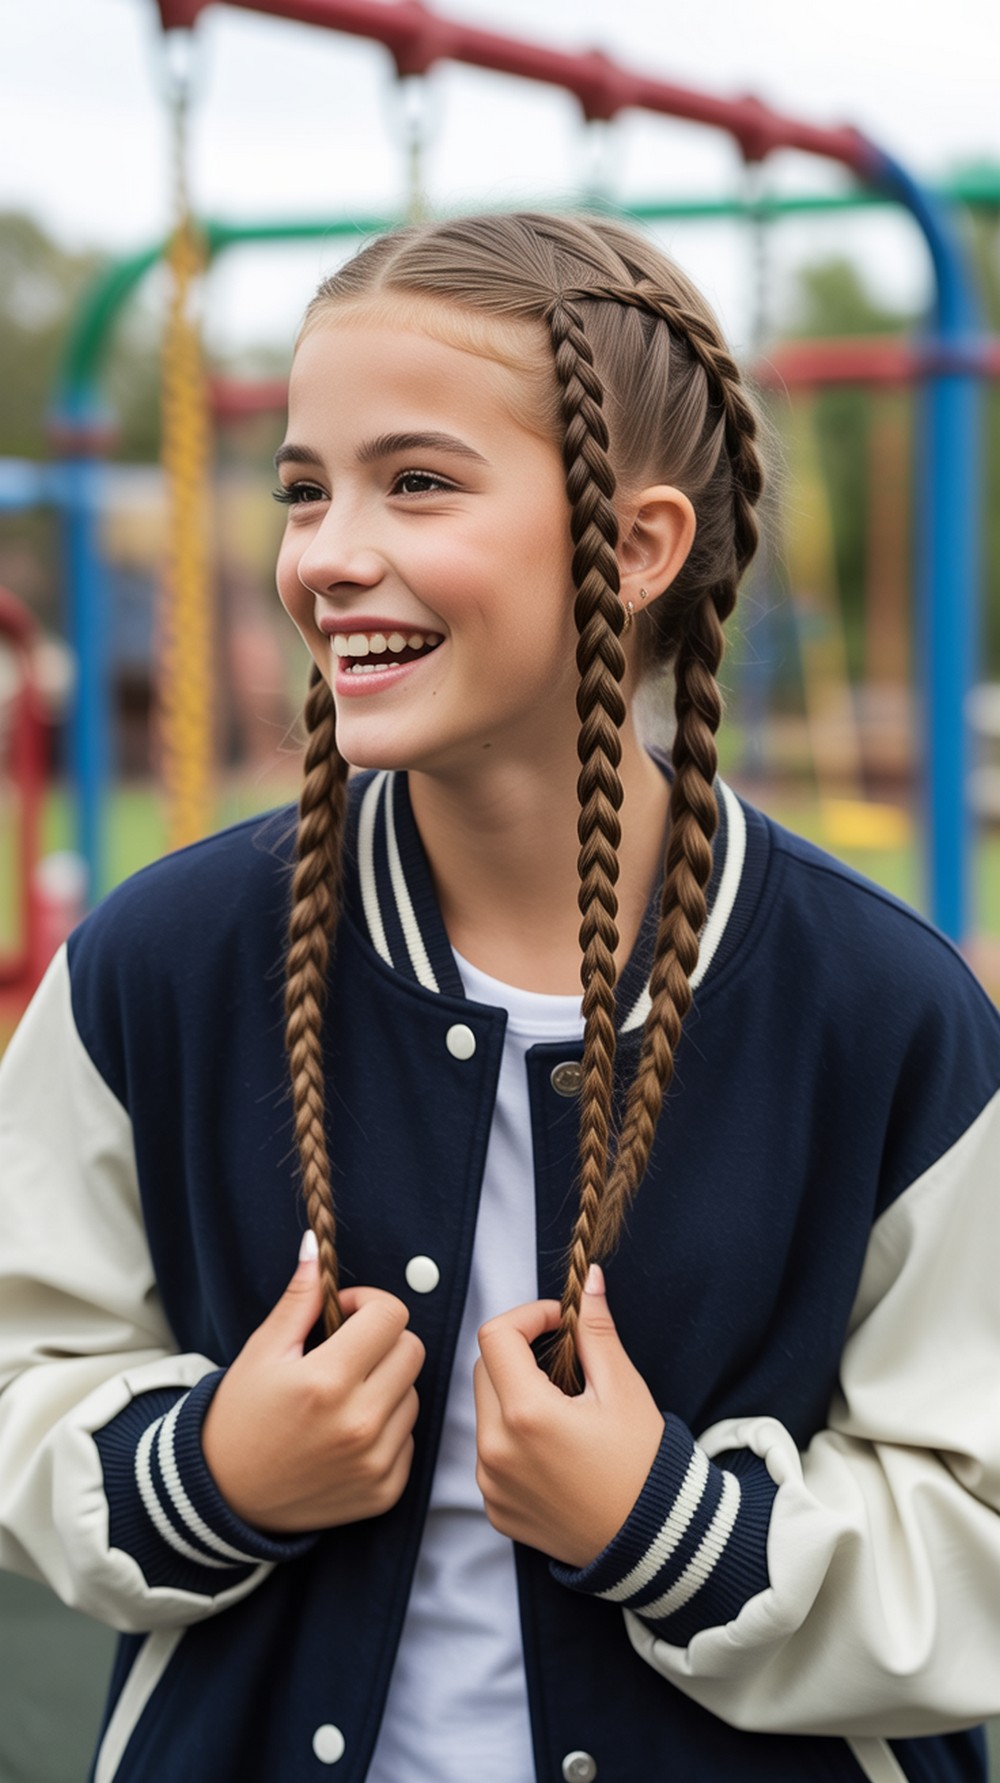
Playful but practical, bubble braids keep hair controlled without complicated plaiting. Space small elastics every few inches down two low pigtails, then pinch each section to “bubble.” This adds volume to fine hair and shows off curls without tangling them. It stays put during field activities and looks cute with a cap. Pro tip: hide each elastic by gently tugging hair over it after you pinch.
How To Style: Part down the middle; make two low pigtails; add spaced elastics; pinch each section to round.
Best For: Round, oval; straight, wavy, or curly hair.
Tools & Products: Several small elastics, brush, light finishing spray.
Dutch Crown Half-Up
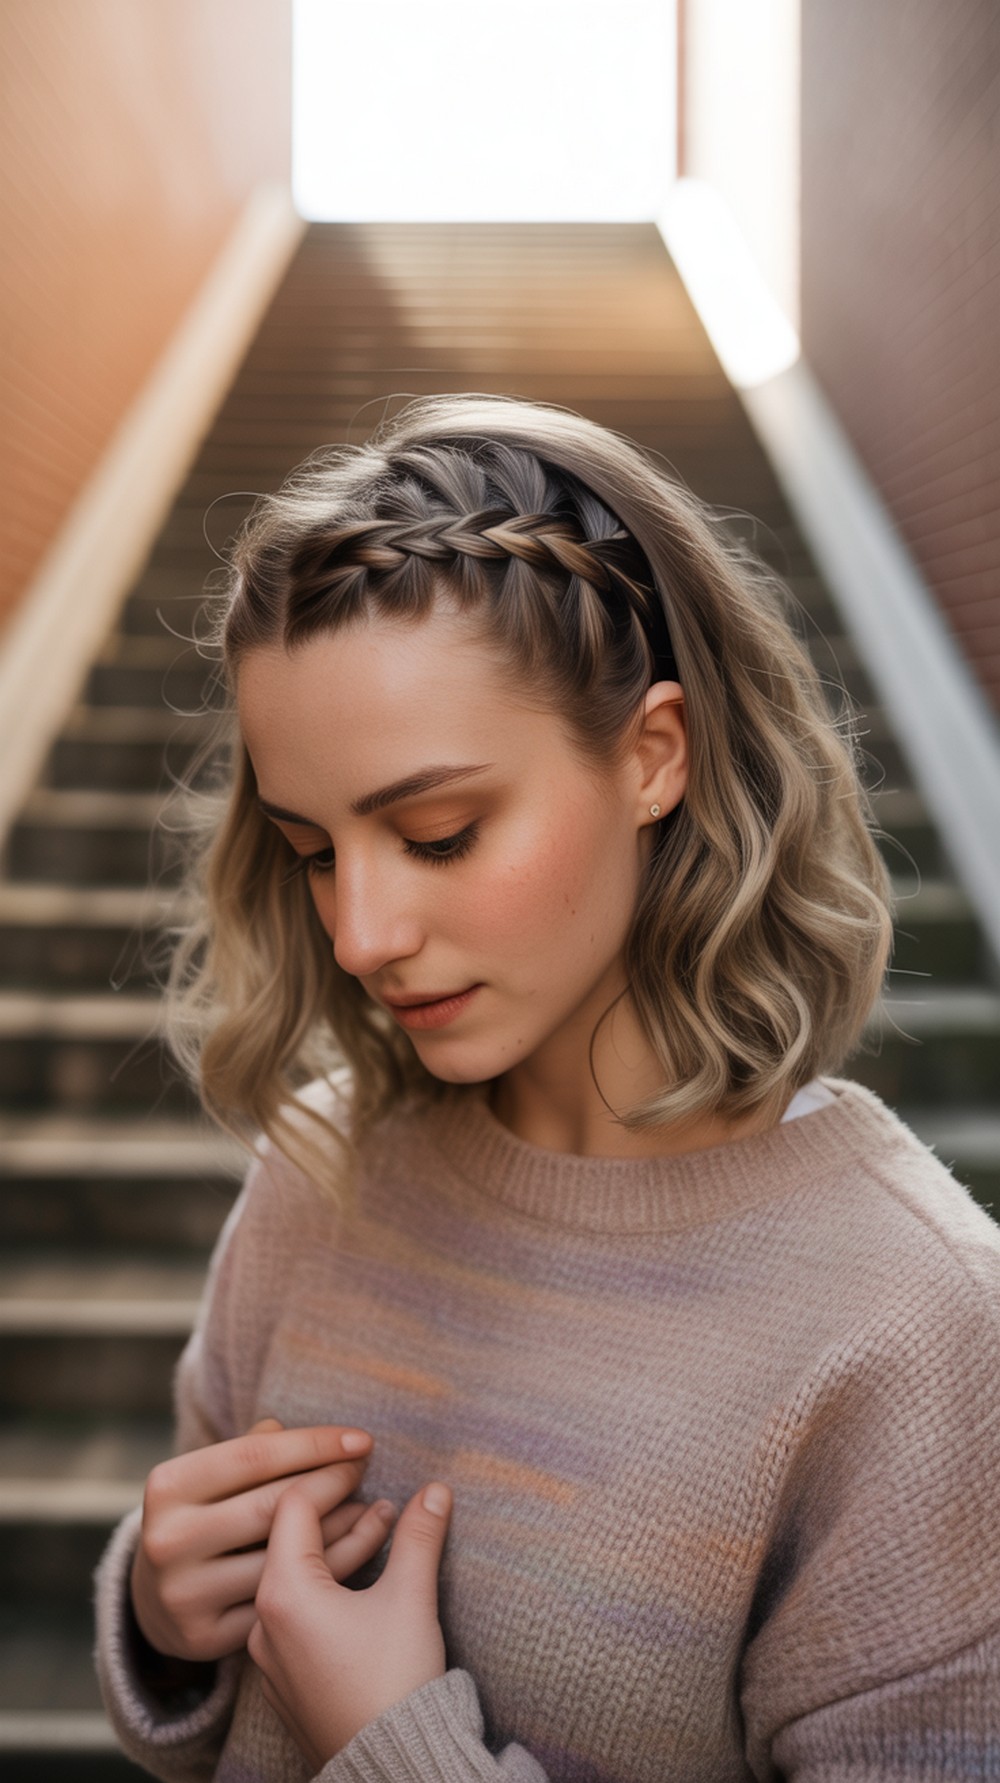
A small Dutch braid across the top acts like a built-in headband and keeps fringe off your face. Because only the top is braided, it’s faster than a full crown. The rest of your hair stays down and soft for everyday wear. It looks detailed but is easy once you learn the hand motion. Pro tip: keep sections tiny; the smaller the braid, the quicker it sets and the cleaner it looks.
How To Style: Take a front section; Dutch braid from one temple to the other; secure behind the ear; blend into a mini half-up.
Best For: Heart, oval; straight or wavy hair.
Tools & Products: Small elastics, bobby pins, tail comb, light hairspray.
Sleek Tuck-Behind-Ears
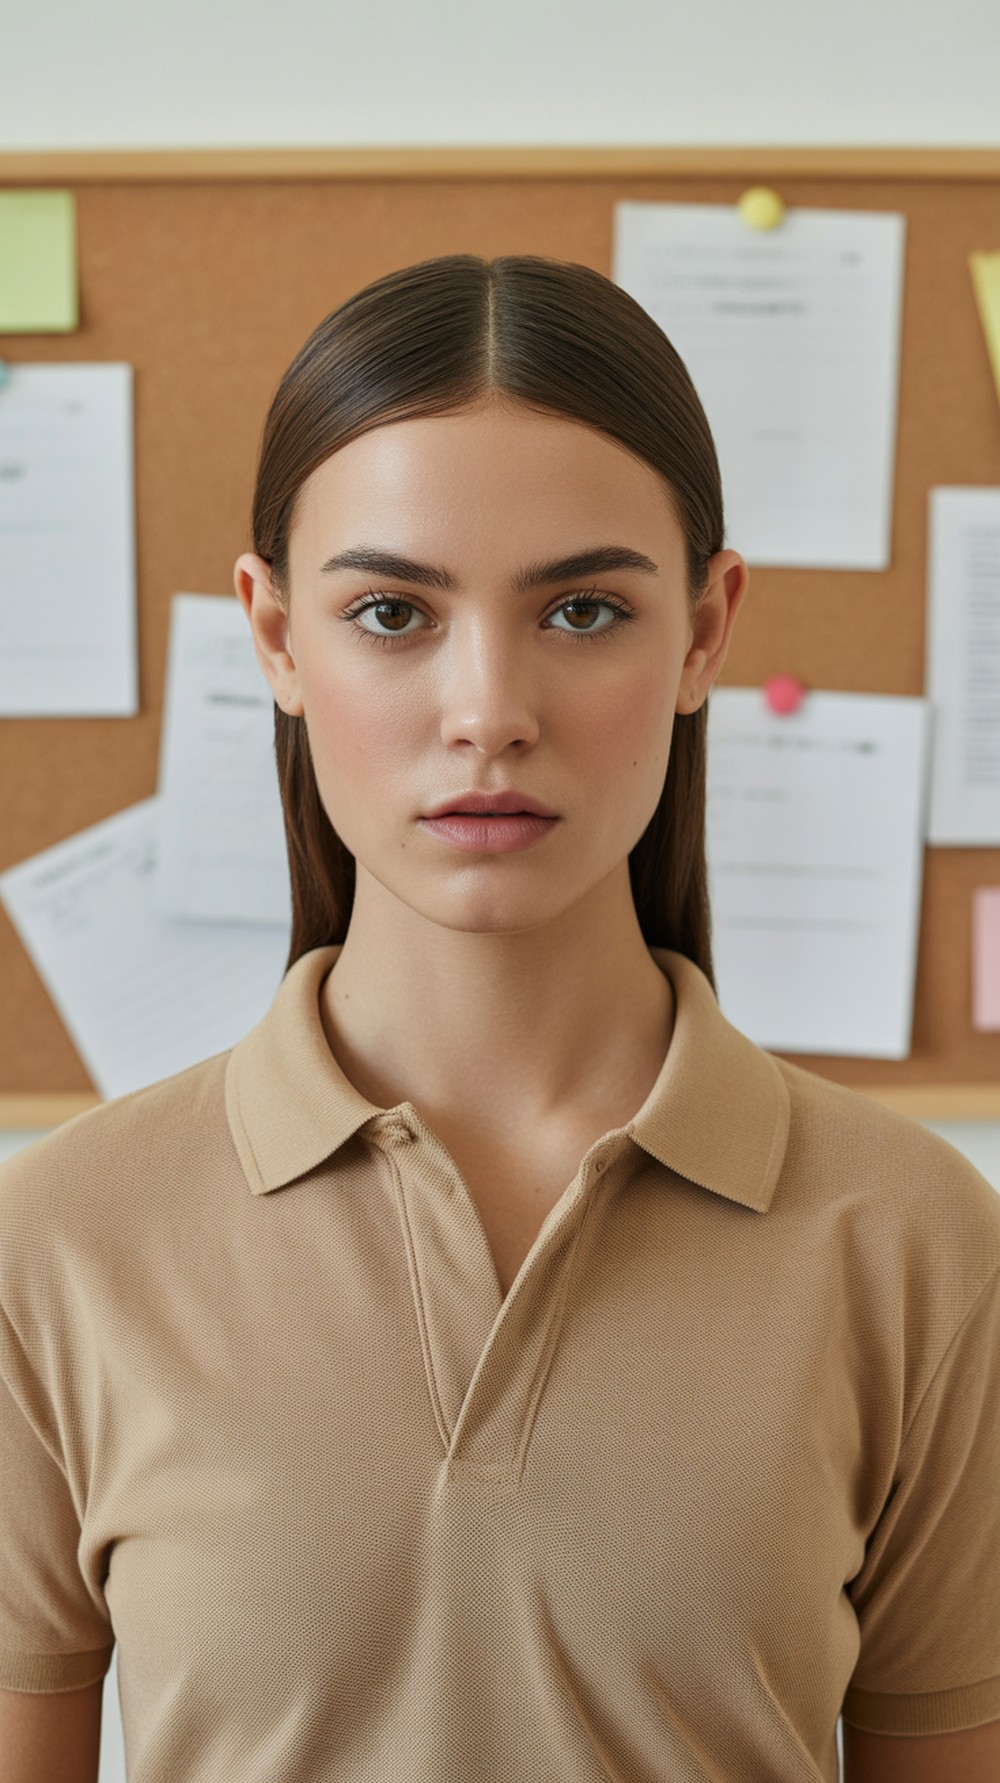
Minimal and modern, this style frames your face and keeps sides neat. A clean middle or soft off-center part plus a smooth tuck behind both ears is perfect for presentations or photo day. It’s quick on any texture and length past the jawline. Add a tiny bit of gel near the temples for hold, but keep the rest natural. Pro tip: set the tuck with two short pins placed vertically just behind each ear.
How To Style: Part; smooth sides; tuck behind ears; pin discreetly; mist a light spray to finish.
Best For: Oval, long; straight, wavy, or loosely curly hair.
Tools & Products: Bobby pins, fine-tooth comb, lightweight gel, flexible hairspray.
Conclusion
Fast school hair doesn’t need heat or a drawer full of tools. Pick one or two styles you like and practice them a couple of times so your hands remember the moves. Keep small elastics, pins, and a mini clip in your bag for quick fixes. You’ll be ready in minutes, even on busy mornings.
CTA
Want a version tailored to your hair length and texture? Tell me your hair type, length, and face shape, and I’ll build a custom school-day set just for you.
FAQs
1) How can I make these styles last all day?
Start with hair that isn’t too slippery—second-day hair or a light texture spray helps. Finish with a gentle hold spray and secure ends with small elastics or pins tucked out of sight.
2) Will these work on curly hair?
Yes. For curls, avoid heavy brushing; finger-detangle and add a dab of curl cream or water first. Many styles look great with defined curls—just pin softly instead of pulling tight.
3) What if my hair is very fine and falls out?
Use smaller elastics, add a bit of dry shampoo or texture powder at the roots, and anchor with a few crisscrossed bobby pins. Tiny claw clips also grip fine strands well.
4) Are heat tools required?
No. All styles are heat-free. If you want extra polish, you can smooth your part with a brush or lay flyaways with a small amount of lightweight gel.
5) How do I keep styles comfortable under a hoodie or hat?
Choose low styles like a low bun or low pony. Keep pins away from the crown and secure the base close to the nape so fabric doesn’t push it out.