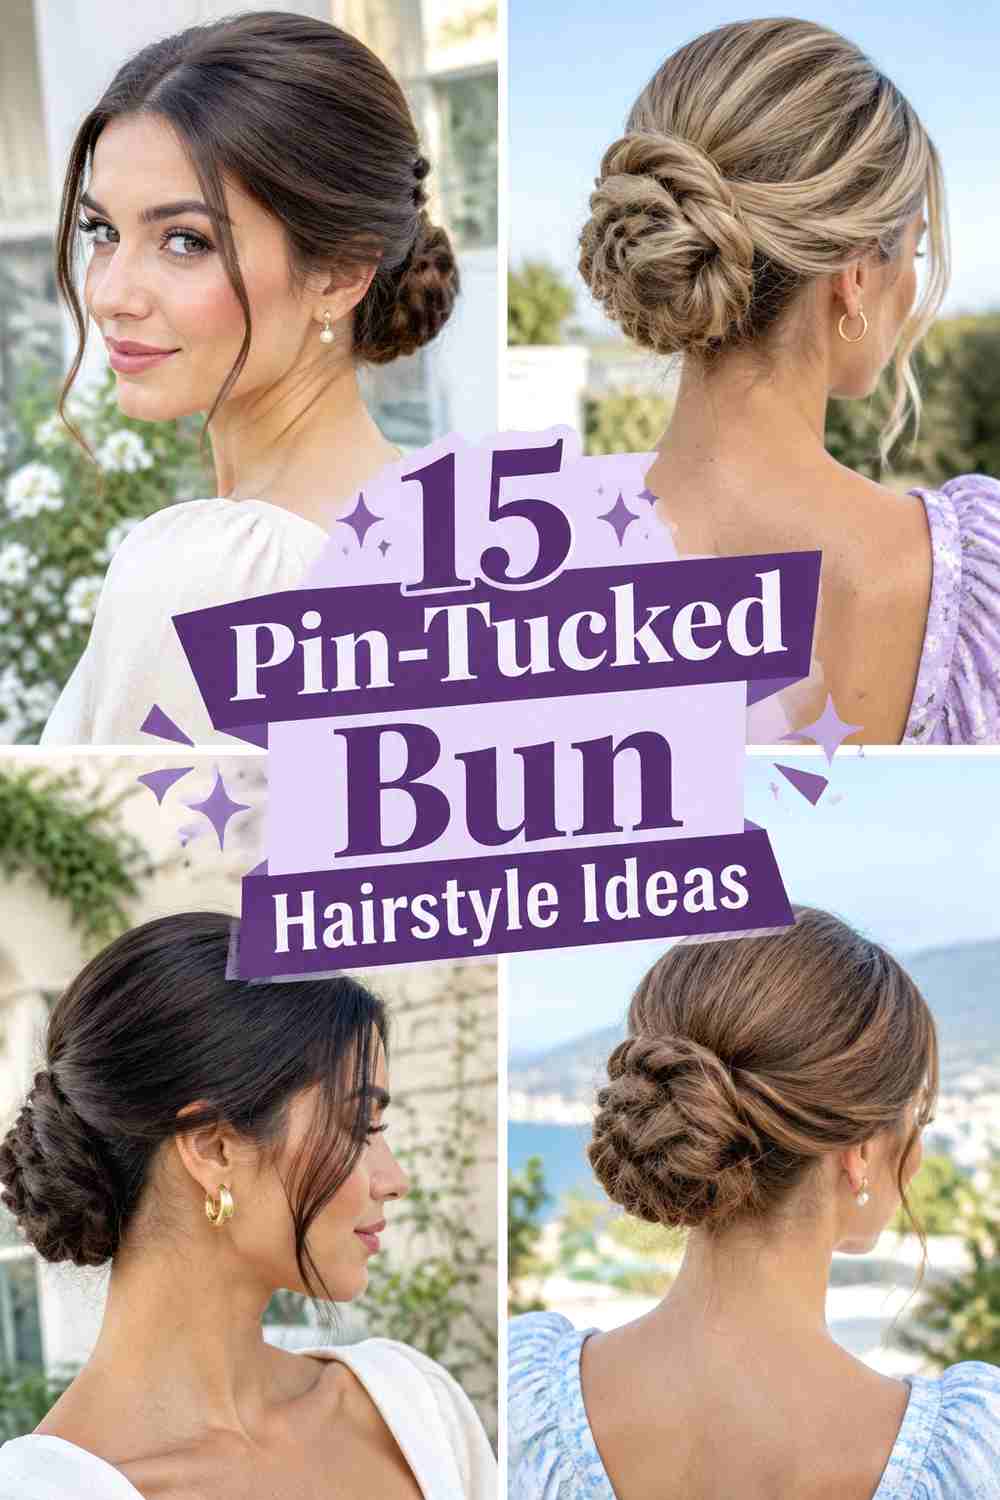
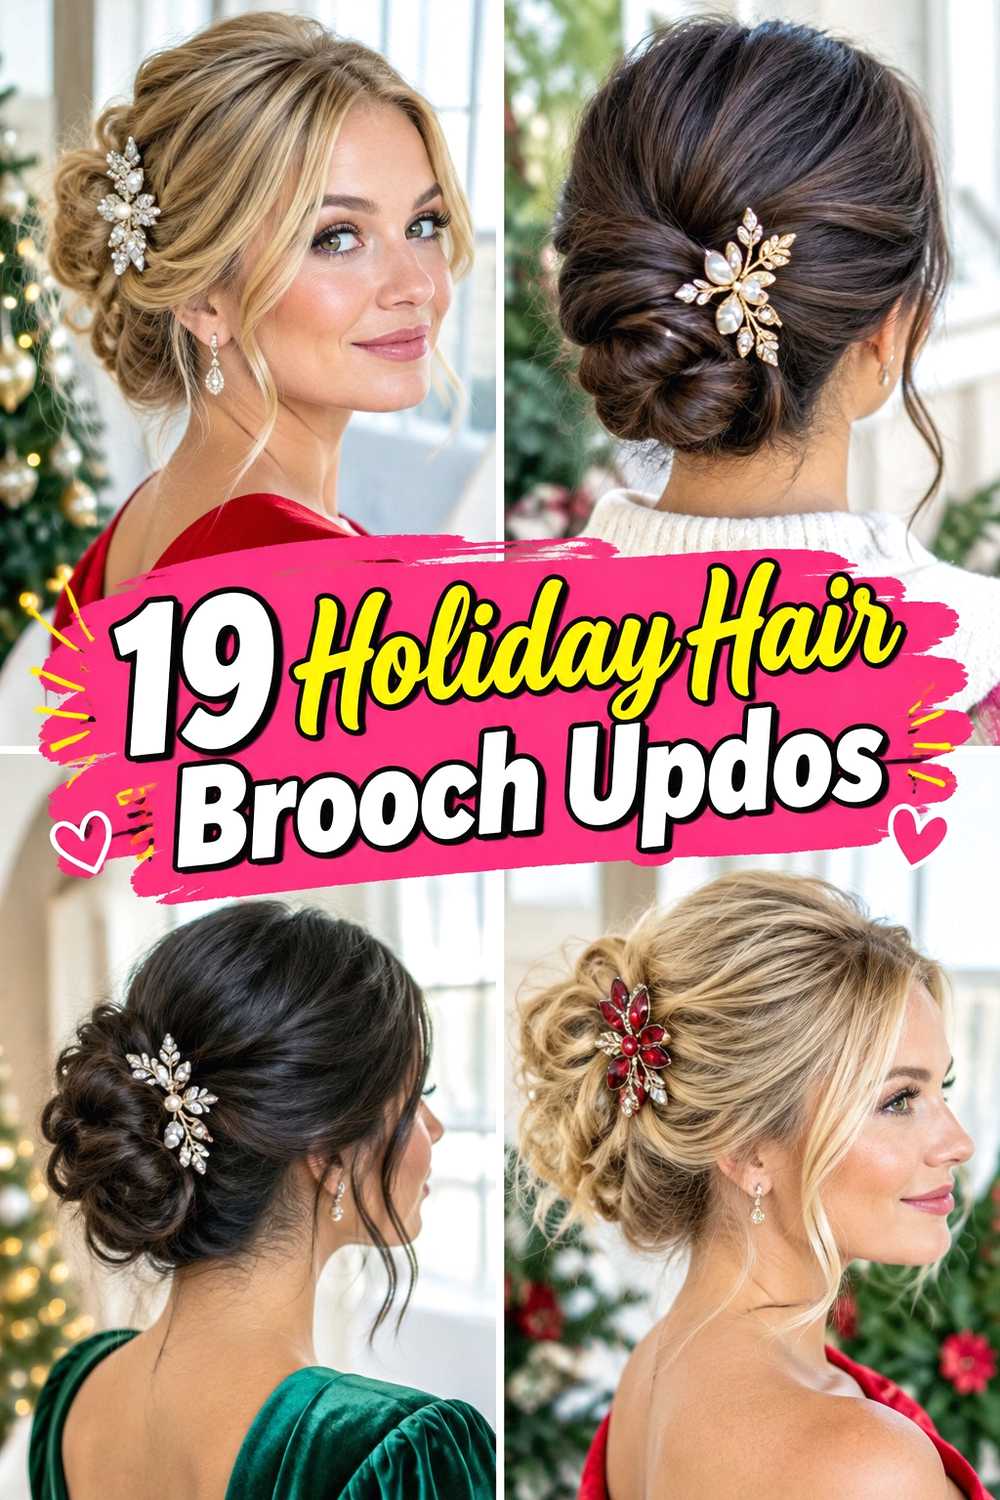
11 Slick Side-Part Bun Hairstyle Ideas
Clean roots, a defined side part, and a polished bun come together in these sleek styles that feel modern, elegant, and easy to dress up.
A slick side-part bun gets its impact from precision. The part should look intentional, the front sections should sweep naturally toward the bun, and the finished knot needs to connect securely to the ponytail or pinned base rather than appearing separate from the head. Small changes in bun height, shape, texture, and shine can make the same basic idea feel understated, formal, or editorial.
Realistic bun styling also depends on believable density, natural hairlines, controlled shine, and secure-looking construction rather than plastic-looking hair or impossible volume. As you compare these looks, think about your length, texture, desired tension, occasion, and how much product you are comfortable using around the roots.
Quick List
- Classic Low Slick Side Part Bun Hairstyle
- Polished Nape Side Part Bun Hairstyle
- High Slick Side Part Bun Hairstyle
- Deep Side Part Knot Bun Hairstyle
- Glossy Side Part Ballet Bun Hairstyle
- Sculpted Side Part Twisted Bun Hairstyle
- Slick Side Part Braided Bun Hairstyle
- Side Swept Slick Bun Hairstyle
- Wet Look Side Part Bun Hairstyle
- Wedding Slick Side Part Bun Hairstyle
- Minimalist Slick Side Part Bun Hairstyle
1. Classic Low Slick Side Part Bun Hairstyle
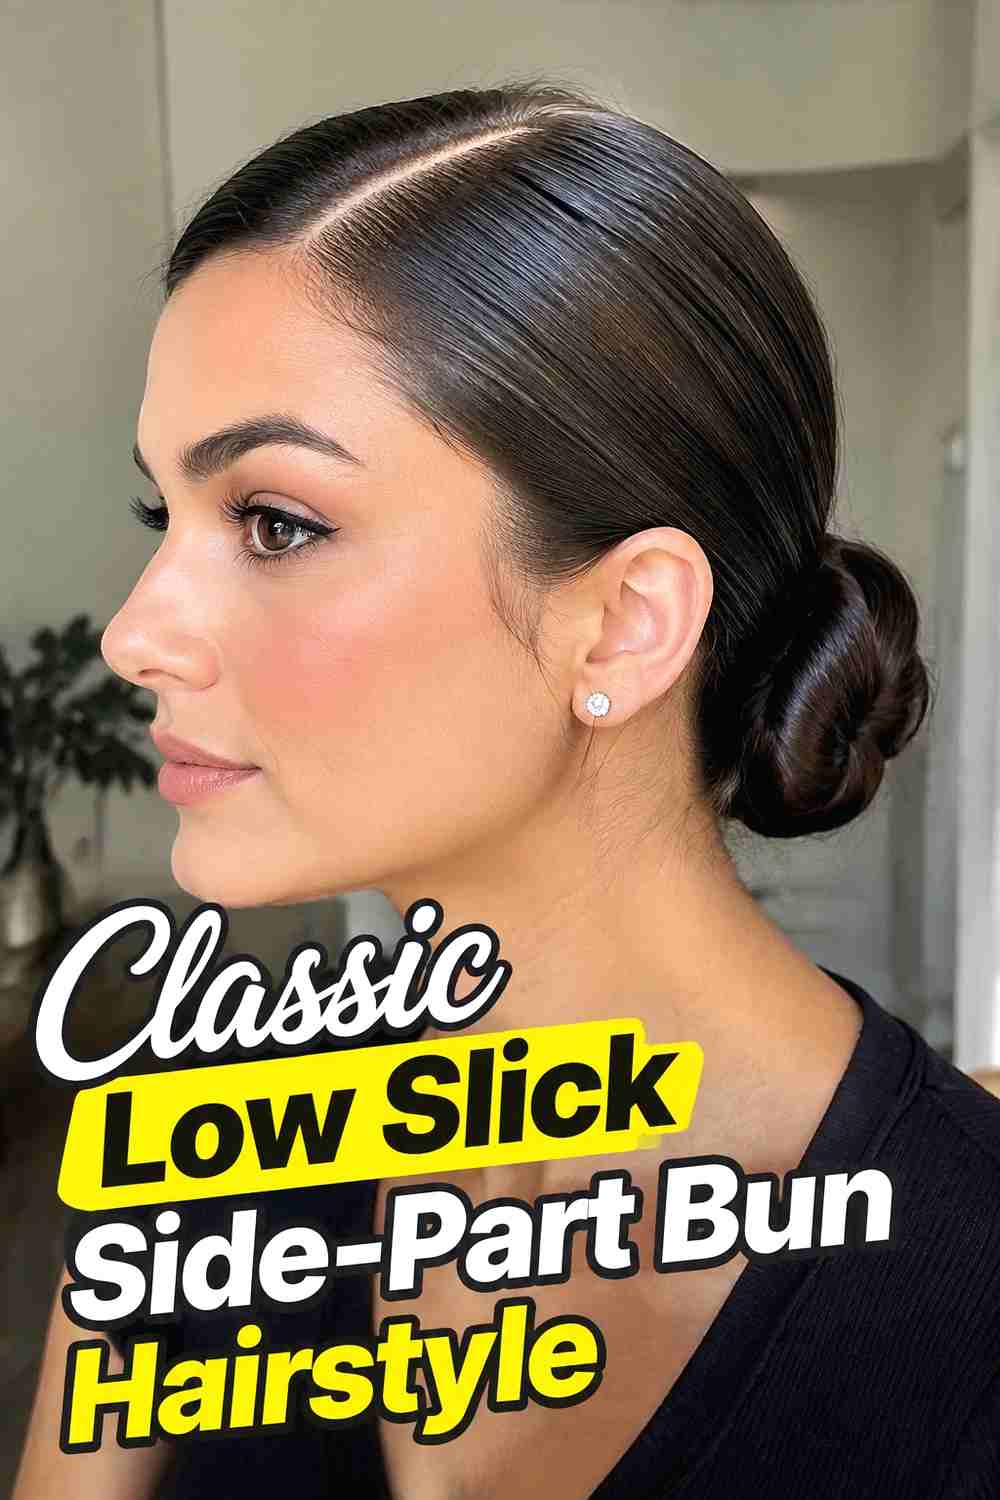
The classic low version keeps the side part crisp and directs both sides smoothly toward a compact bun at the back of the neck. It is one of the most versatile interpretations because the low placement feels polished without adding dramatic height. Medium to long hair usually provides enough length to form a neat coil, while shorter layers can be smoothed into the base with light styling product. Create the part before gathering the hair, then brush each side toward a low ponytail with even tension. Twist the ponytail into a bun and pin it close to the head. Keep the surface sleek but avoid coating the hair so heavily that natural strand detail disappears.
Styling Notes
Work on the part and front sweep before securing the ponytail. Once the base is tight, changing the part can create bumps or disturb the smooth surface.
2. Polished Nape Side Part Bun Hairstyle
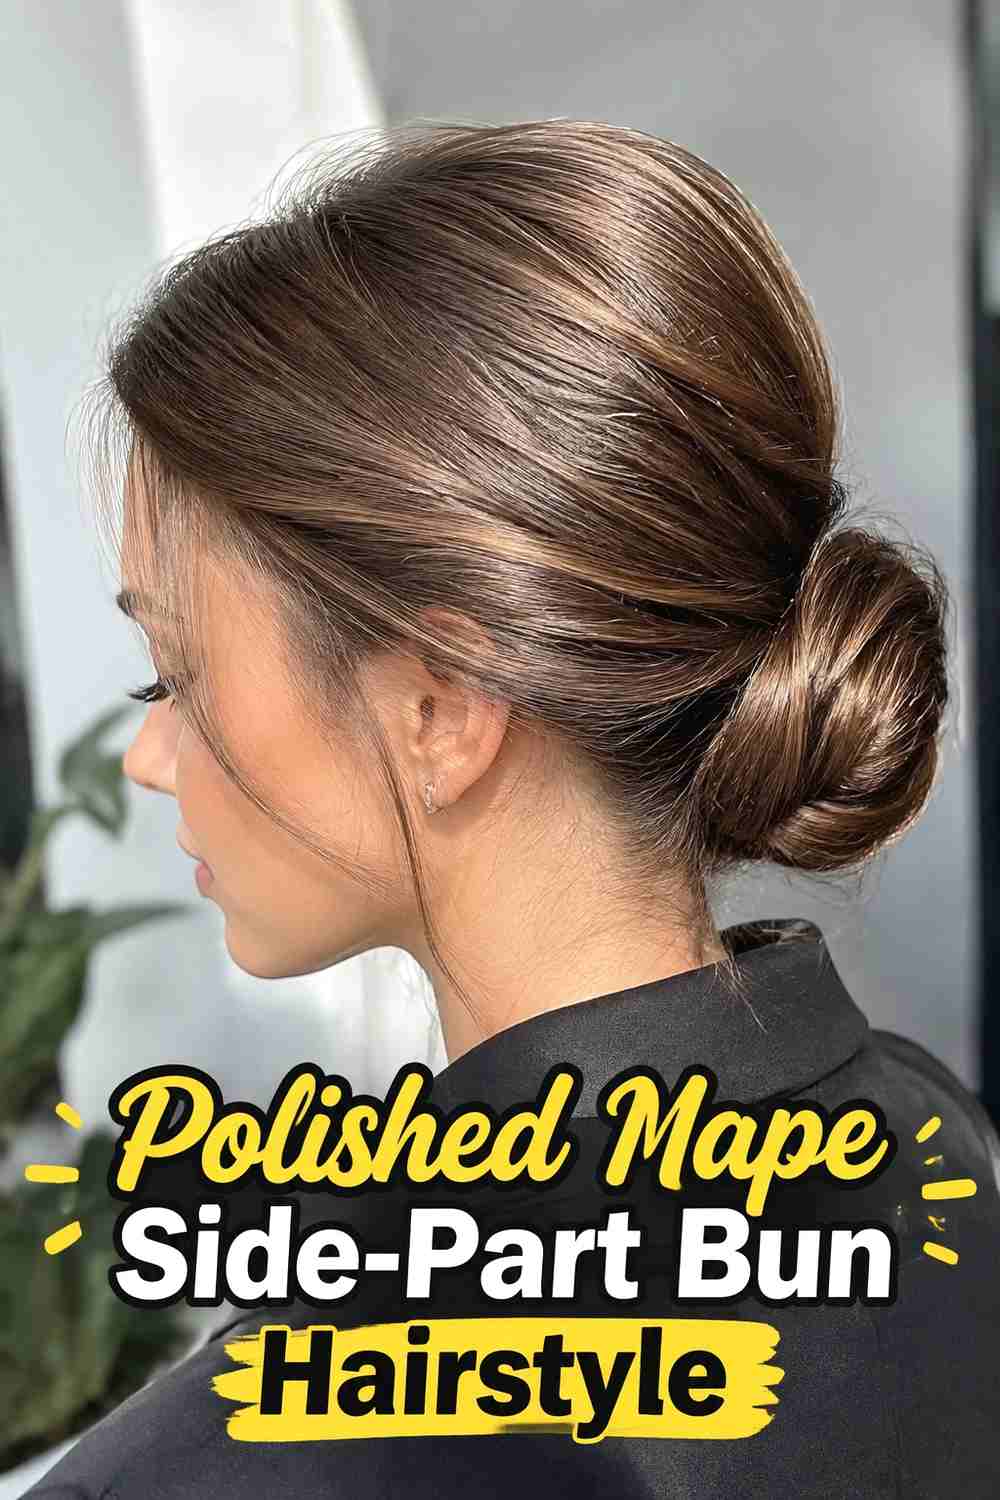
A nape-level side-part bun sits especially low, creating a refined silhouette that works beautifully with collars, open backs, or statement earrings. The side part adds direction at the front while the bun stays small and close to the neckline. This is a good option for hair that is long enough to twist but not necessarily long enough for a large bun. Smooth the roots toward the nape with a brush and light styling cream, secure a ponytail, then coil the length tightly enough to stay compact. Pin the ends underneath so they disappear naturally. A little controlled shine along the surface enhances the polish without making the whole style look saturated.
Best For
Choose this version when you want the bun to feel discreet and elegant rather than visually dominant. The low placement also works well with clean, tailored clothing.
3. High Slick Side Part Bun Hairstyle
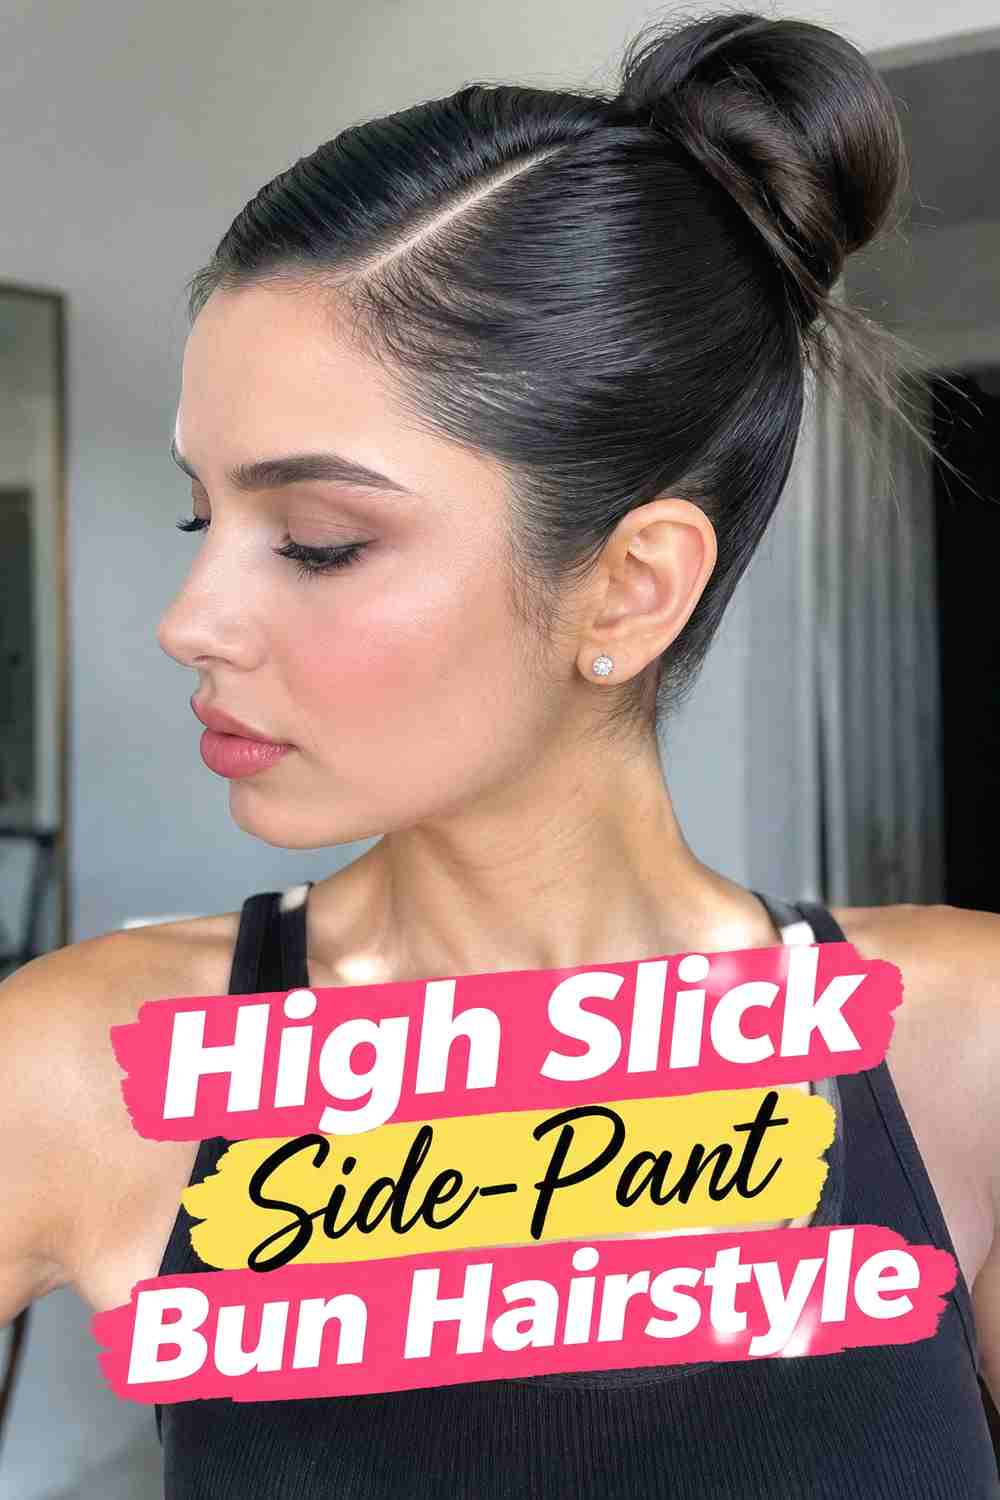
A higher bun changes the proportions of the slick side-part style by lifting the focal point toward the crown. The side part still keeps the front directional, but the ponytail travels upward instead of back toward the nape. This can create a sharper, more energetic silhouette, especially on medium or long hair. Establish the side part first, smooth the lengths into a high ponytail, and check for bumps before securing it. Twist or wrap the ponytail into a balanced bun that sits firmly on the base rather than leaning backward. Keep the hairline controlled, but allow realistic strand texture to remain visible so the sleek finish does not look overly artificial.
Wear & Maintenance
Higher buns place more tension on the base, so secure the ponytail comfortably rather than pulling excessively tight. Reinforce the bun with pins instead of relying on tension alone.
4. Deep Side Part Knot Bun Hairstyle
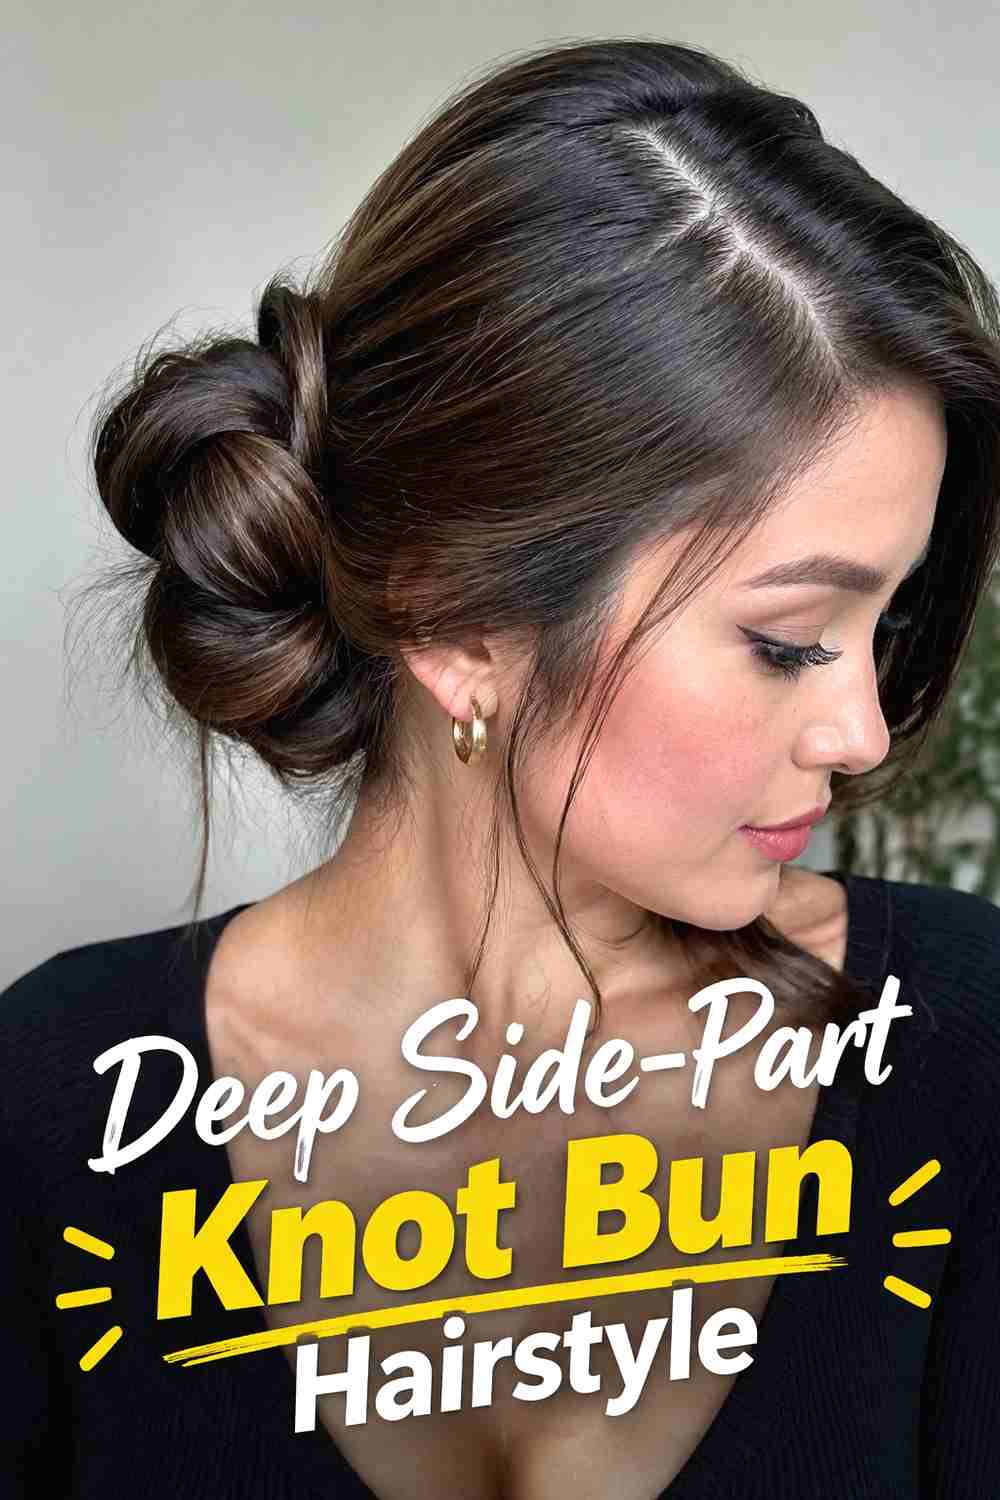
A deep side part makes the front sweep more dramatic, while a compact knot bun keeps the back controlled and minimal. The heavier front section can curve smoothly across the head before joining the ponytail, giving the style a strong directional line. Instead of wrapping the length into a perfectly round coil, form a small knot shape and tuck the ends underneath for a slightly more architectural finish. This works best when the ponytail has enough length to fold and secure without loose ends escaping. Use smoothing product mainly around the front and sides, leaving the actual knot flexible enough to show natural texture and believable construction.
Why It Works
The strong diagonal part creates visual movement at the front, while the compact knot prevents the overall hairstyle from becoming too elaborate.
5. Glossy Side Part Ballet Bun Hairstyle
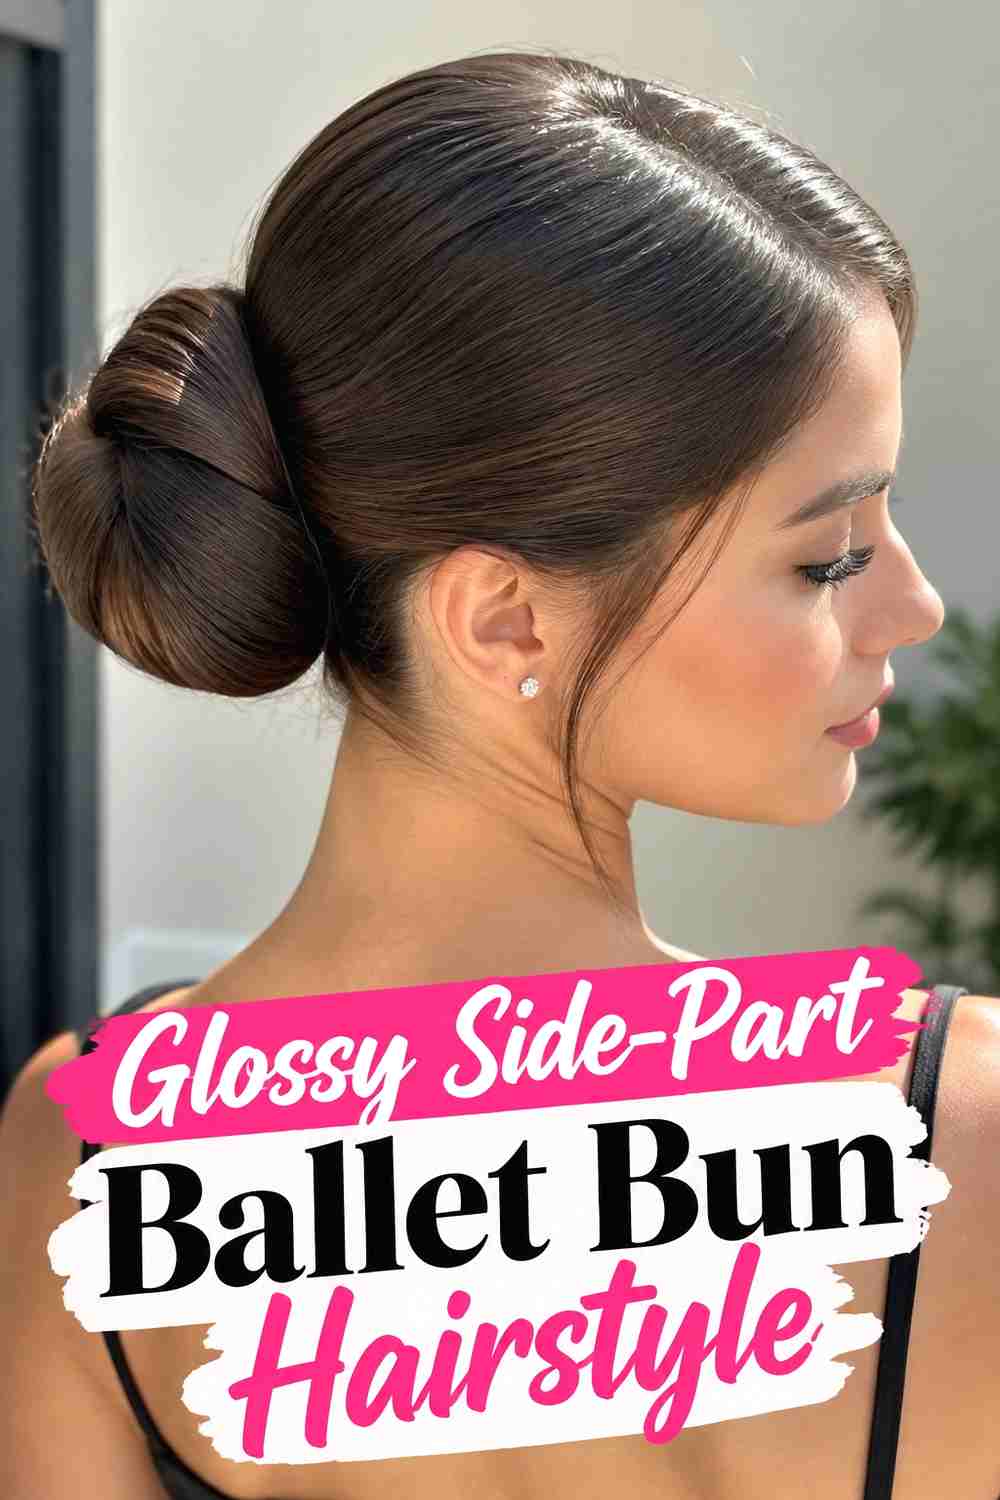
The ballet-bun variation is neat, rounded, and centered securely at the back of the head. A sharp side part gives the traditional bun a more fashion-forward front, while the smooth finish keeps the silhouette clean. Medium to long hair can be twisted around a ponytail base, or a bun form may be useful when a fuller, more uniform shape is desired. Brush the front sections firmly but comfortably toward the base, keeping the side part clearly visible. Wrap the ponytail evenly and pin around the perimeter so the bun stays connected to the head. Finish with restrained gloss through the surface, avoiding heavy oil that can make the roots appear greasy.
Pro Tip
For the cleanest round shape, distribute the ponytail evenly around the base instead of wrapping all the hair in one narrow rope before pinning.
6. Sculpted Side Part Twisted Bun Hairstyle
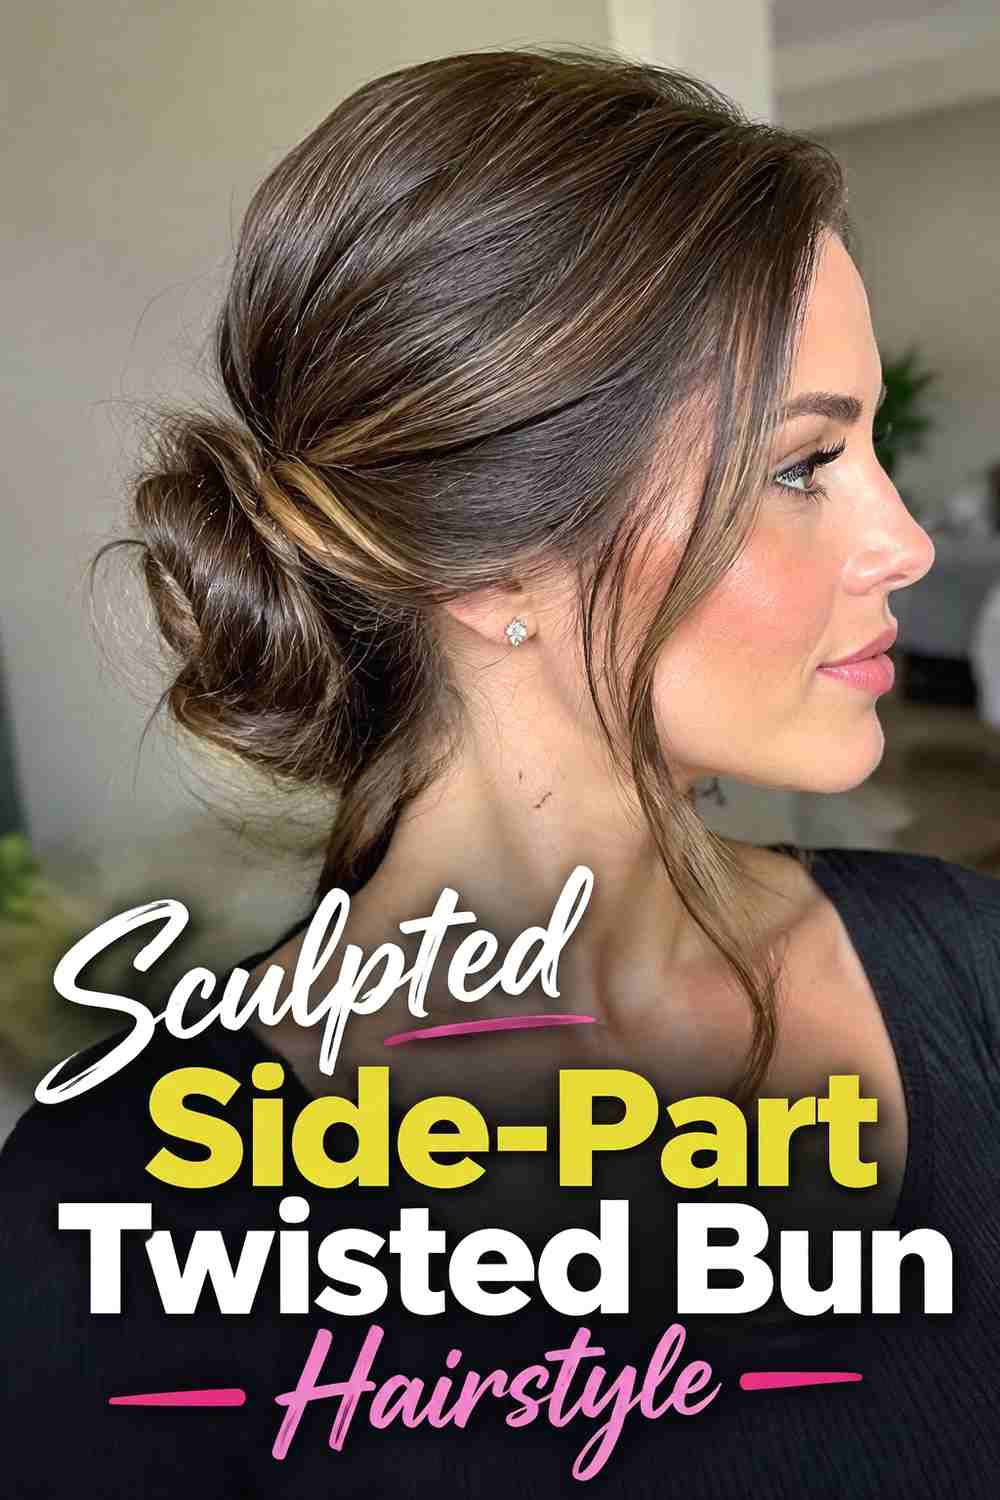
A twisted bun adds visible structure to the slick side-part style without sacrificing its clean finish. The roots remain smooth and controlled, but the ponytail is divided or twisted before being wrapped into the bun, creating subtle ridges that make the back more interesting. This version works particularly well on longer hair because there is enough length to show the twist pattern before the ends are hidden. After forming the side part and securing the ponytail, twist the length with consistent tension and guide it around the base. Pin the shape gradually rather than waiting until the entire twist is wrapped, which helps prevent the bun from loosening or shifting.
Styling Notes
Keep the twisted detail concentrated in the bun. The contrast between smooth roots and visible texture at the back makes the construction easier to appreciate.
7. Slick Side Part Braided Bun Hairstyle
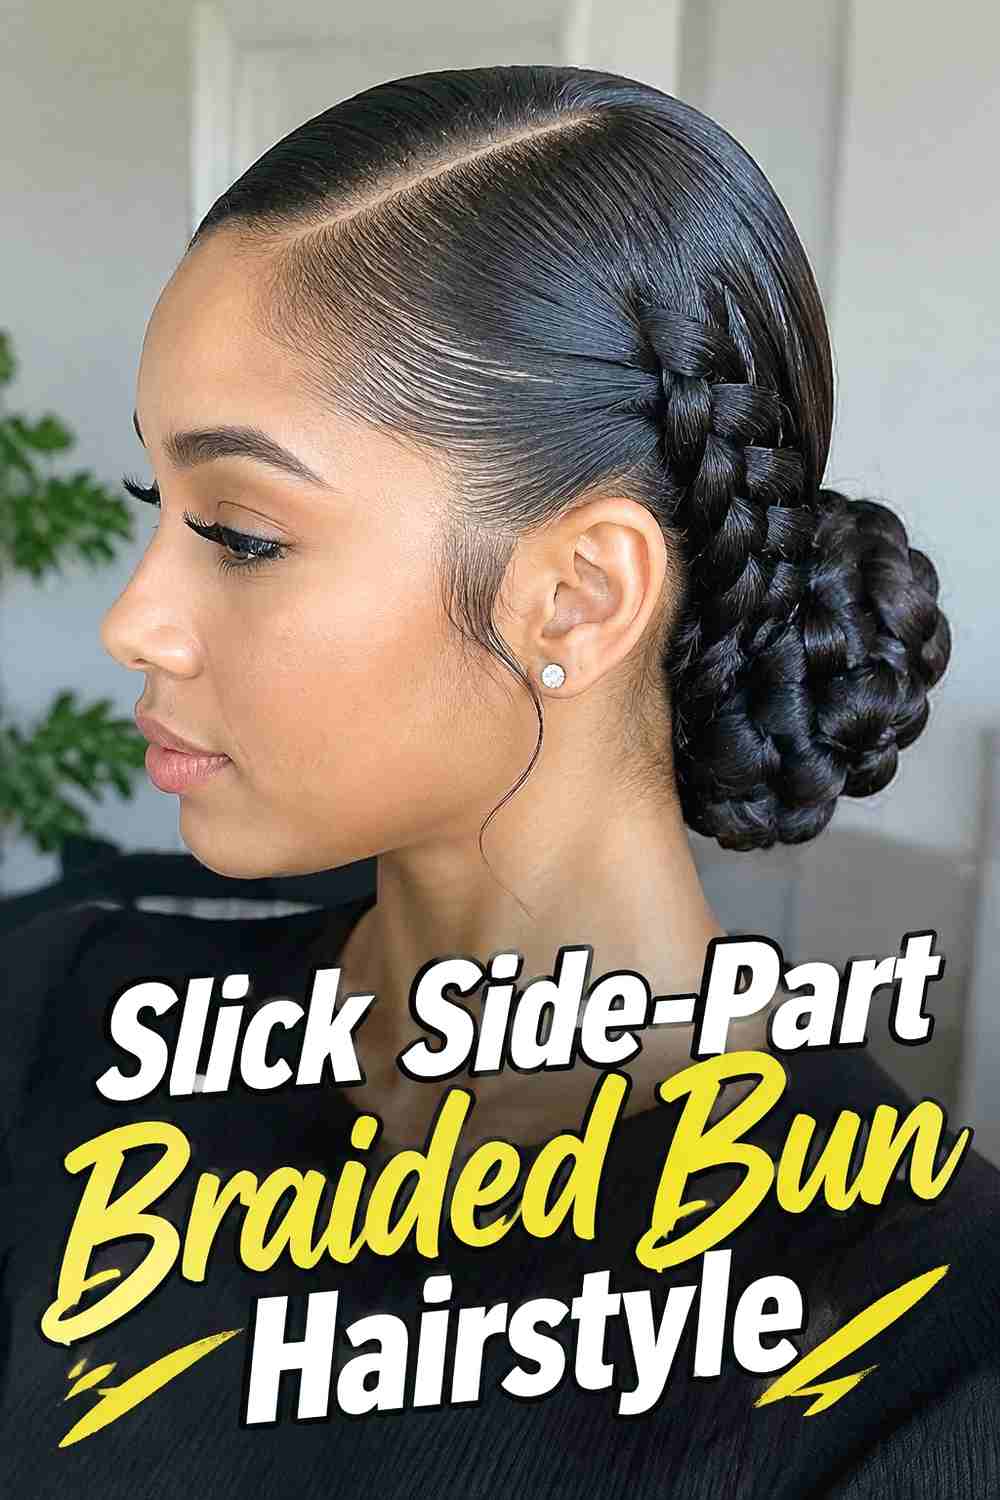
A braided bun introduces texture while preserving the sleek side-part foundation. The front and sides stay smooth, while the ponytail is braided before being coiled into the bun. This makes the finished knot look more intricate without requiring complicated pinning techniques. A standard three-strand braid works well, though the exact braid can vary with hair length and density. Secure the braid lightly at the end, wrap it around the ponytail base, and pin along the outer edge so the braided pattern remains visible. Avoid pulling the braid apart too much; the appeal comes from the contrast between the controlled scalp area and the defined woven texture of the bun.
Hair Type & Length
Medium-long and long hair give the braid enough length to wrap around the base. Dense hair can create a naturally fuller bun, while finer hair produces a more compact result.
8. Side Swept Slick Bun Hairstyle
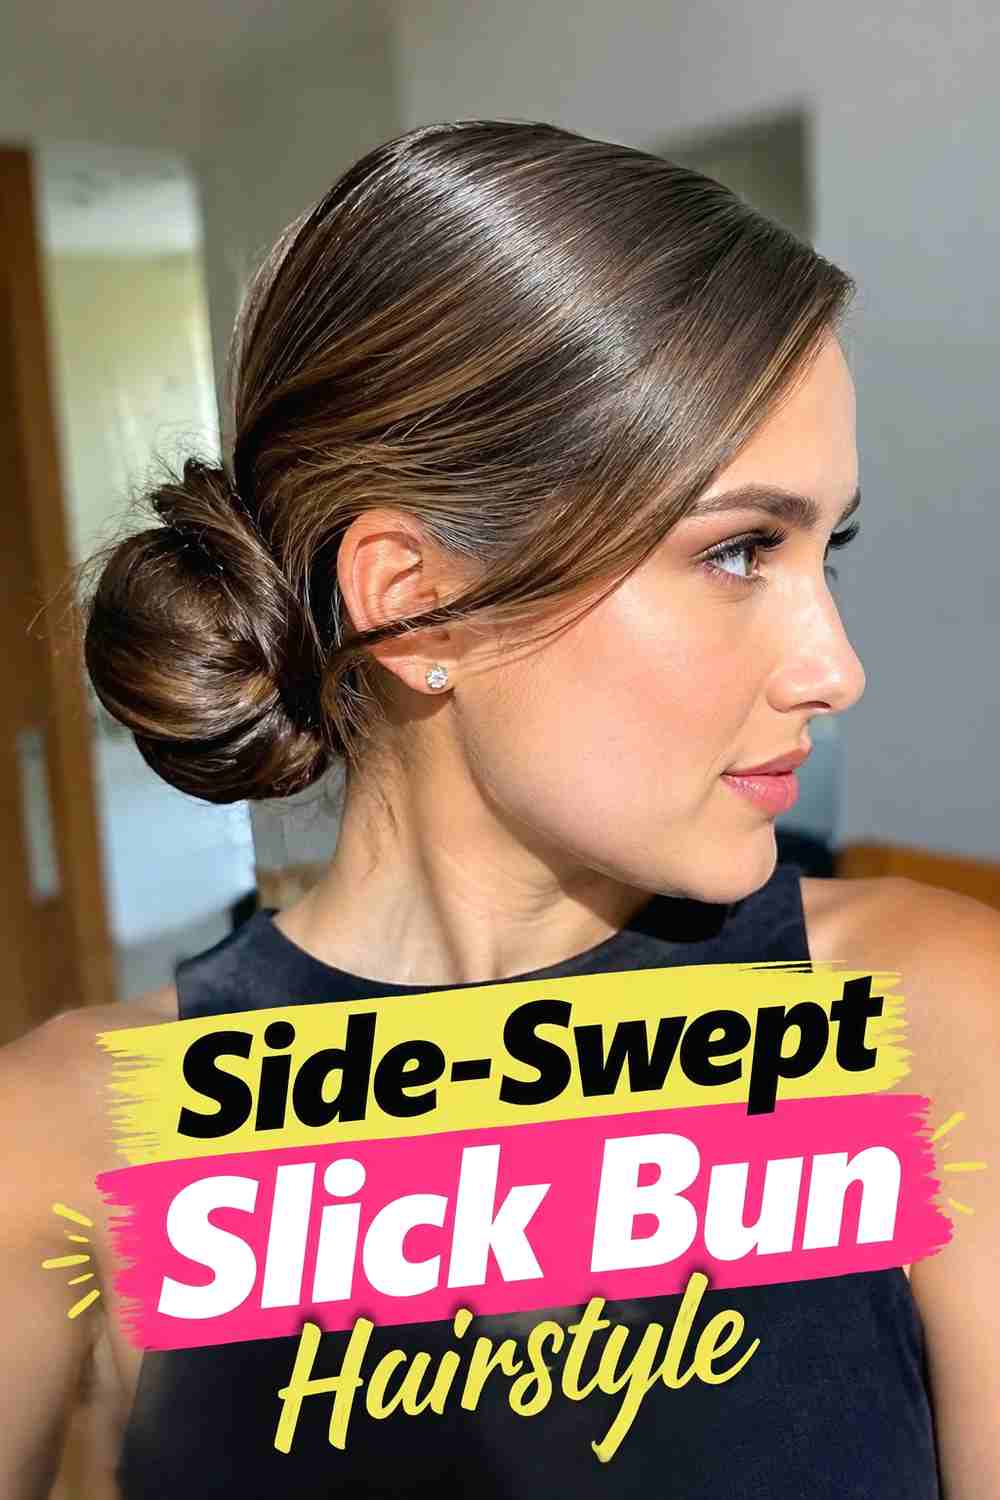
This variation softens the rigid feel of a sharp side part by creating a broader sweep across the front. The heavier section follows the curve of the head before blending seamlessly into a low or mid-height bun. The result still looks sleek, but the visible front line feels more fluid and sculpted. It is especially flattering when you want a polished style without a perfectly flat, severe front. Establish the part and gently brush the larger section across the forehead or temple, maintaining smooth tension without pressing every strand against the scalp. Secure the ponytail, create a compact bun, and refine the front sweep with a comb and flexible styling product.
Best For
Choose this version for dinners, formal events, or professional occasions when you want sleek roots with a slightly softer, more graceful front profile.
9. Wet Look Side Part Bun Hairstyle
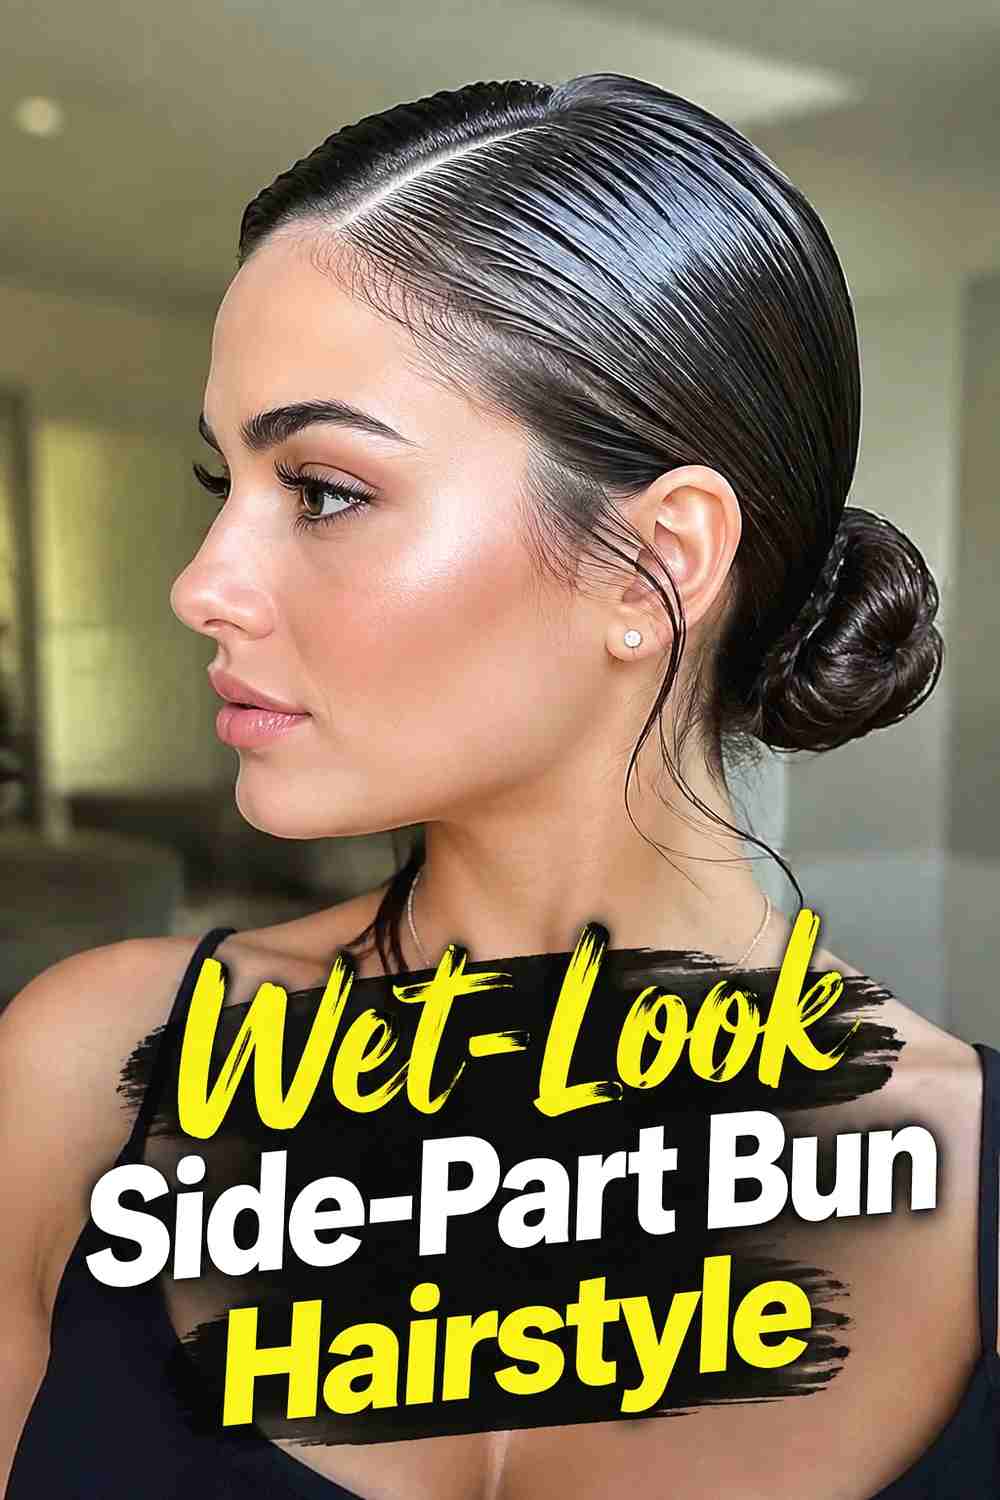
A wet-look finish makes the slick side-part bun feel more editorial. The roots and sides appear glossy and freshly combed, while the bun stays neat and clearly constructed. The most believable version concentrates the wet effect close to the scalp instead of coating the entire hairstyle with gel. Create a precise side part, apply flexible styling gel gradually, and comb the hair toward a low or mid-height ponytail. Form the bun after the root area is smooth, keeping the coil itself slightly more natural in texture. This contrast prevents the style from looking uniformly saturated. Finish by cleaning up the hairline and checking that the part remains sharply visible under the shine.
Pro Tip
Build the glossy effect in thin layers. Too much product applied at once can create clumps and make the roots look heavy instead of intentionally slick.
10. Wedding Slick Side Part Bun Hairstyle
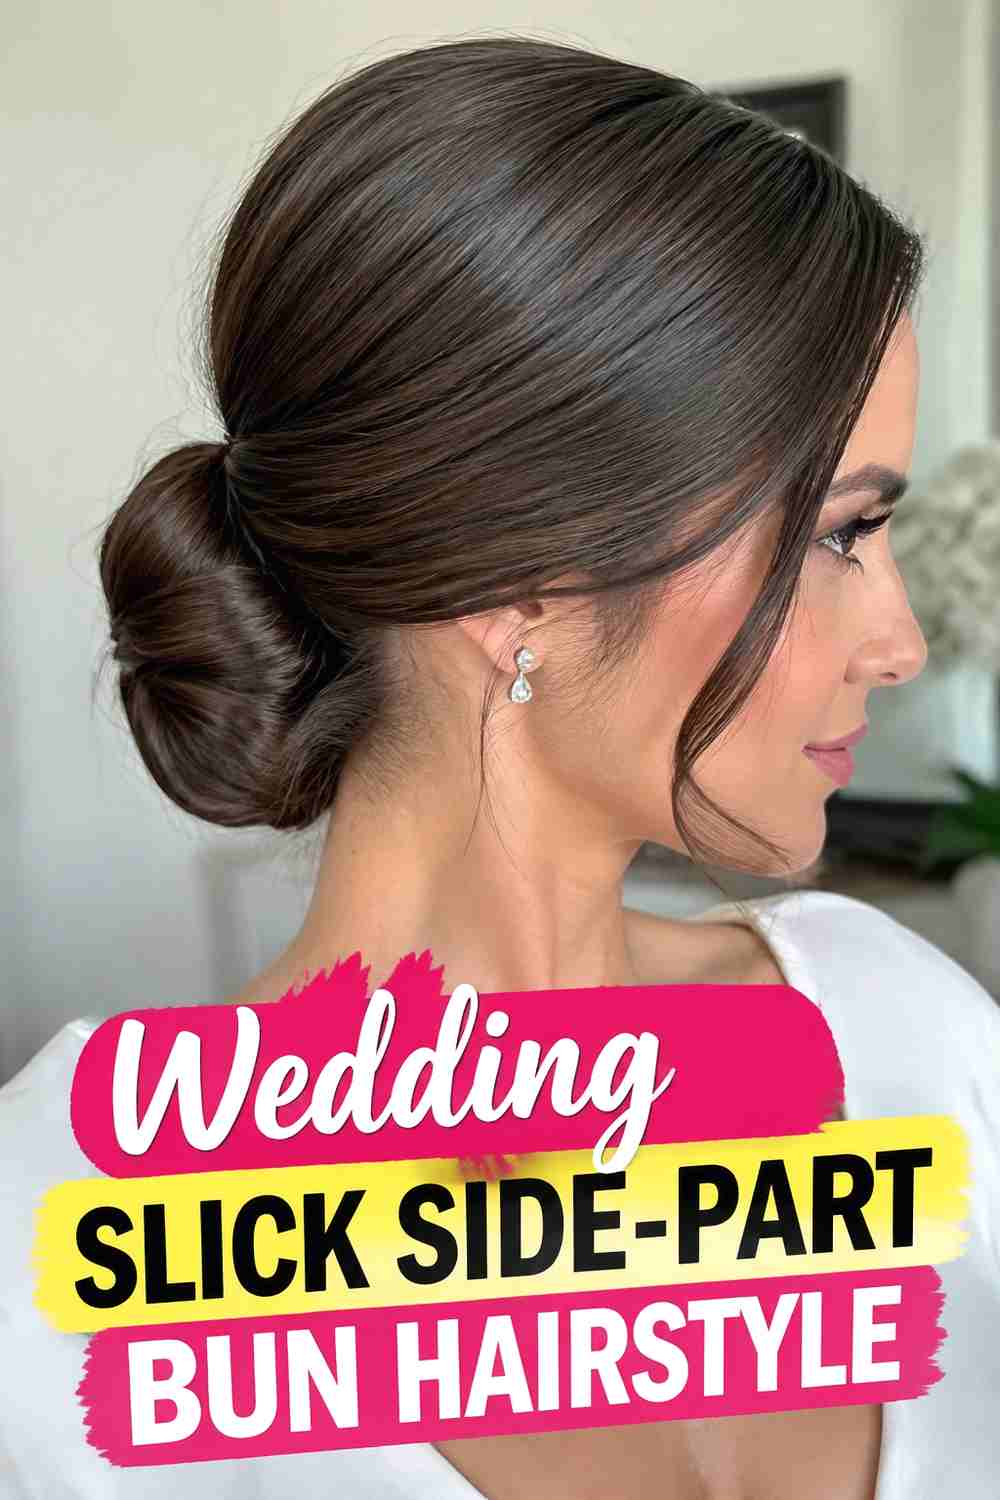
A wedding side-part bun combines clean structure with reliable hold, making it well suited to long events and formal styling. The bun can sit low at the nape or slightly higher depending on the neckline, veil, and accessories. Keep the side part visible from the front, then smooth both sections into a secure ponytail before building the bun. Pearl pins, a small comb, or a subtle accessory can be added after the structural pins are in place. Avoid relying on decorative pieces to hold the actual hairstyle together. The finished look should feel elegant but comfortable, with enough flexible hold to control flyaways while still showing natural hair texture and realistic movement near the hairline.
Wear & Maintenance
Test any veil or accessory placement before the event. Structural pins should support the bun independently so decorative pieces can be removed or adjusted without destabilizing the style.
11. Minimalist Slick Side Part Bun Hairstyle
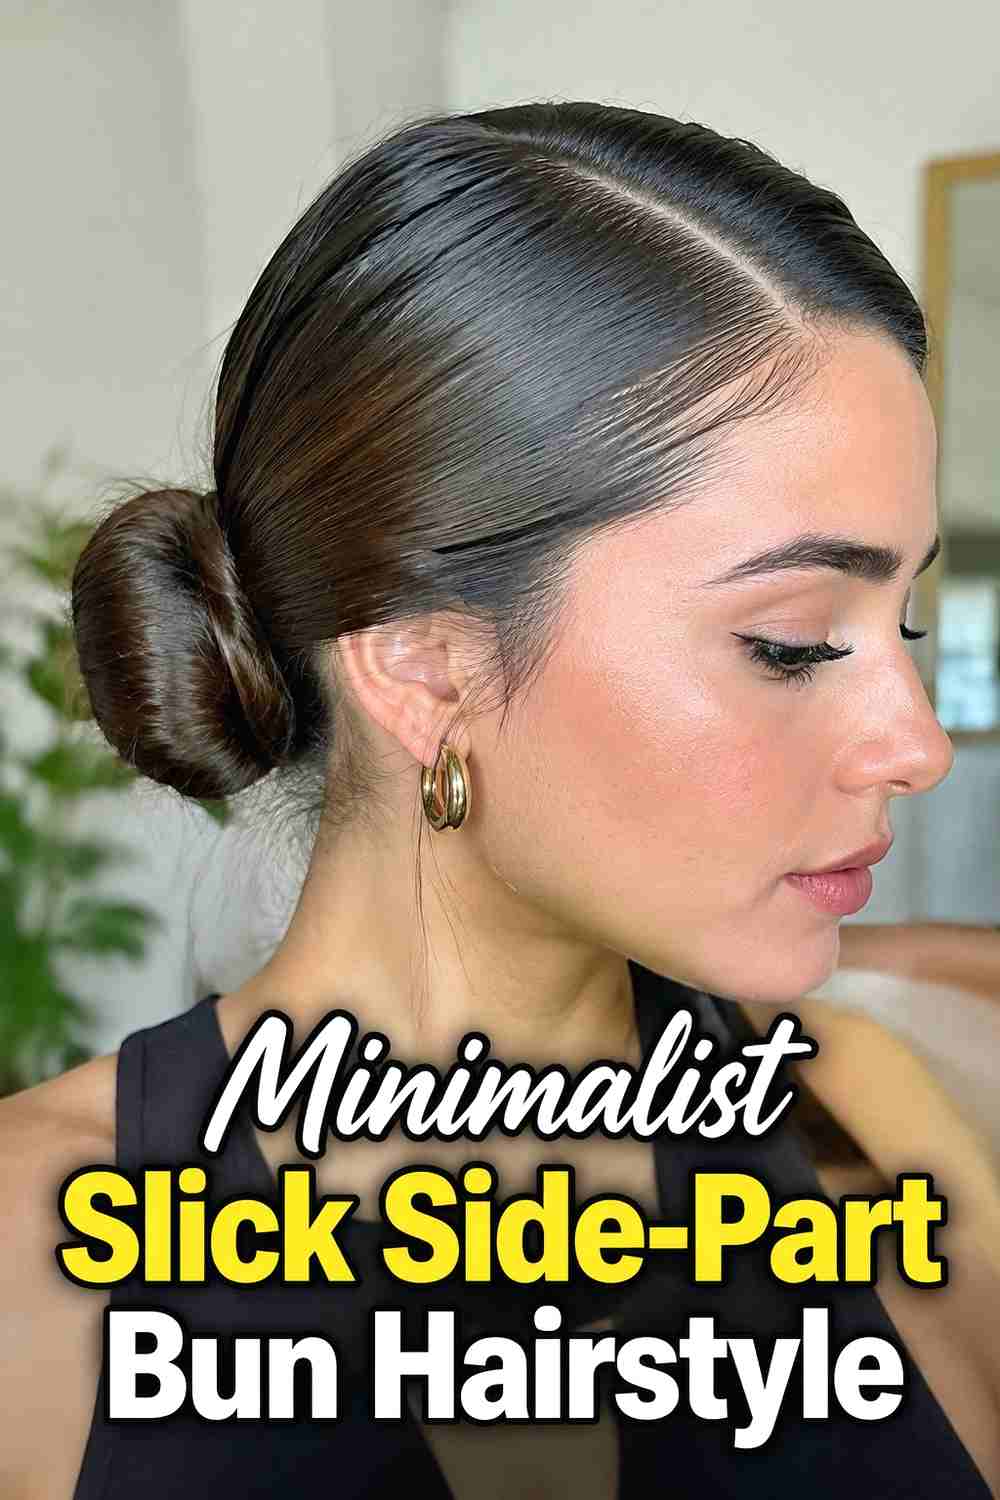
The minimalist version reduces the style to its essential elements: a precise side part, smooth roots, and a compact bun with almost invisible pinning. There are no decorative clips, loose tendrils, or exaggerated volume, so clean construction becomes the main visual focus. A low or mid-height bun works particularly well because it keeps the silhouette understated. Apply smoothing product sparingly, brush the hair into a neat ponytail, and coil the length into a simple knot close to the head. Tuck the ends underneath and hide the pins inside the bun. The final finish should look intentional and refined while still preserving a realistic hairline, individual strands, and natural-looking shine.
Why It Works
Removing extra details makes the defined side part and clean bun shape stand out. It is a straightforward option for anyone who prefers polished, low-distraction styling.
How to Choose the Right Look
Start with bun placement. A low or nape-level bun feels understated and works well with formal clothes, office looks, and open necklines. A high bun creates more visual lift, while a mid-height ballet or twisted bun offers a balanced middle ground.
Next, consider your hair length and density. Shorter medium lengths are usually easiest to shape into compact knots, while long hair gives you enough material for braided, twisted, or fuller buns. Dense hair may need stronger pins and sectioned wrapping, while fine hair often looks cleaner in smaller, tighter shapes.
Finish matters too. Choose glossy or wet-look styling for a stronger editorial effect, a wedding bun for reliable formal wear, or a minimalist bun when you want the part and silhouette to do most of the work. Whatever the style, avoid excessive scalp tension and rely on secure pinning rather than pulling the hair uncomfortably tight.
Final Thoughts
A slick side-part bun can shift from understated to dramatic simply by changing the bun height, texture, shine, or front sweep. The most polished results come from creating the part first, securing a comfortable base, and building the bun so it connects naturally to the head. Keep products controlled, pins discreet, and the overall construction believable for a sleek finish that still looks like real hair.
FAQs
1. How do I keep a slick side-part bun smooth?
Create the part first, apply a small amount of smoothing cream or gel, and brush each section toward the ponytail base with even tension. Finish flyaways after the bun is secured.
2. Does a slick bun need to be very tight?
No. The hair should feel secure, but excessive tension is unnecessary. Use pins and a stable ponytail base to support the bun rather than relying on uncomfortable pulling.
3. Can medium-length hair work for a side-part bun?
Yes. Medium hair can create compact low or nape buns especially well. Braided or oversized buns generally require more length.
4. How can I make a slick bun look shiny without looking greasy?
Use smoothing products sparingly and concentrate shine on the outer surface. Applying too much gel or oil at the roots can make the finish look heavy.
5. Is a slick side-part bun suitable for weddings?
Yes. A low or polished side-part bun can work beautifully for weddings, especially when the structural pins are secure and any decorative accessories are added afterward.
Save your favorite slick side-part bun hairstyle ideas, share them with someone planning a polished updo, and explore more sleek hairstyle inspiration for your next look.